Polygel Starter Kit for Professional-Grade Nails at Home!
Get Starter Kit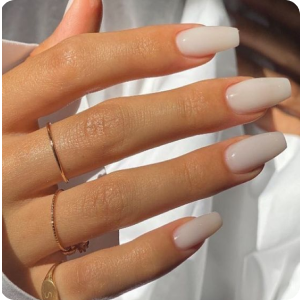

Time to ditch your nail salon…for good! Paddie brings salon-quality nails right to your doorstep so there’s no need to drive 30 minutes, to wait 3 hours, to get nails that are a good bit shorter than what you asked for.
How to use?
How to prep your nails:
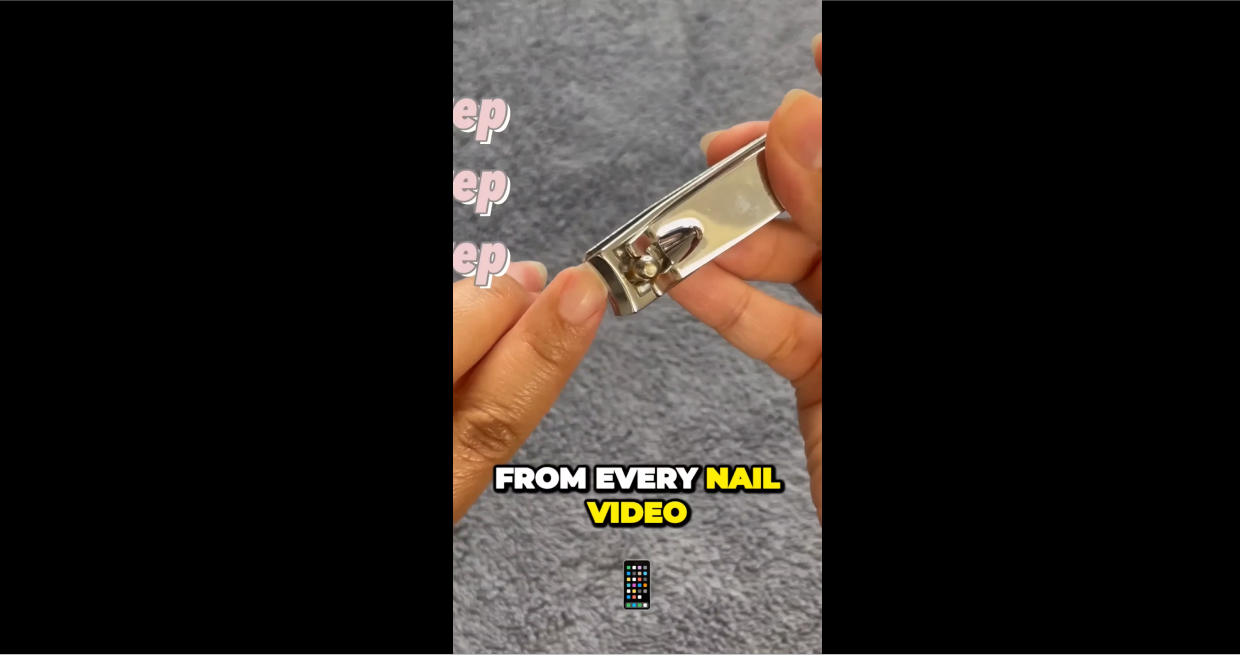
1. Trim your natural nails to your desired length.
2. File the edges to smooth them out.
3. Brush away any dust created by filing.
4. Wipe your nails with an alcohol wipe to remove any oils or impurities.
5. Gently push back your cuticles with a cuticle pusher for a cleaner look and to remove excess skin near the nail bed.
6. Carefully trim the pushed-back cuticles, being cautious not to cut the skin.
Polygel application standard method:
1. Prep your nails and apply a base coat.
2. Pick a dual form slightly larger than your nail. Squeeze a small amount of polygel, cut it with the spatula, and apply it on the dual form.
3. Soak your brush in the slip solution.
4. Spread the polygel inside the dual form using the brush dipped in slip solution.
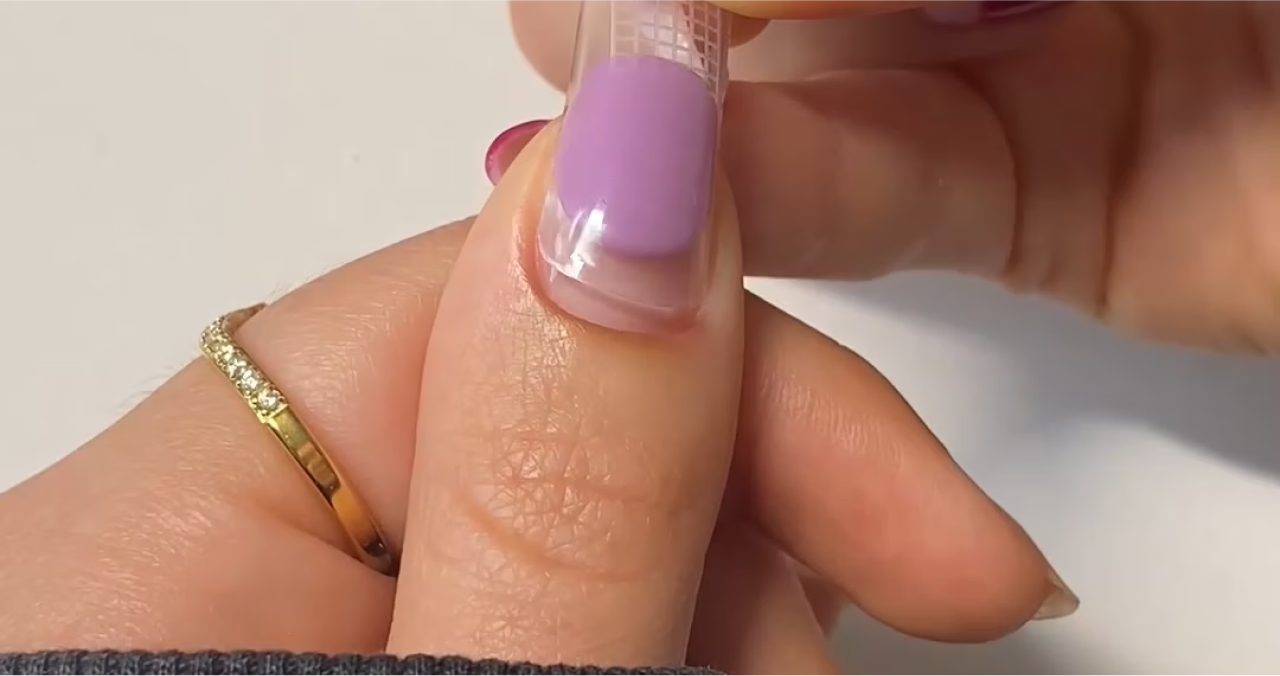
5. Press the dual form onto your natural nail, starting from the cuticle at a 45-degree angle.
6. Press firmly to avoid bubbles and shape the sides using the brush.
7. Use the clip to hold the dual form in place and cure for 2 minutes under the UV lamp.
8. Pop off the dual form and file your nails to the desired shape if needed. Apply top coat for long lasting results.
Polygel application advance method:
1. Prep your nails and apply a base coat.
2. Squeeze some polygel onto the nail. Adjust the amount based on nail shape and size.
3. Take the nail tip and gently press it down onto the polygel, pushing towards the cuticle area. Use a nail clip to hold the tip in place while it sets.
4. Dip a brush in a slip solution and use it to smooth out the polygel underneath your nail and around the sides.
5. Place your hand under a UV lamp and cure the polygel for 2 minutes.
6. Once cured, remove the nail clip and gently lift off the nail tip.
7. If needed, use the spatula end of your tool to add polygel to any areas that require filling. Smooth it out with the brush dipped in slip solution. Cure again for 2 minutes.
8. File the nails to the desired shape if needed. Apply top coat for long lasting results.
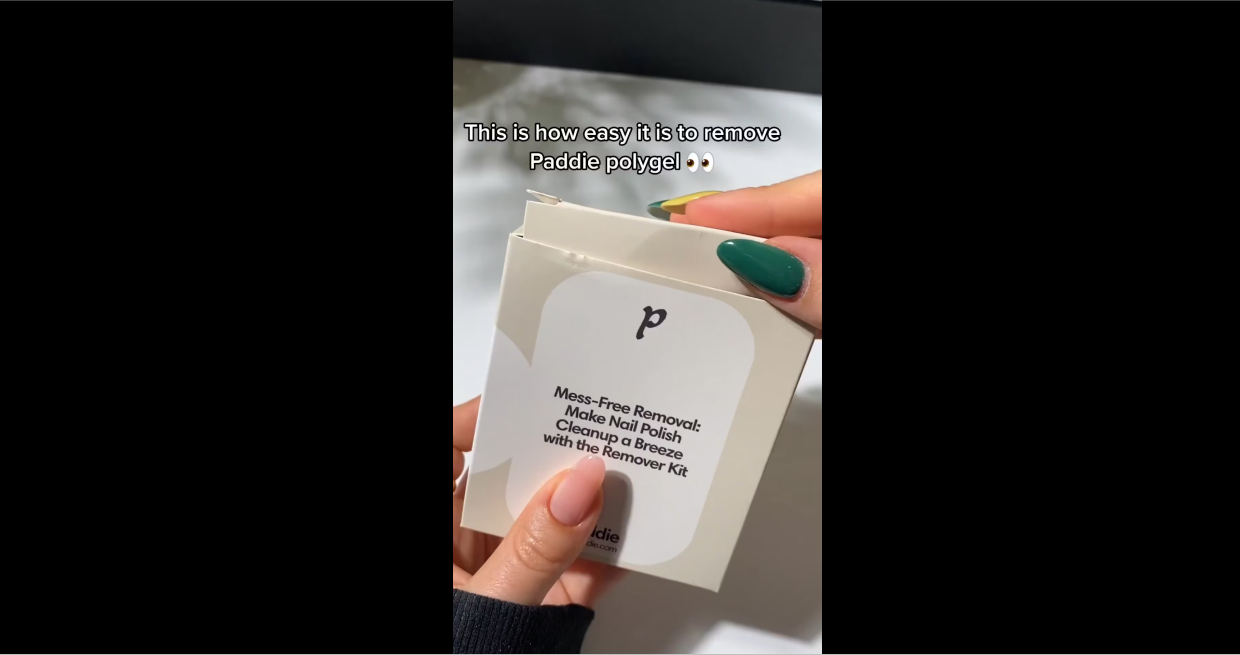
How to remove nail polygel:
1. File down the top coat of the polygel using a nail file.
2.Apply peel-off latex tape around the nails. Allow it to air dry for 60-120 seconds.
3. Apply gel polish remover to the nails. Wait for 3-5 minutes.
4. Gently push off the gel polish.
5. Use tweezers to peel off the latex tape.
6. Brighten the nail surface with a nail buffer.
7. Apply cuticle oil to nourish the skin and nails.
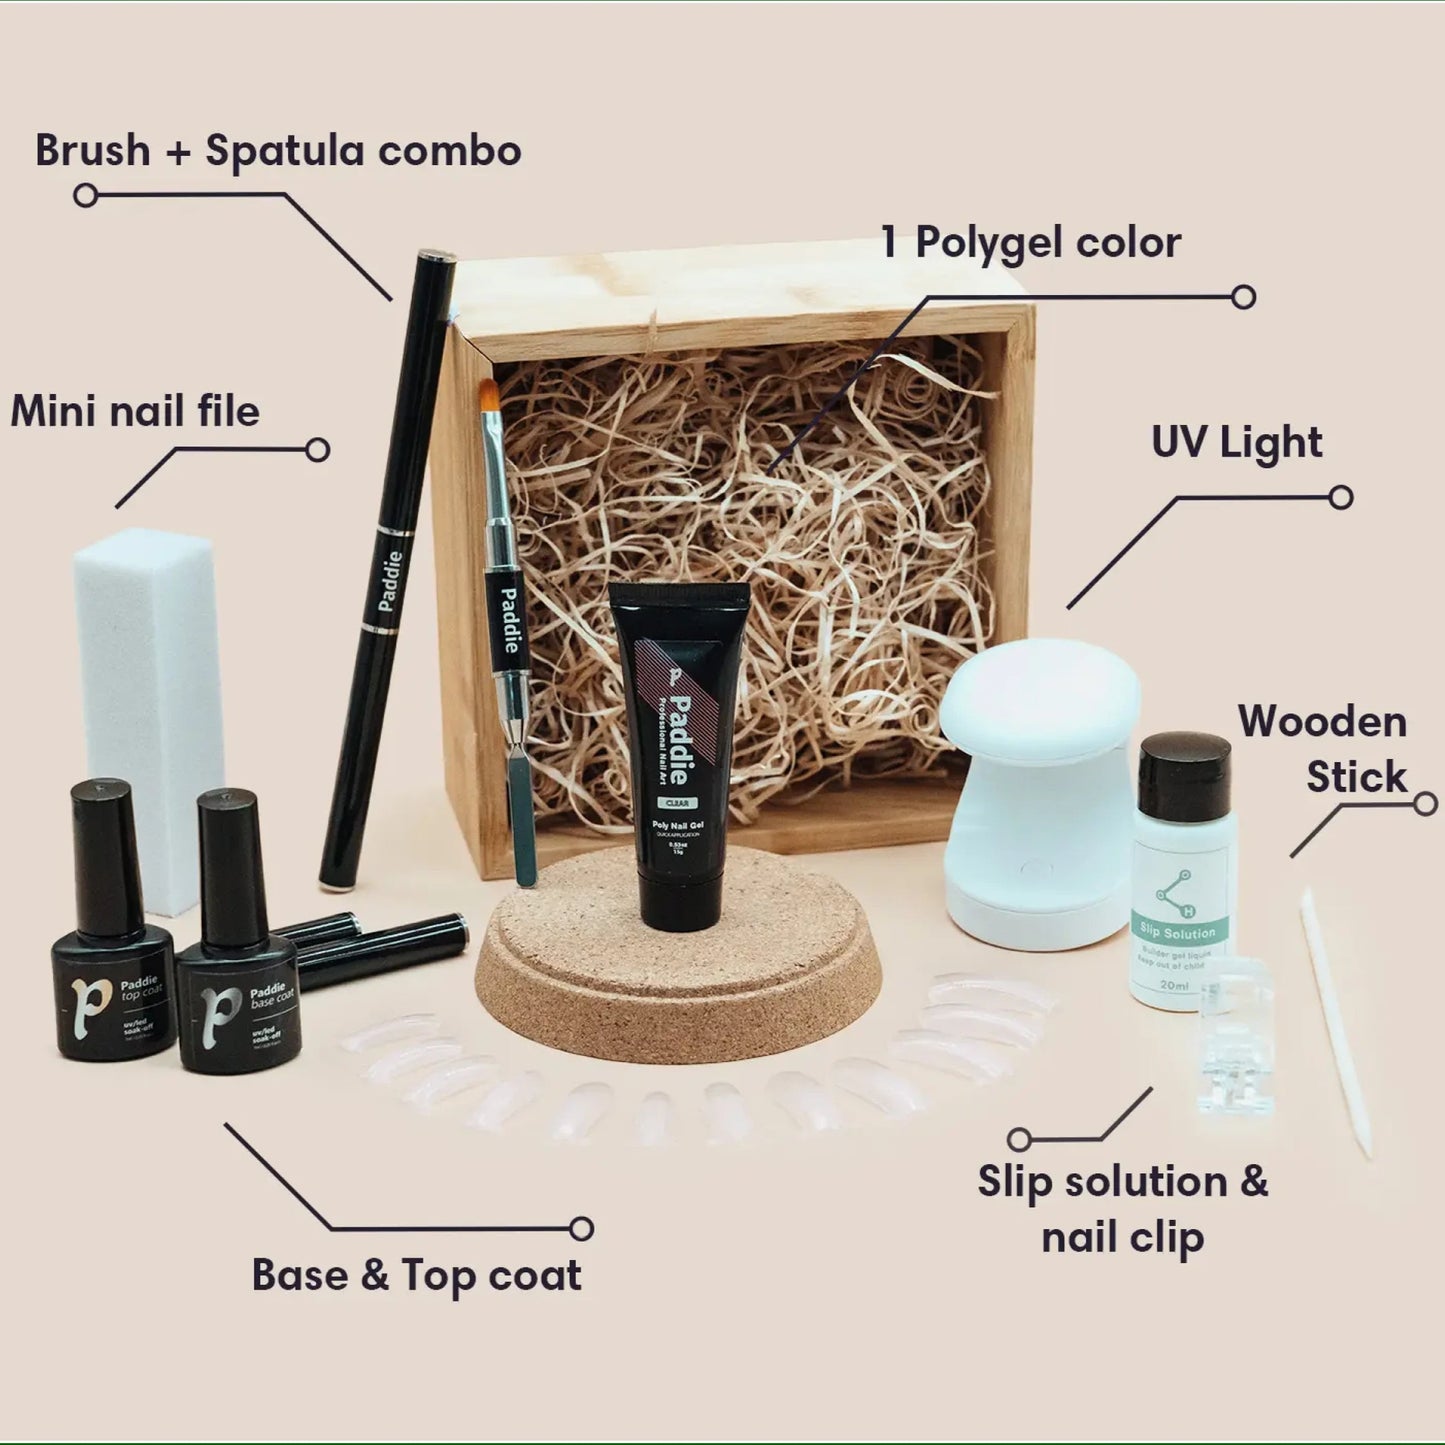
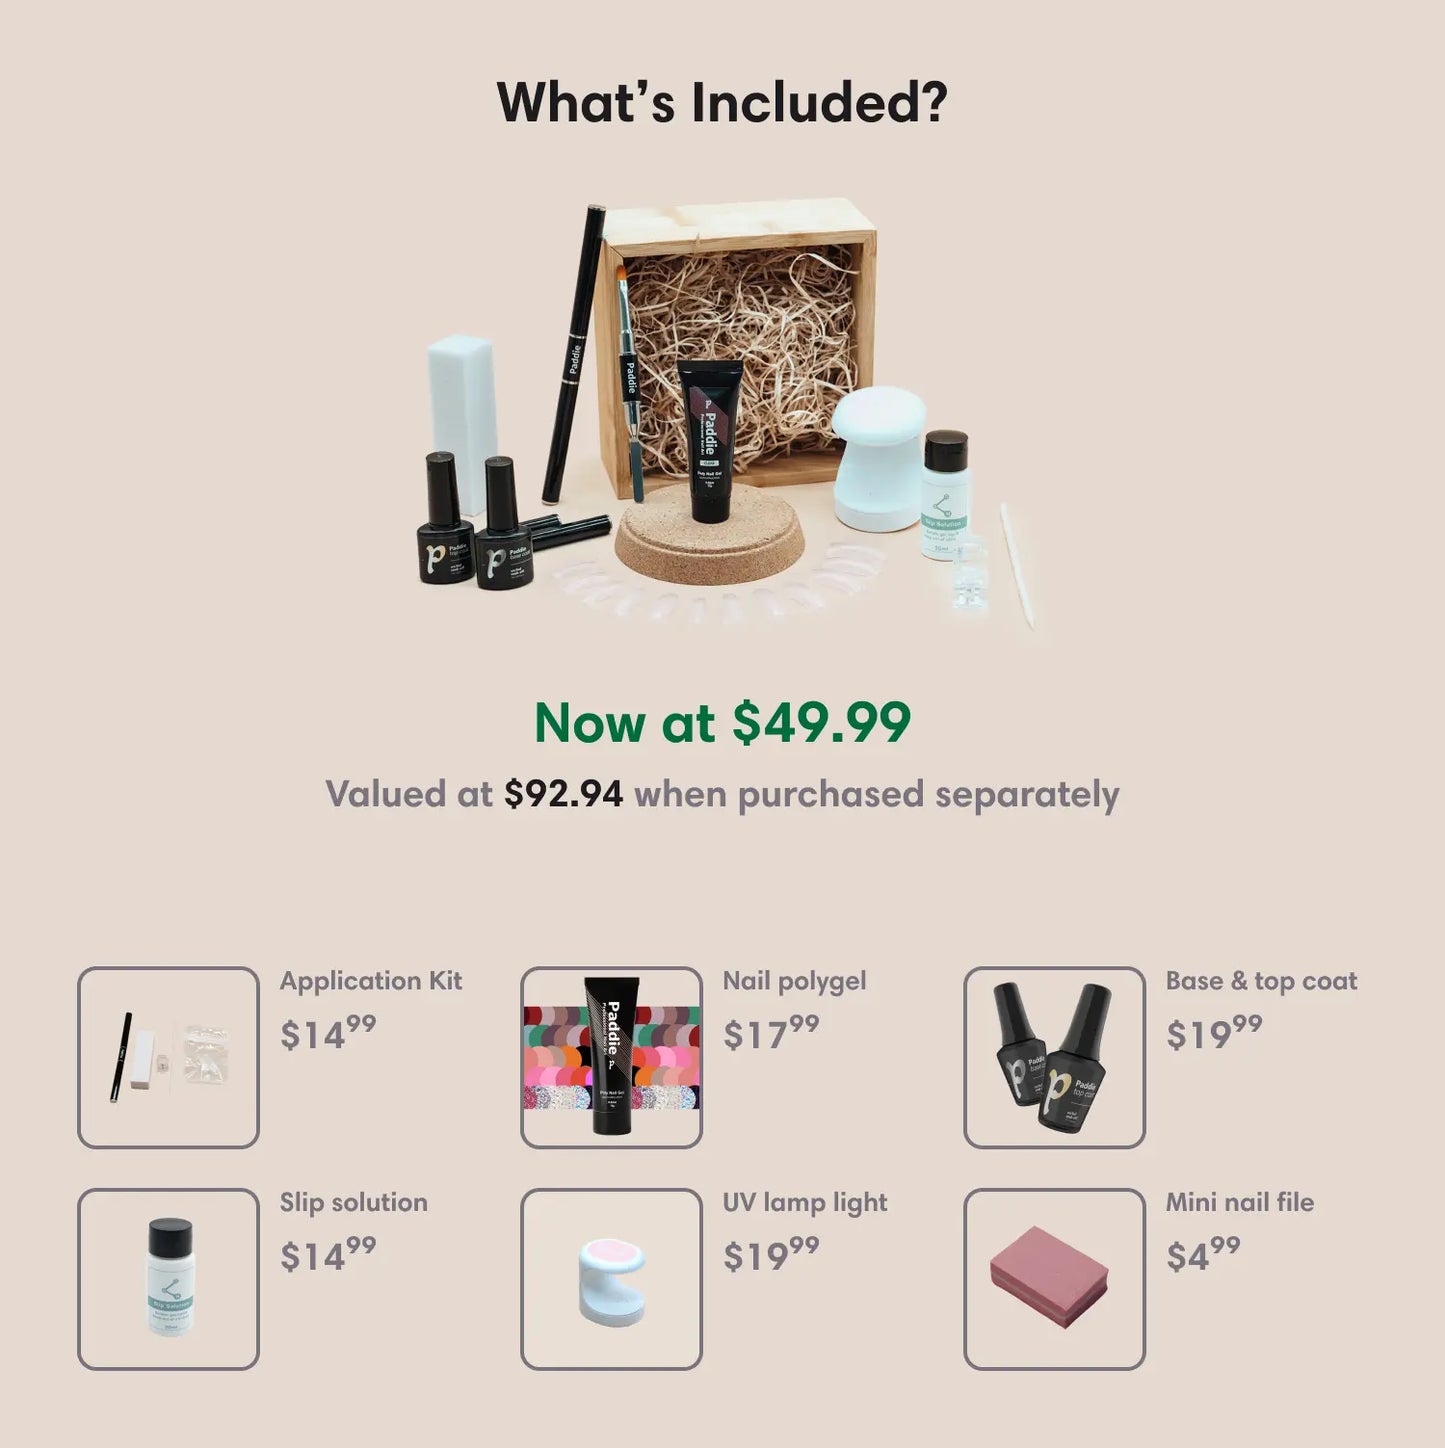
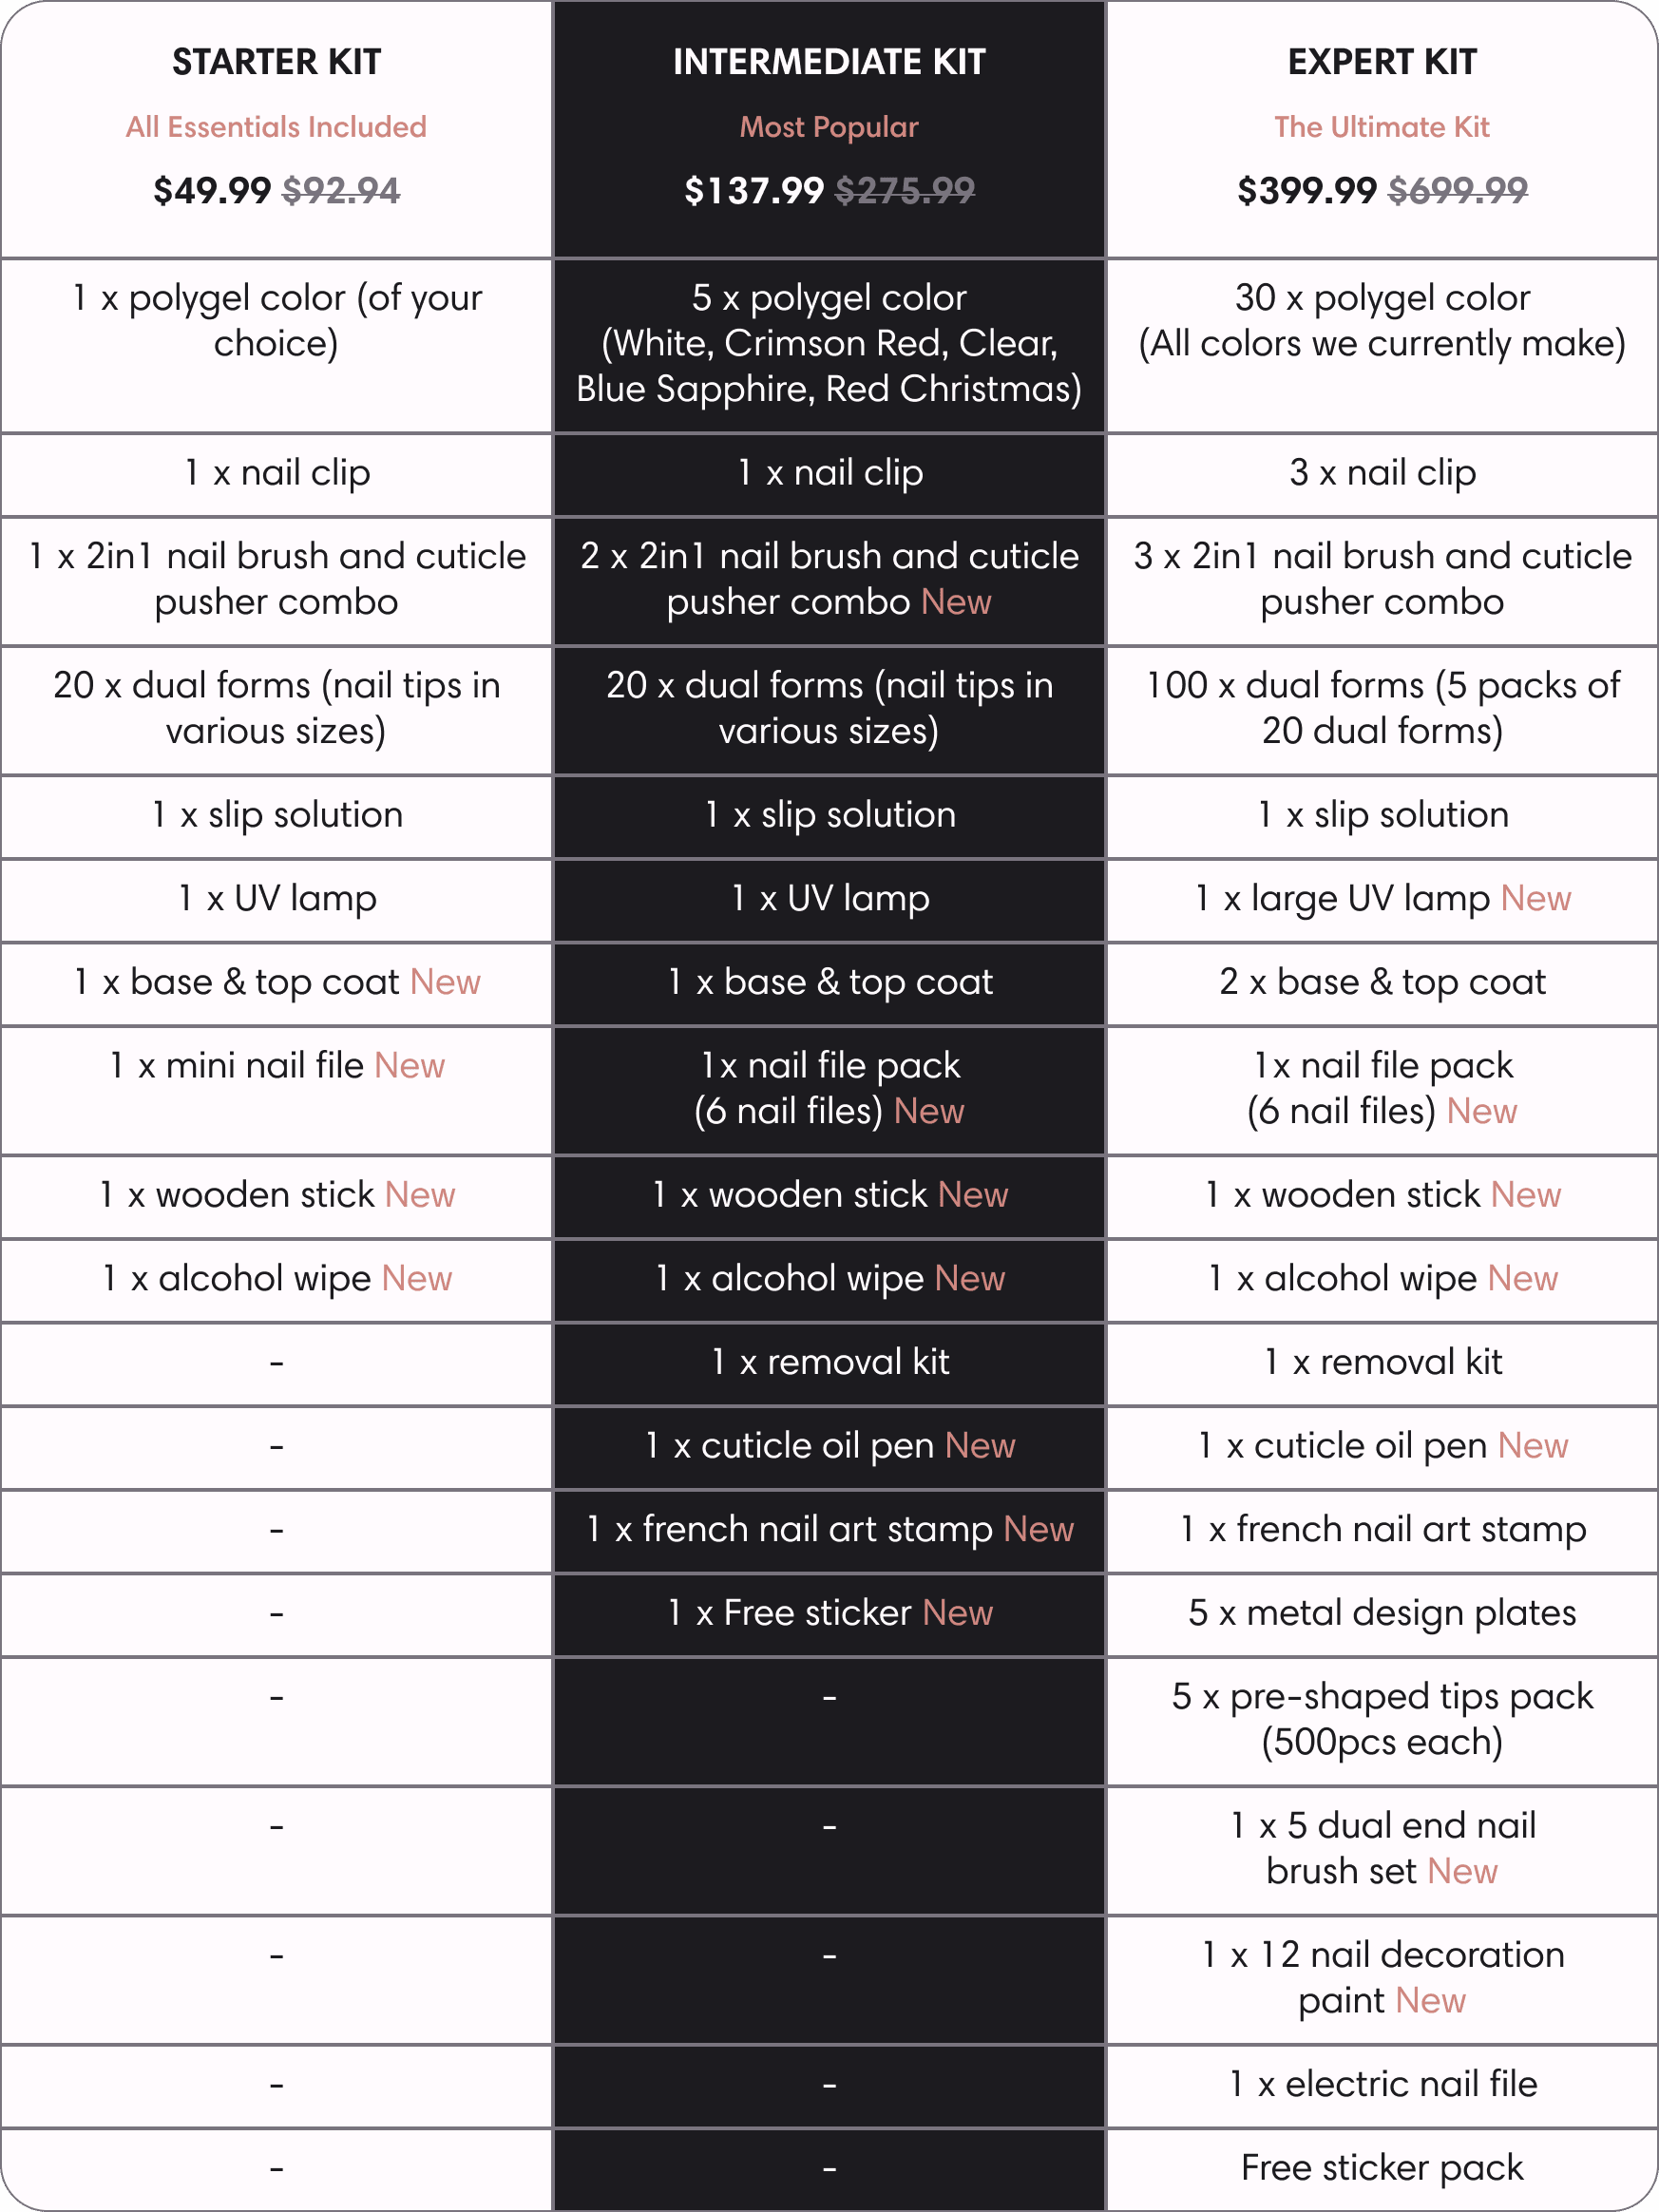
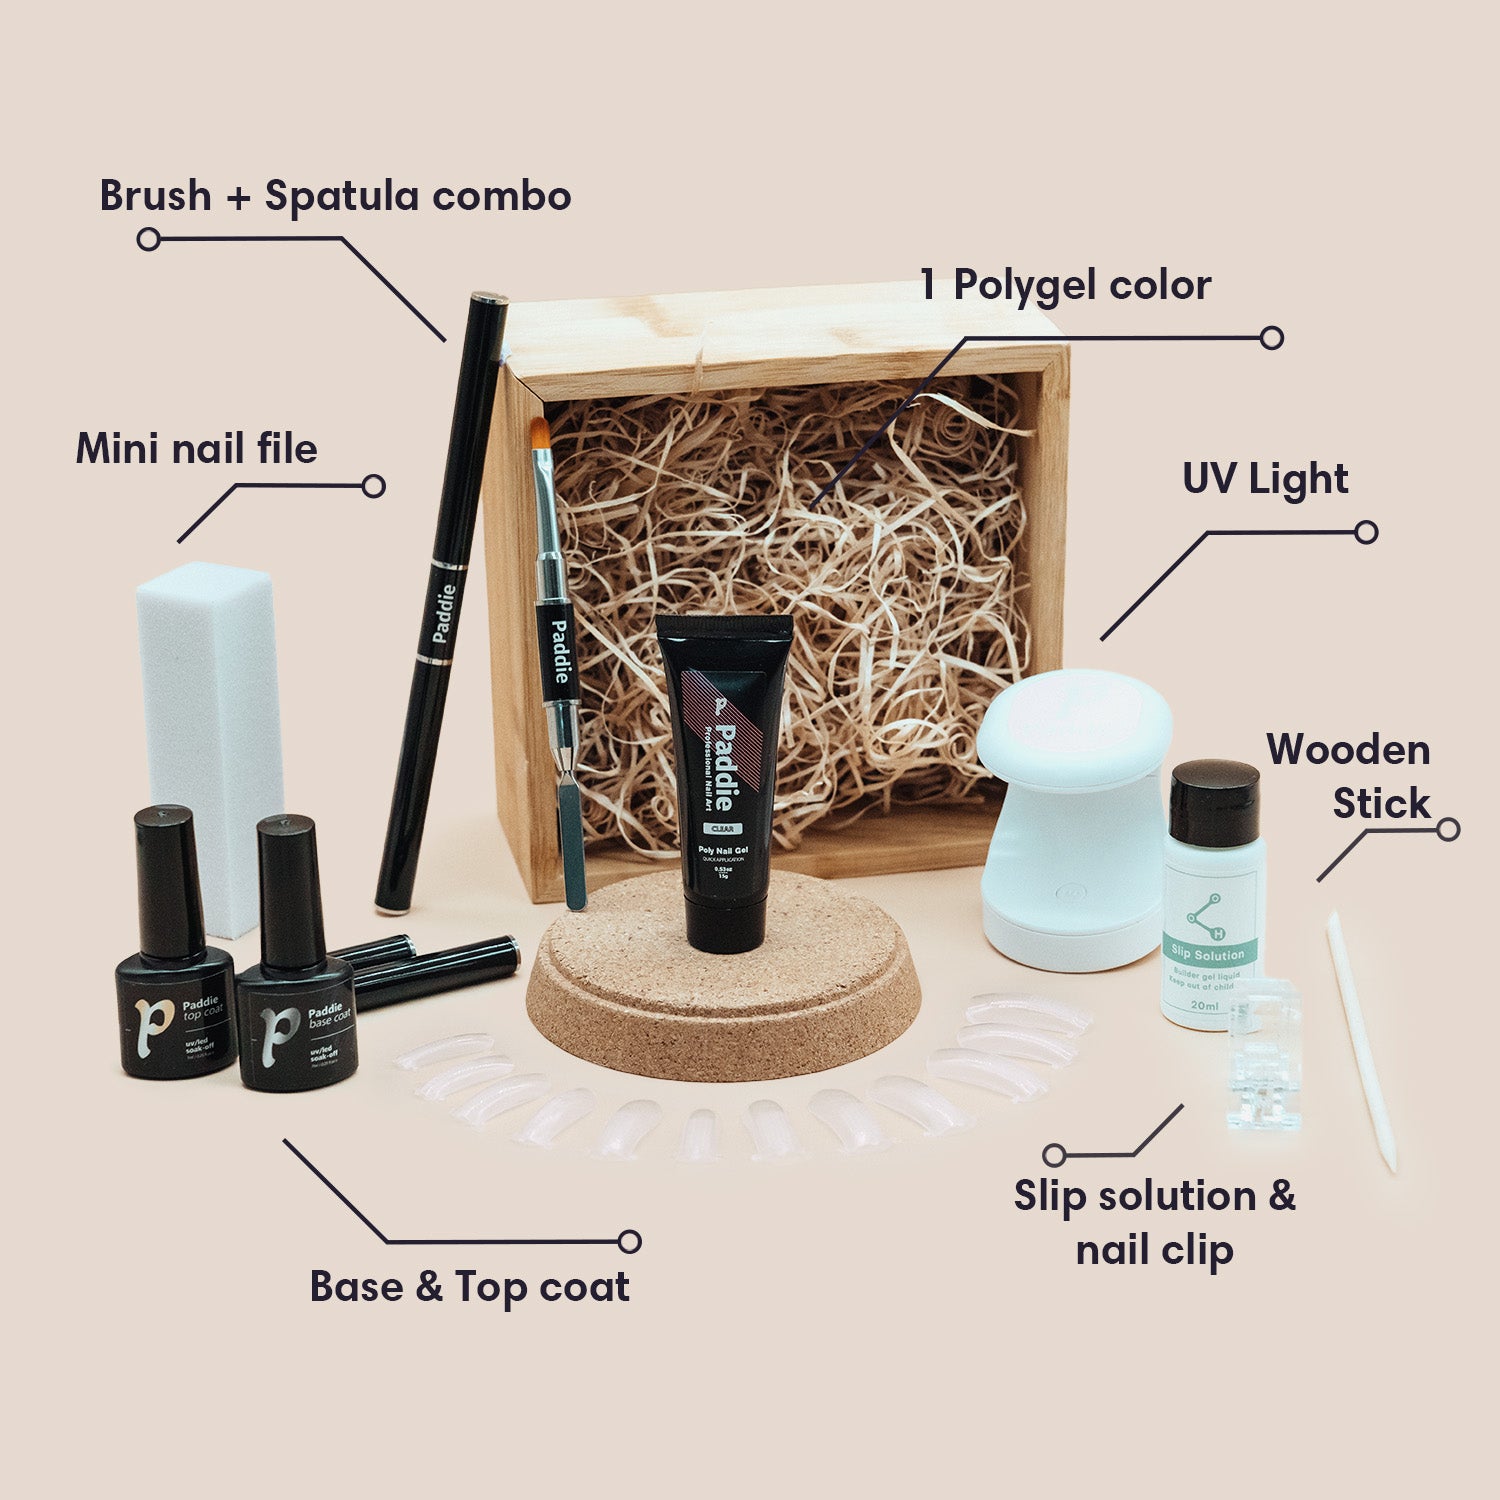
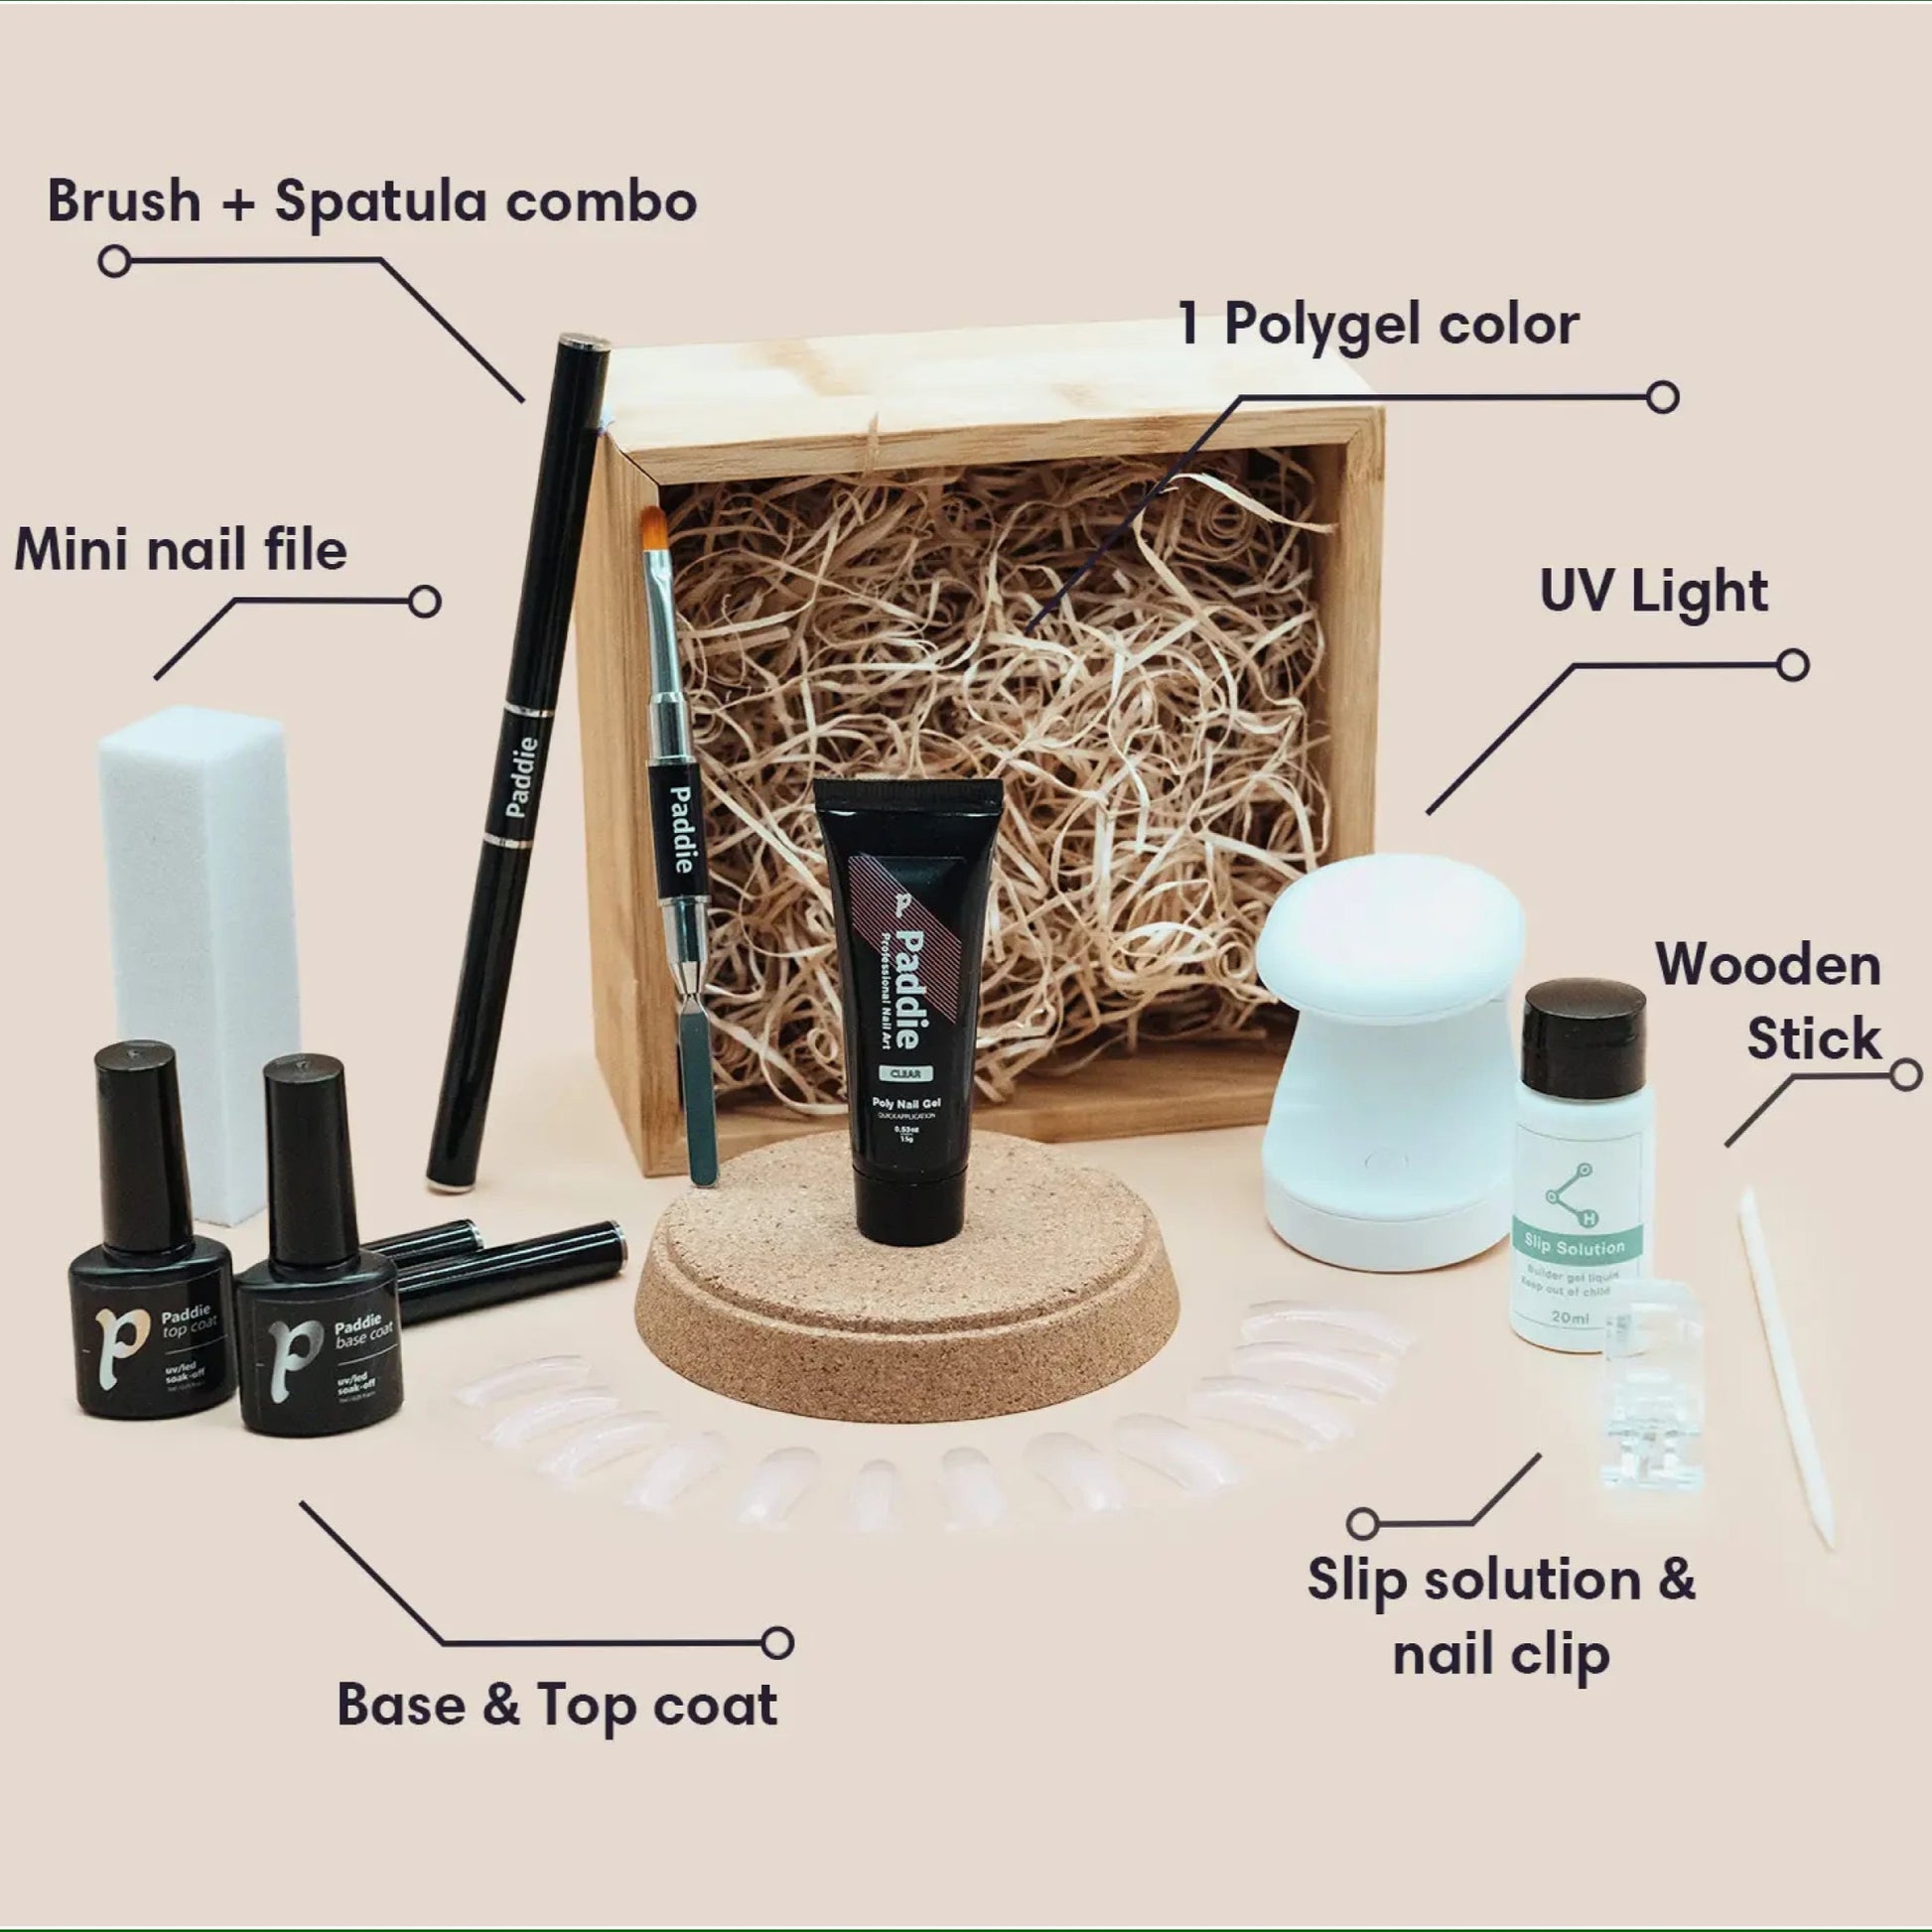
What's included?
-
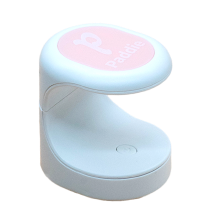
Free Gift: 1 UV Light
Cures and solidifies polygel for long-lasting results. An ultraviolet lamp, included as a free gift to cure and harden the applied polygel, ensuring a durable and polished finish.
-
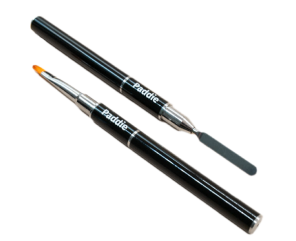
2 in 1 application tool
The 2 end tool is designed to help you scoop the polygel and apply it. Then use the other end, to brush it down and give your nail the desired shape before curing.
-
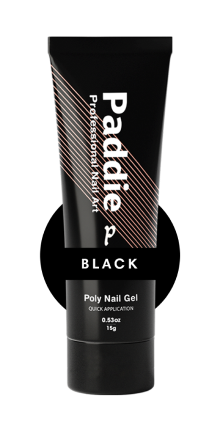
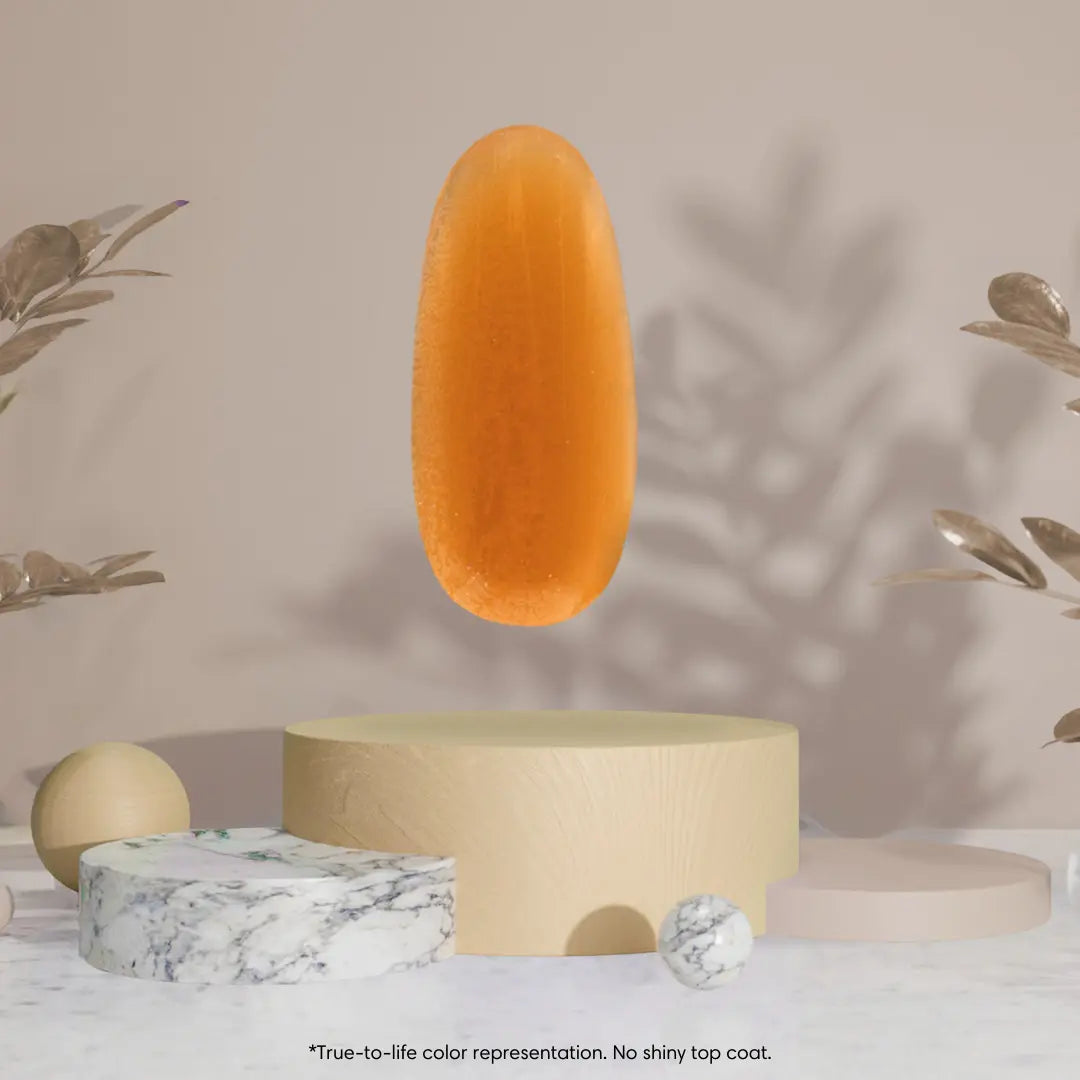
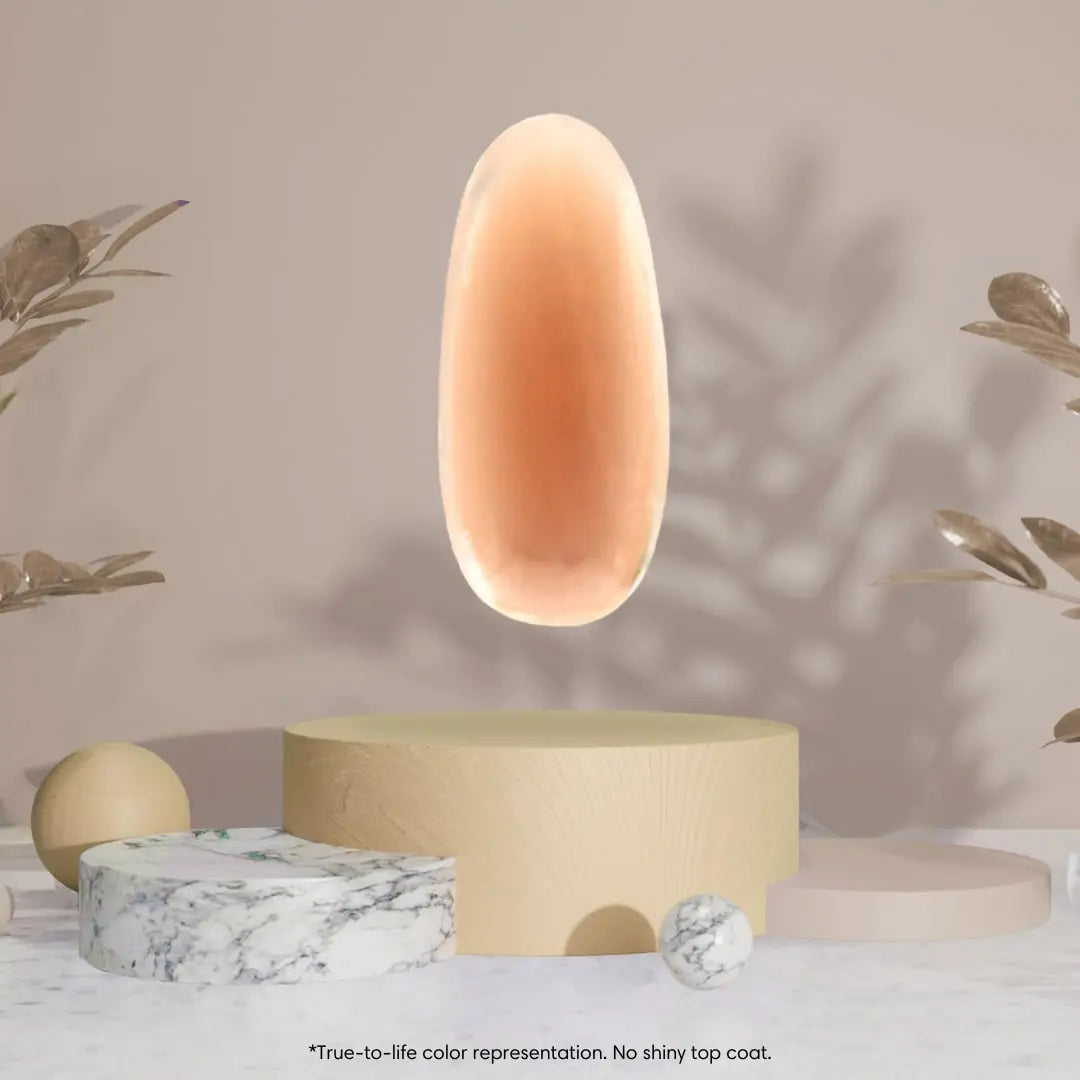
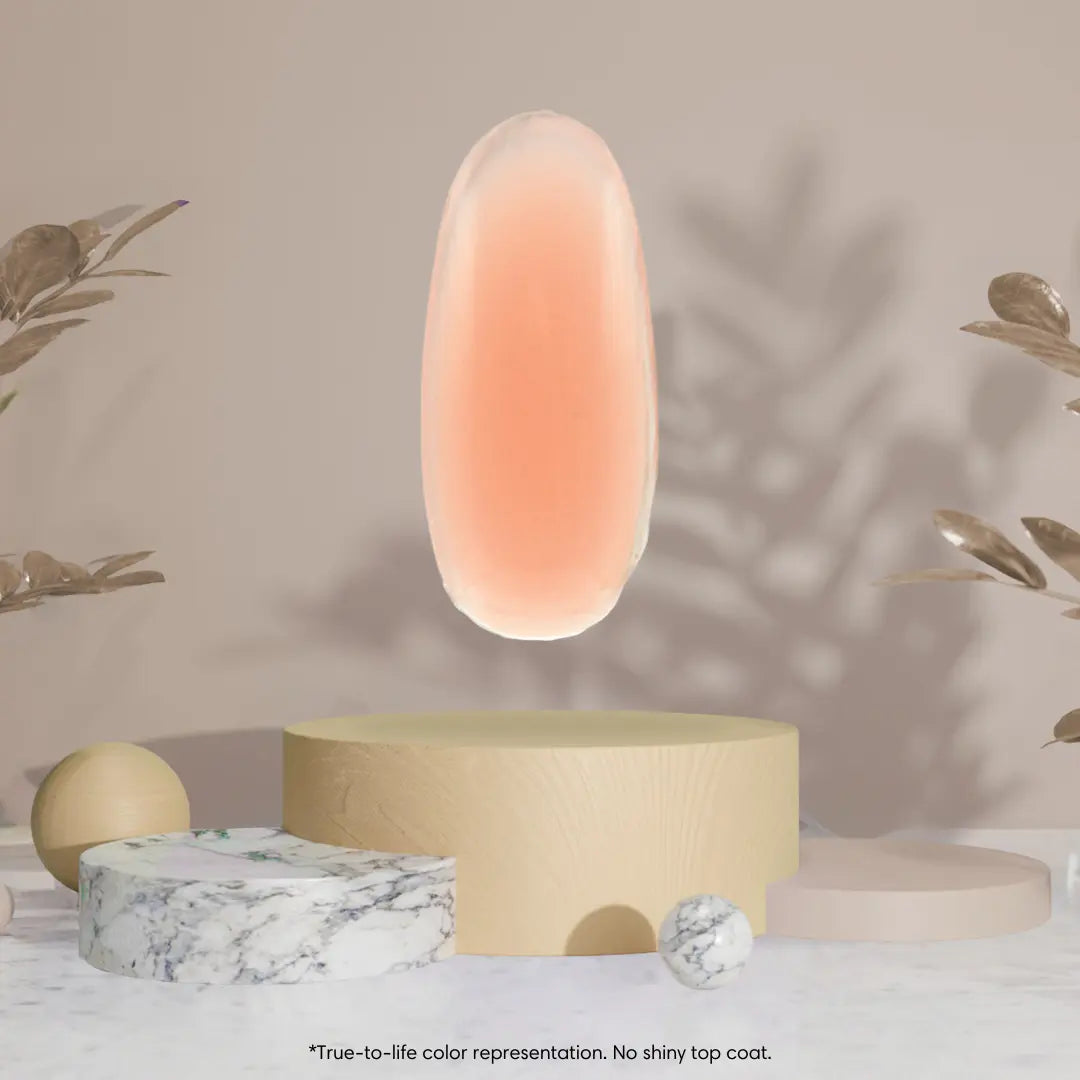
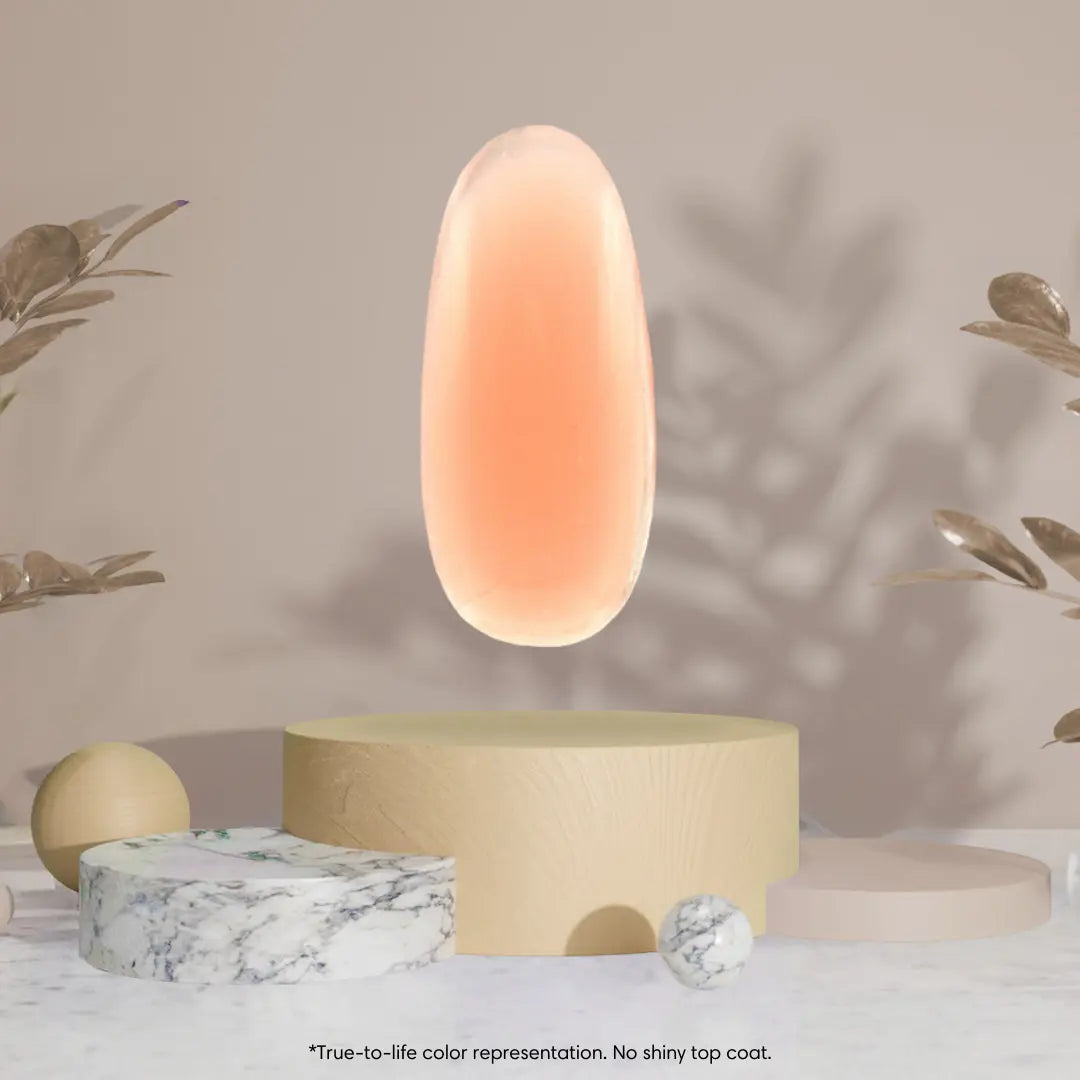
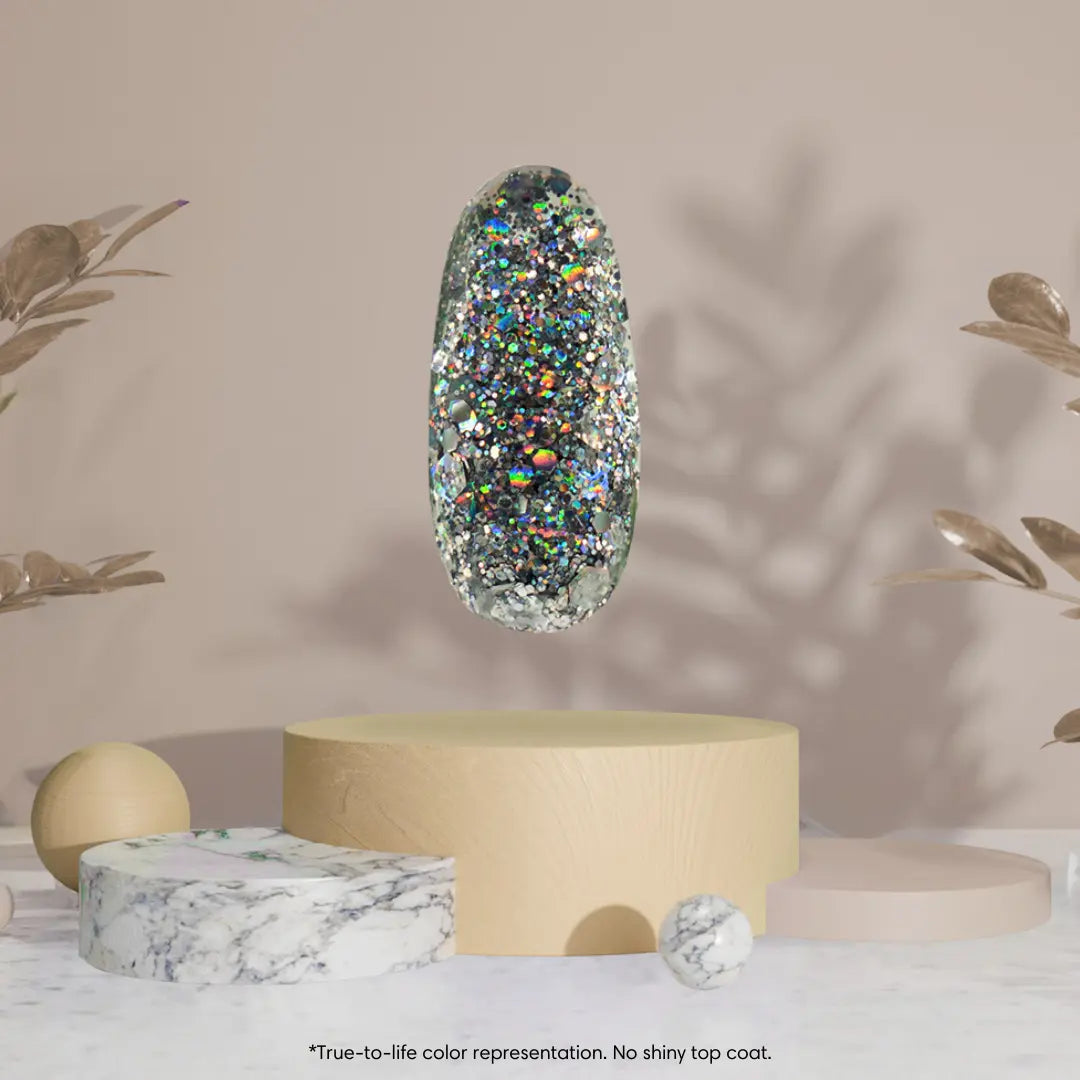
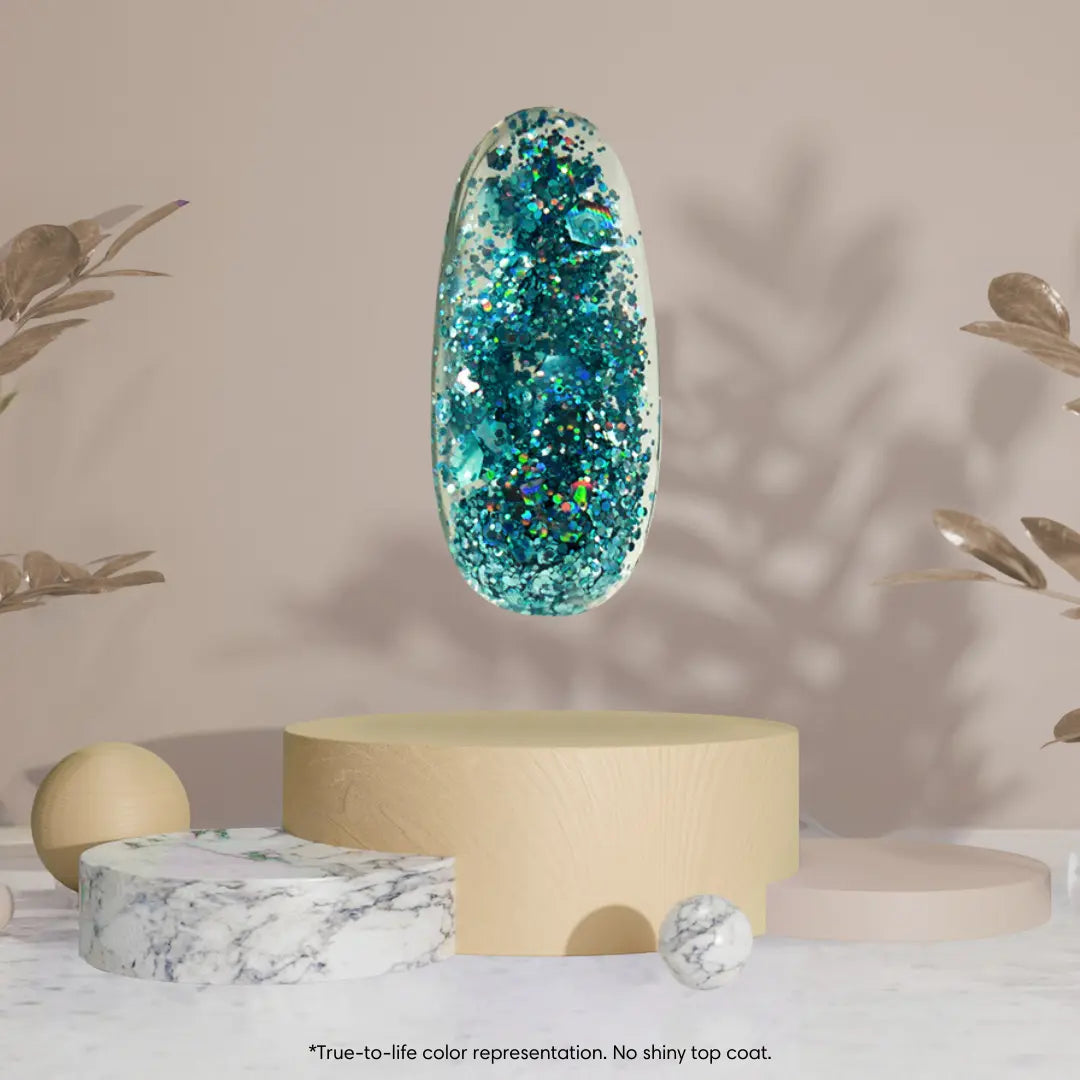
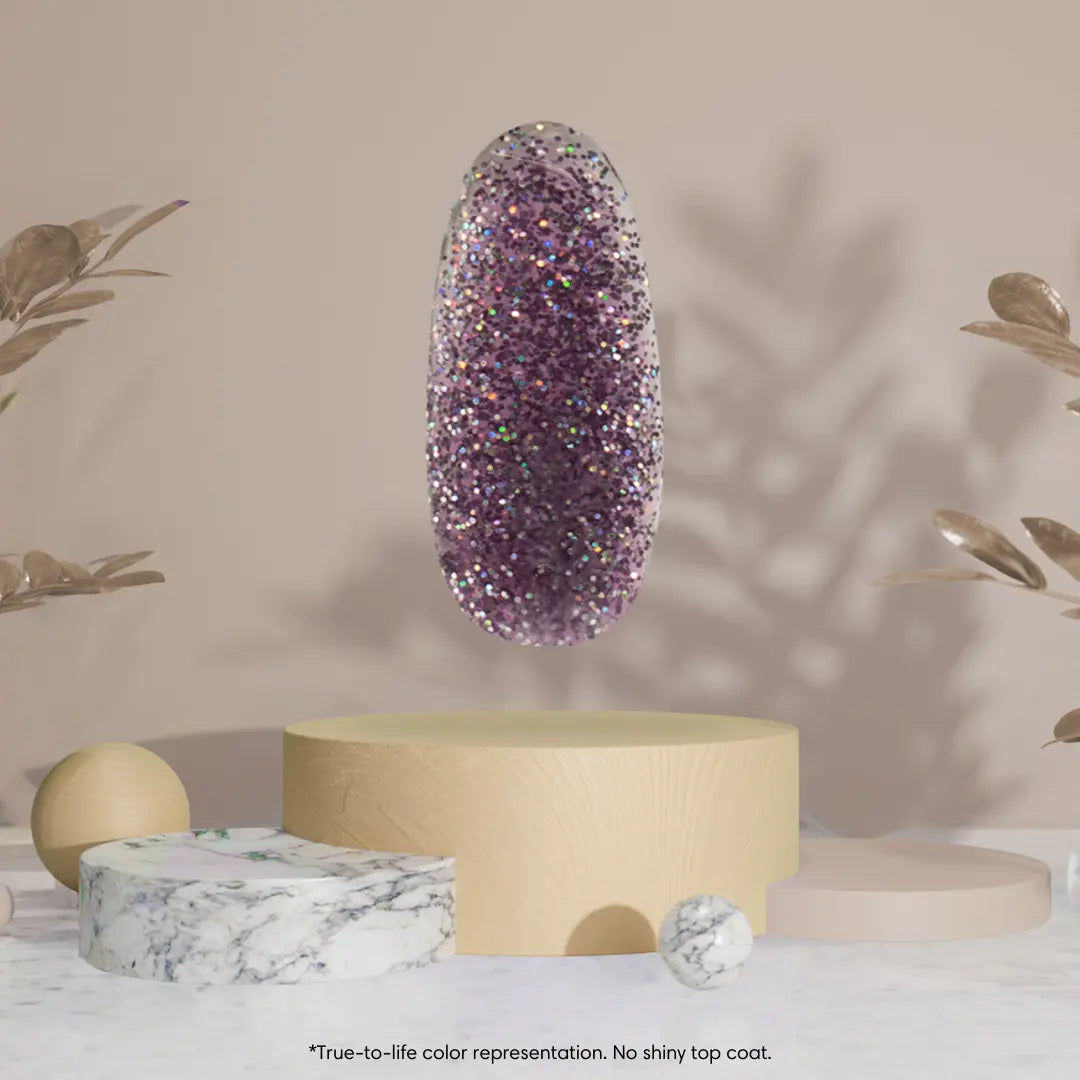
1 tube of quick set polygel (15g / 0.5 oz)
Quick-setting formula for efficient nail extension application. Designed for creating and sculpting nail extensions with ease.
-
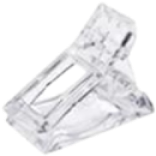
1 nail clip
Securely holds nail tips in place during application. Designed to hold the nail tip steady while working on the perfect shape with the included brush.
-
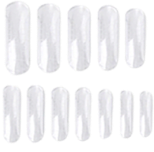
20 nail tips in various different sizes
Variety of sizes for different nail shapes and lengths. Made from durable ABS plastic, providing a base for applying the polygel and creating customized nail extensions.


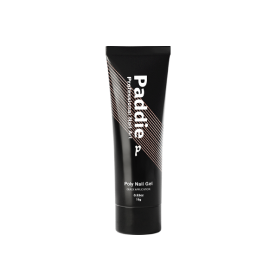 Paddie
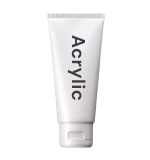 Acrylic
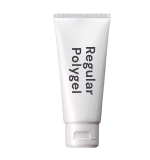 Regular gel


Polygel Starter Kit.
Polygel Starter Kit.
Couldn't load pickup availability