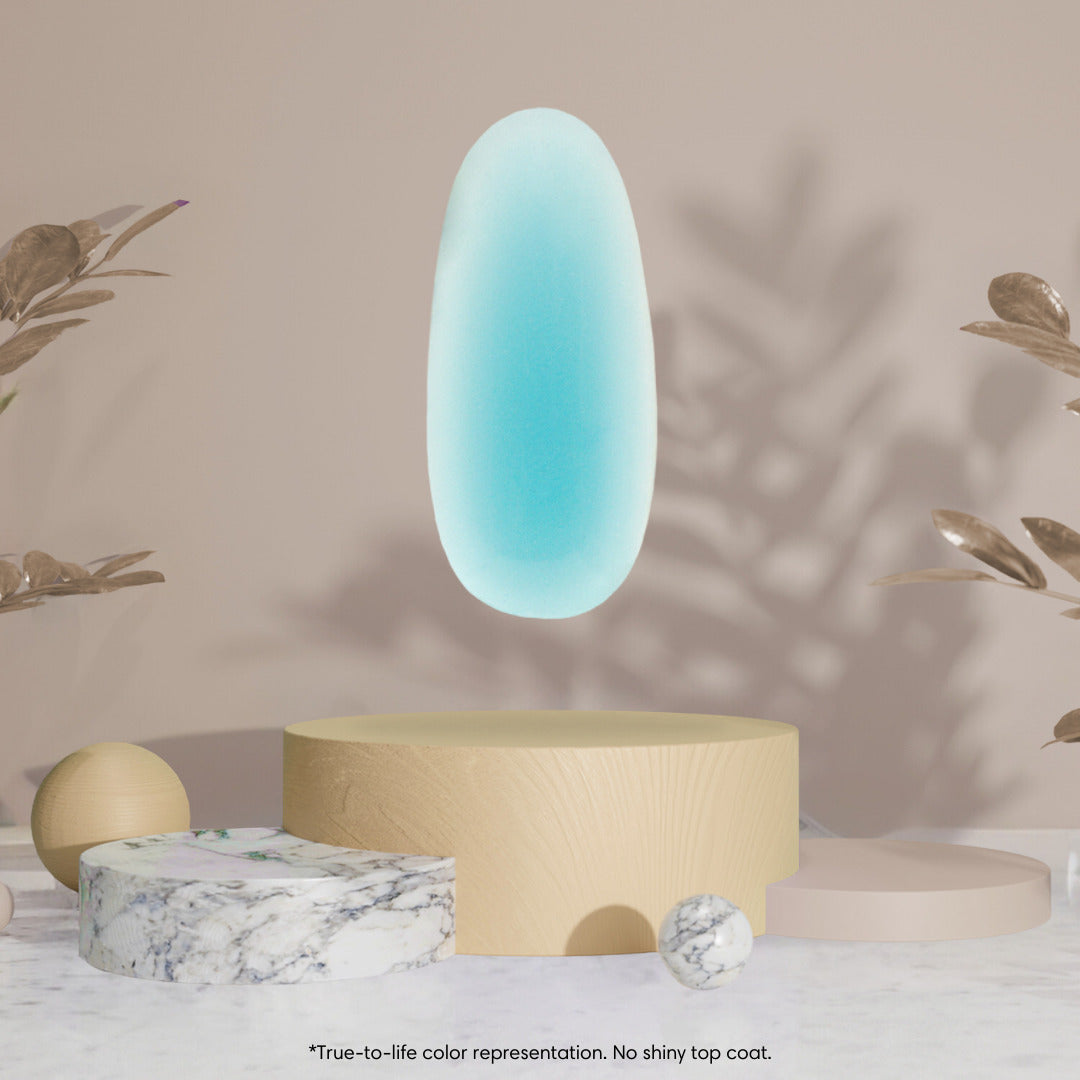
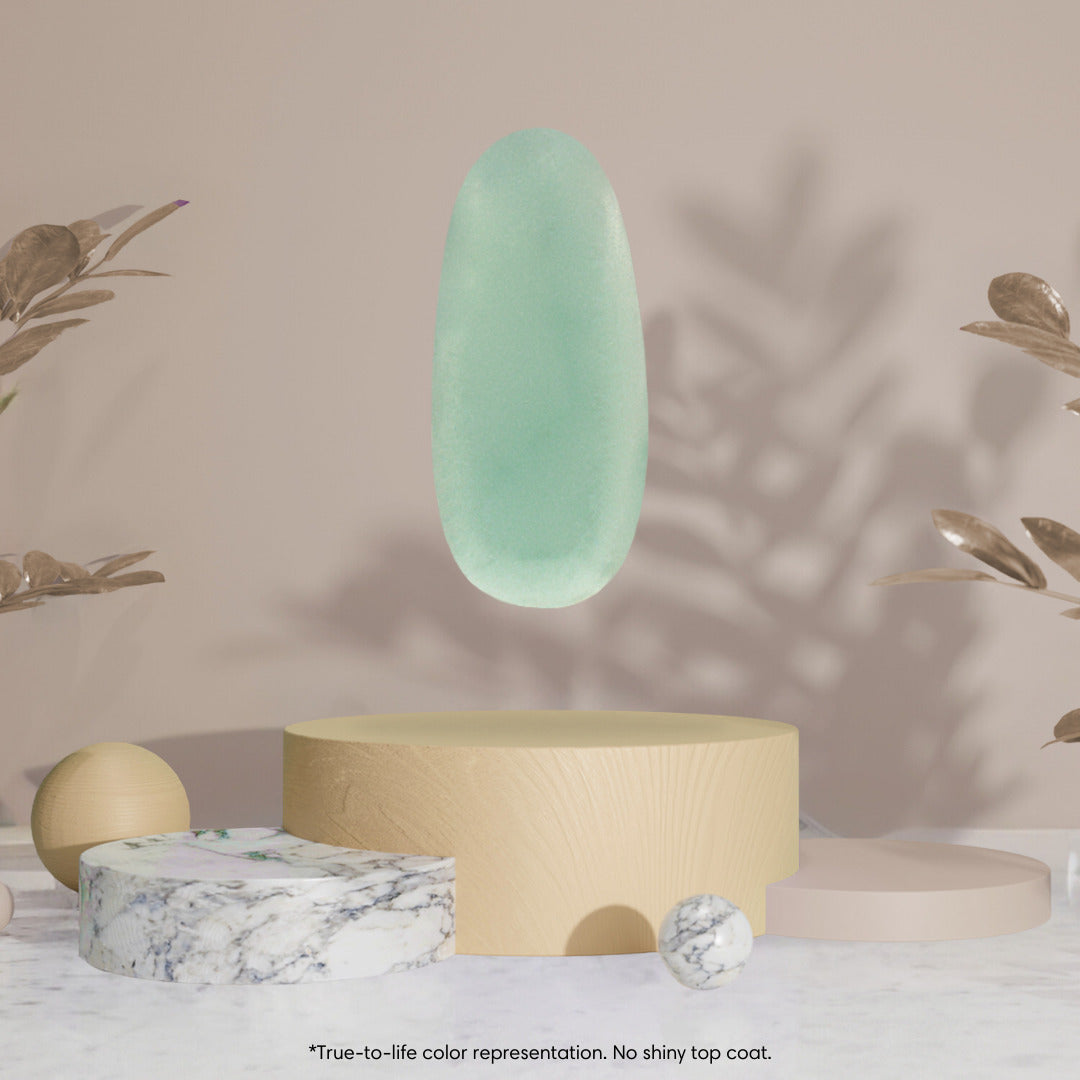
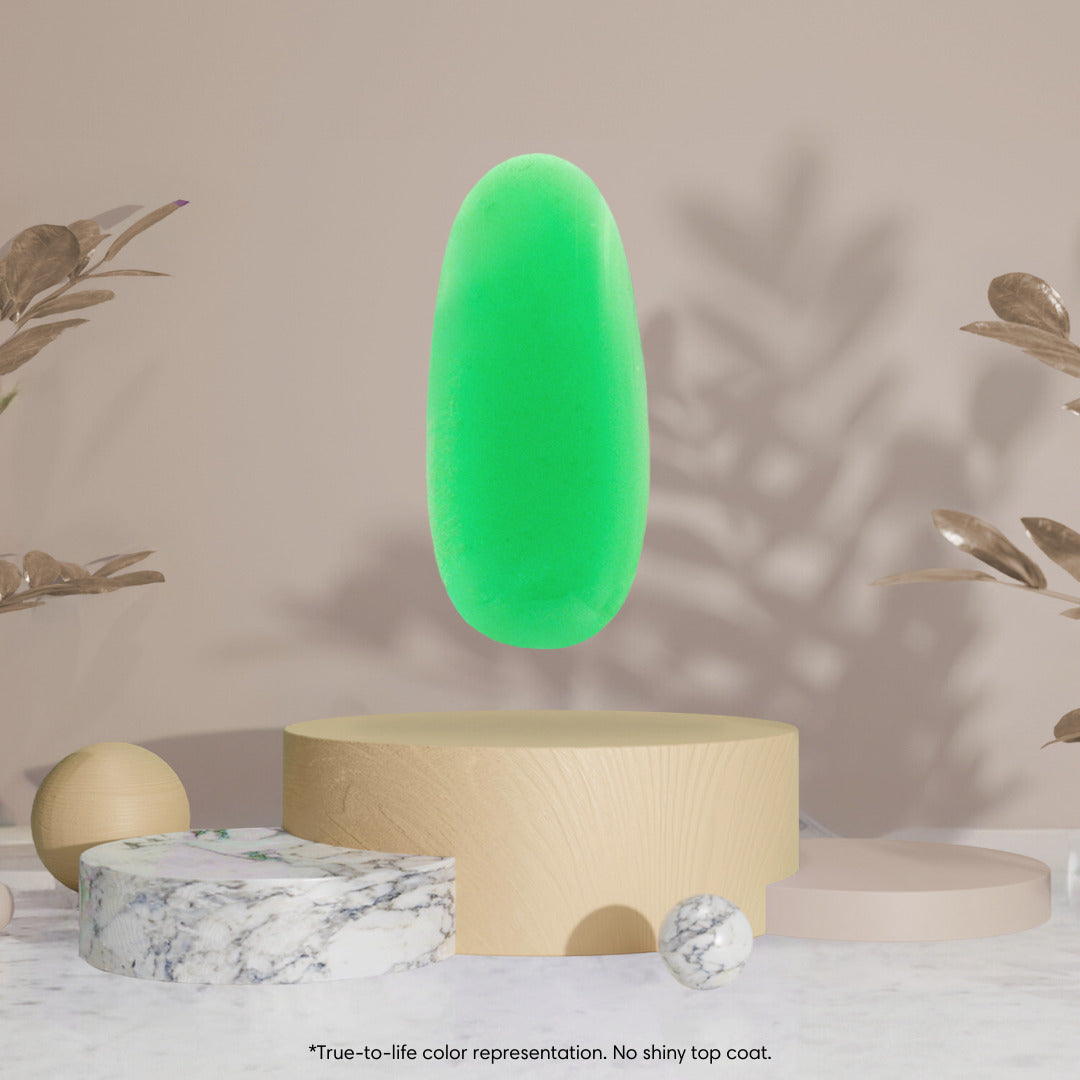
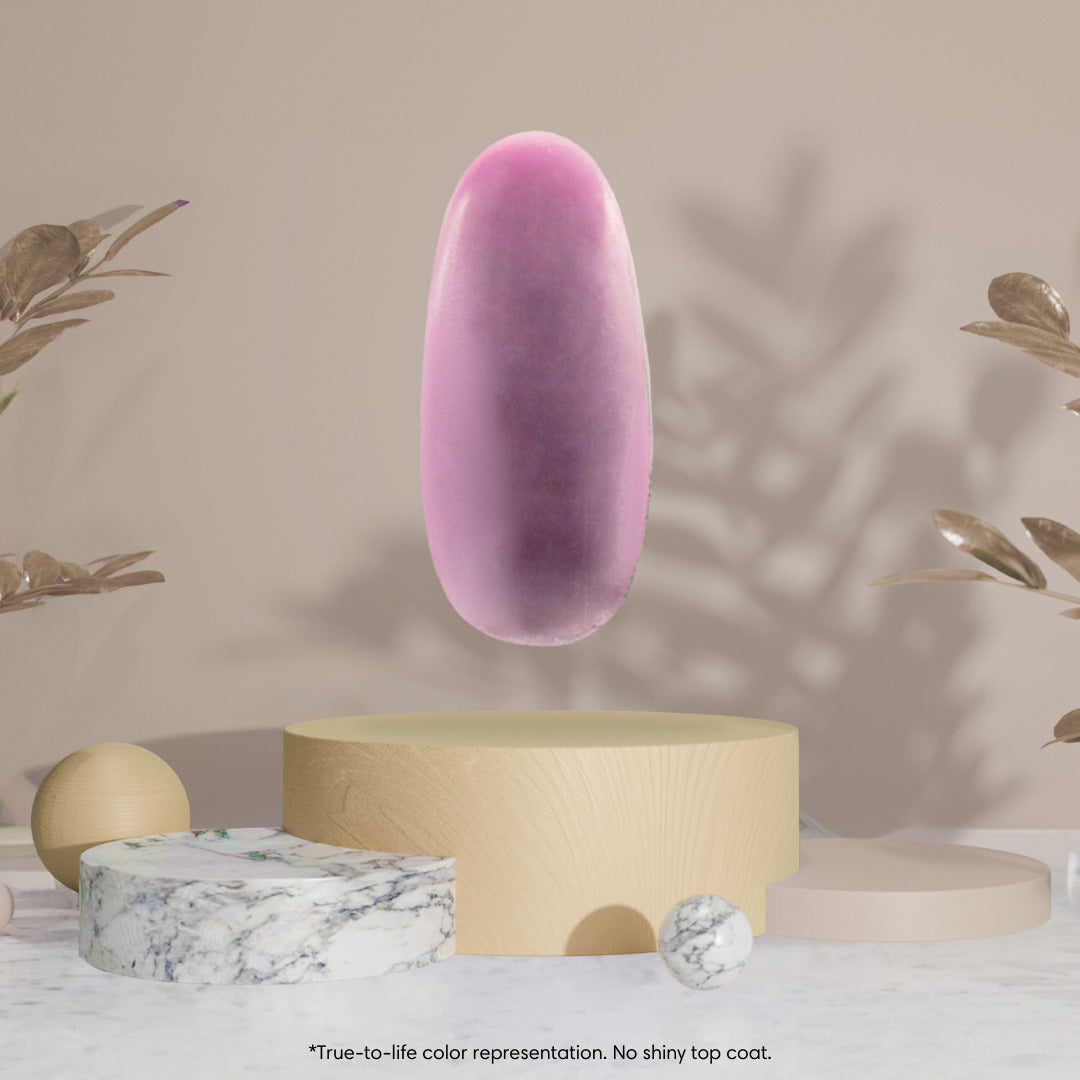
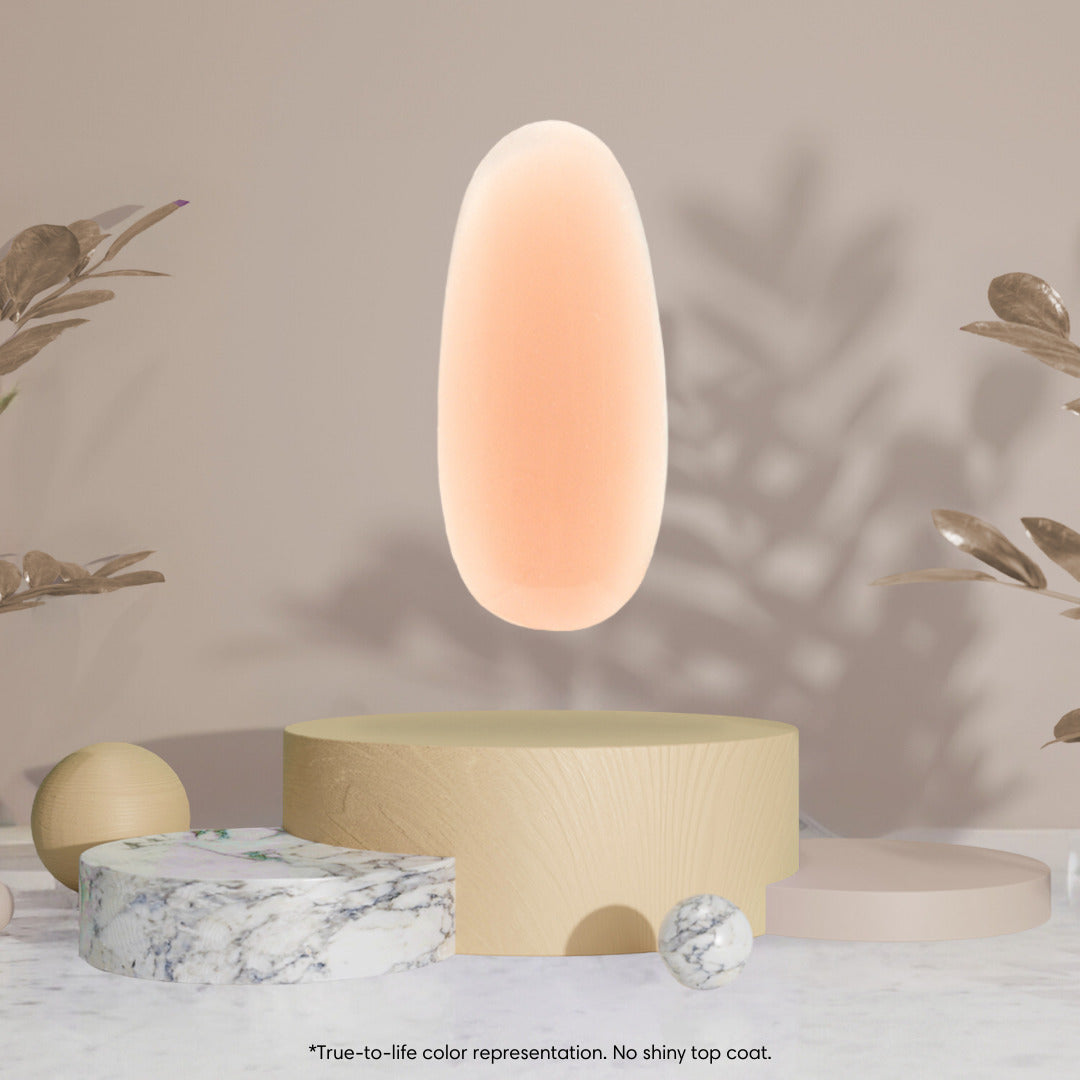
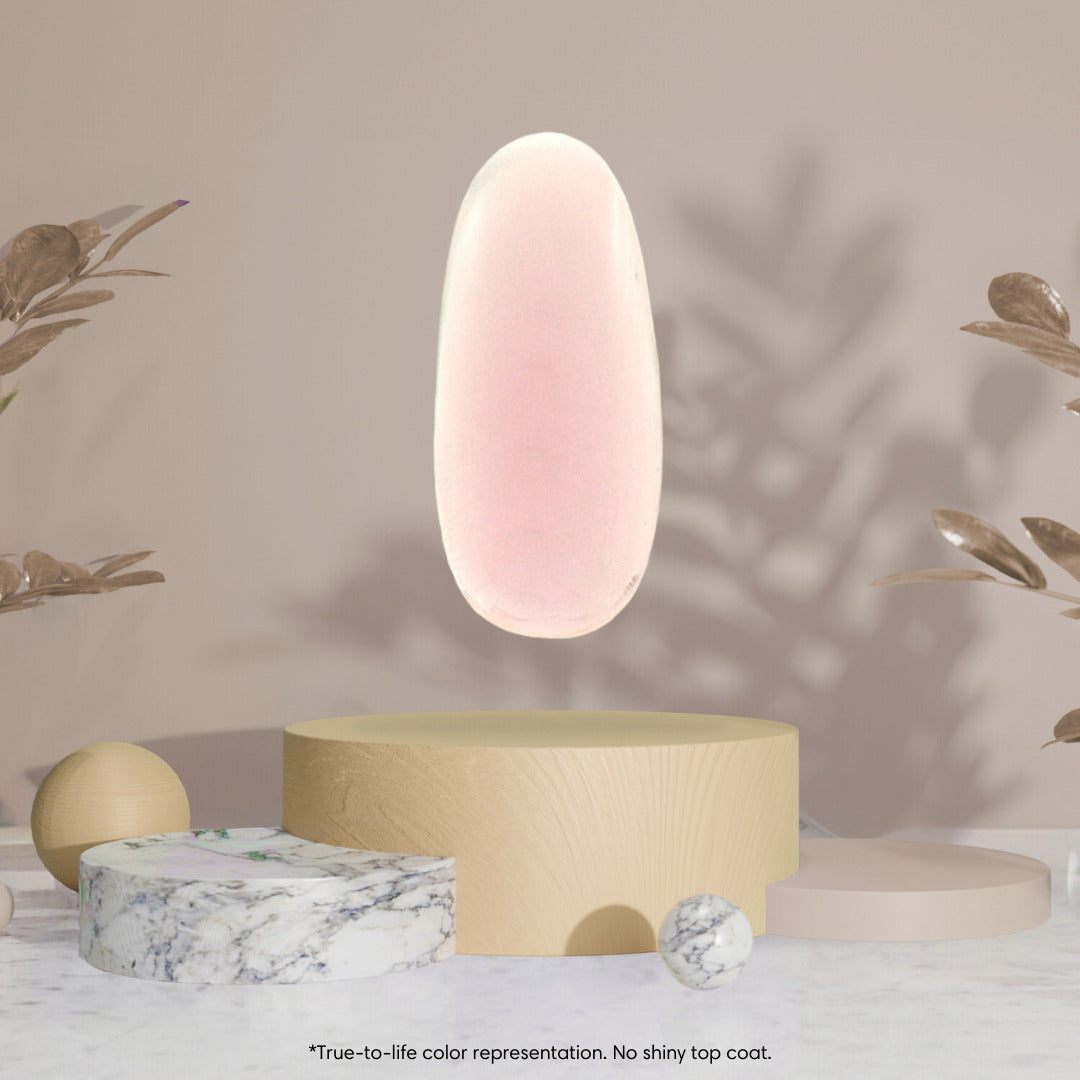
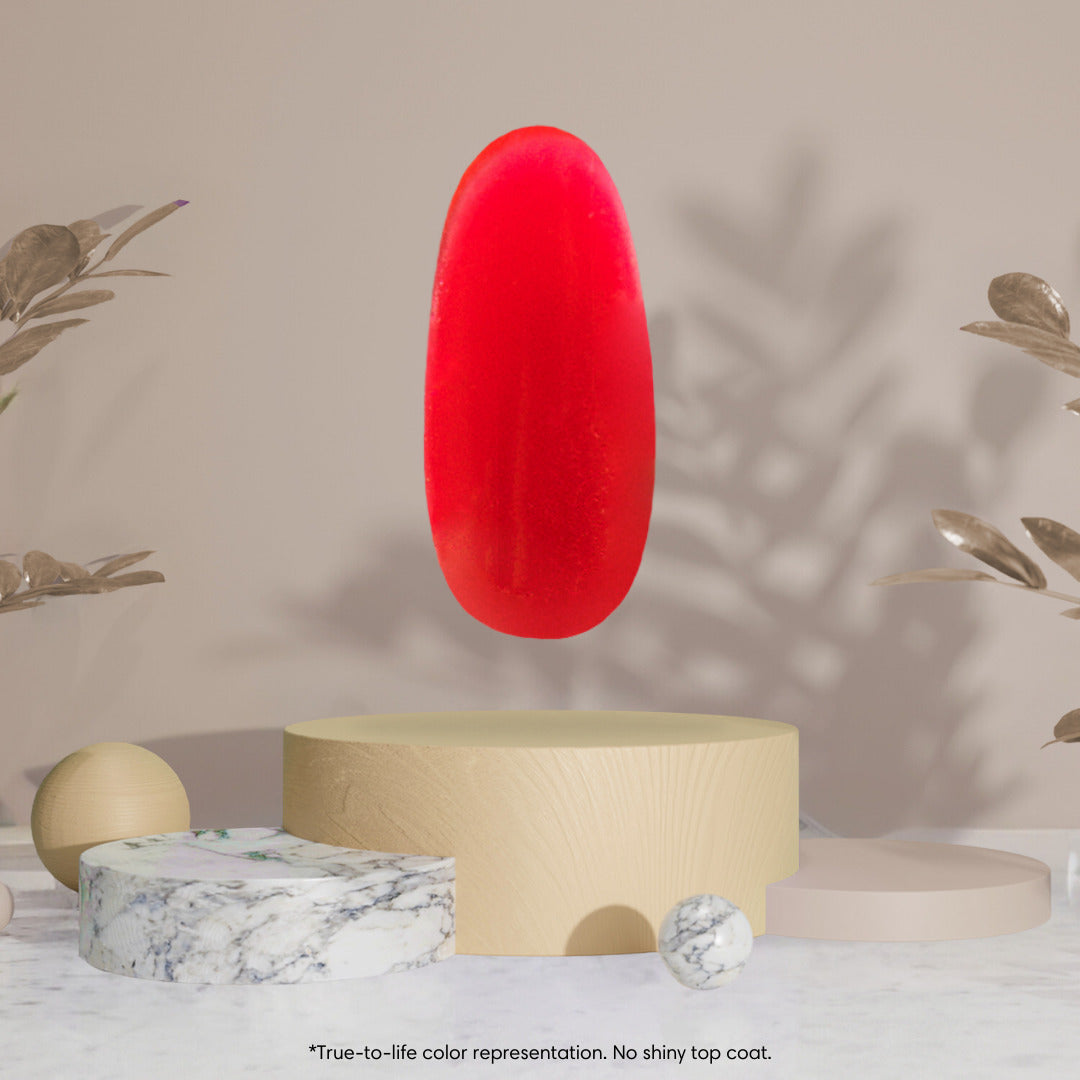
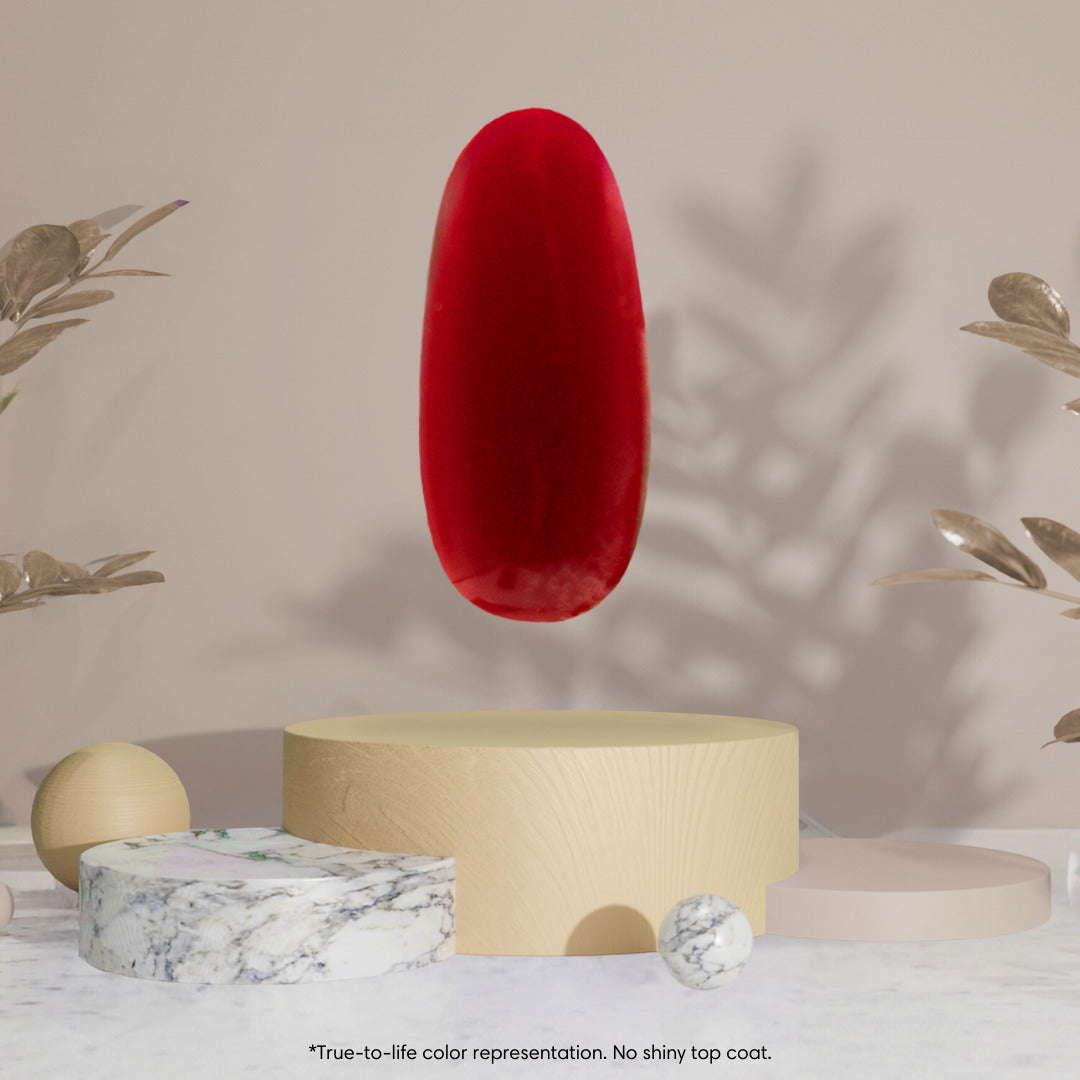
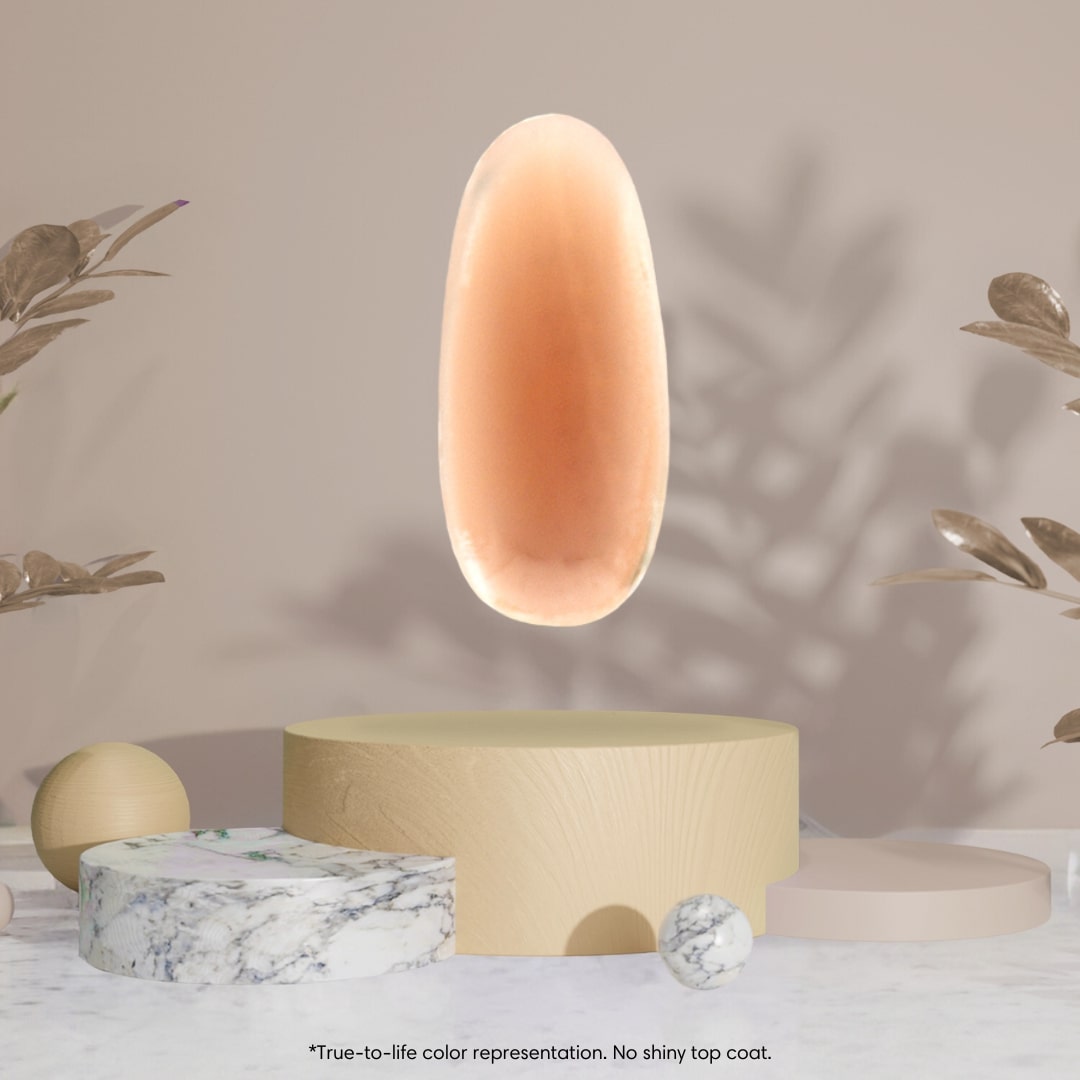
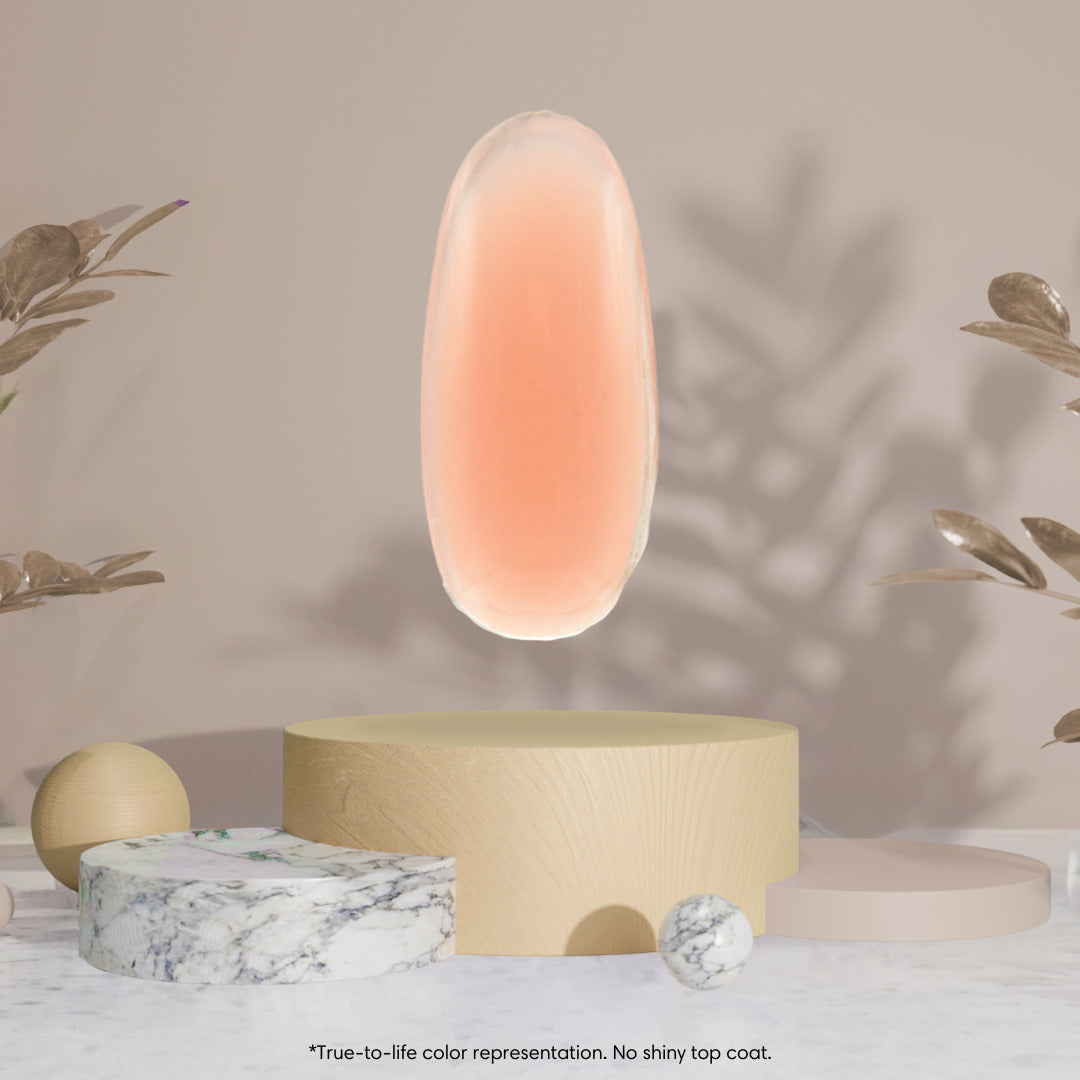
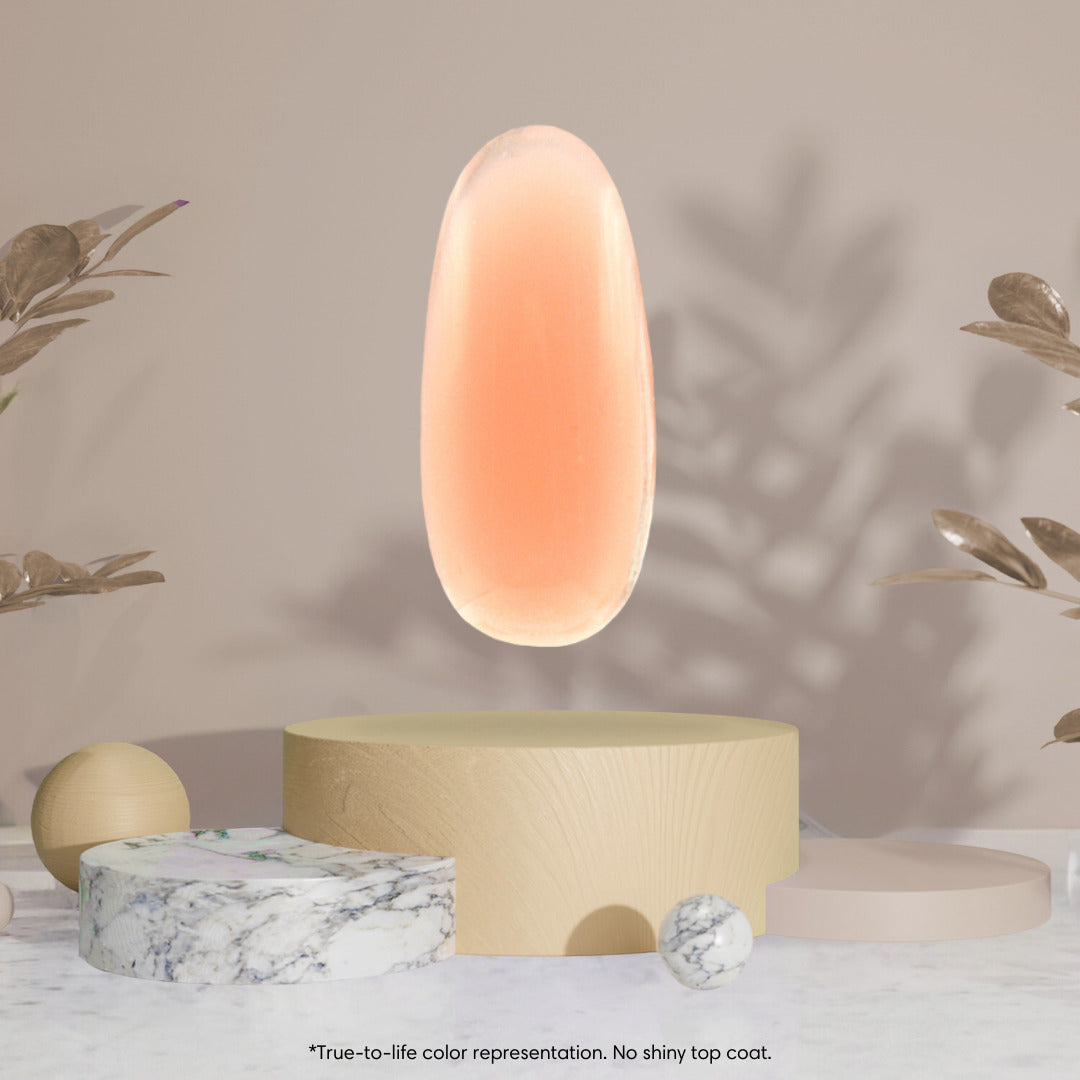
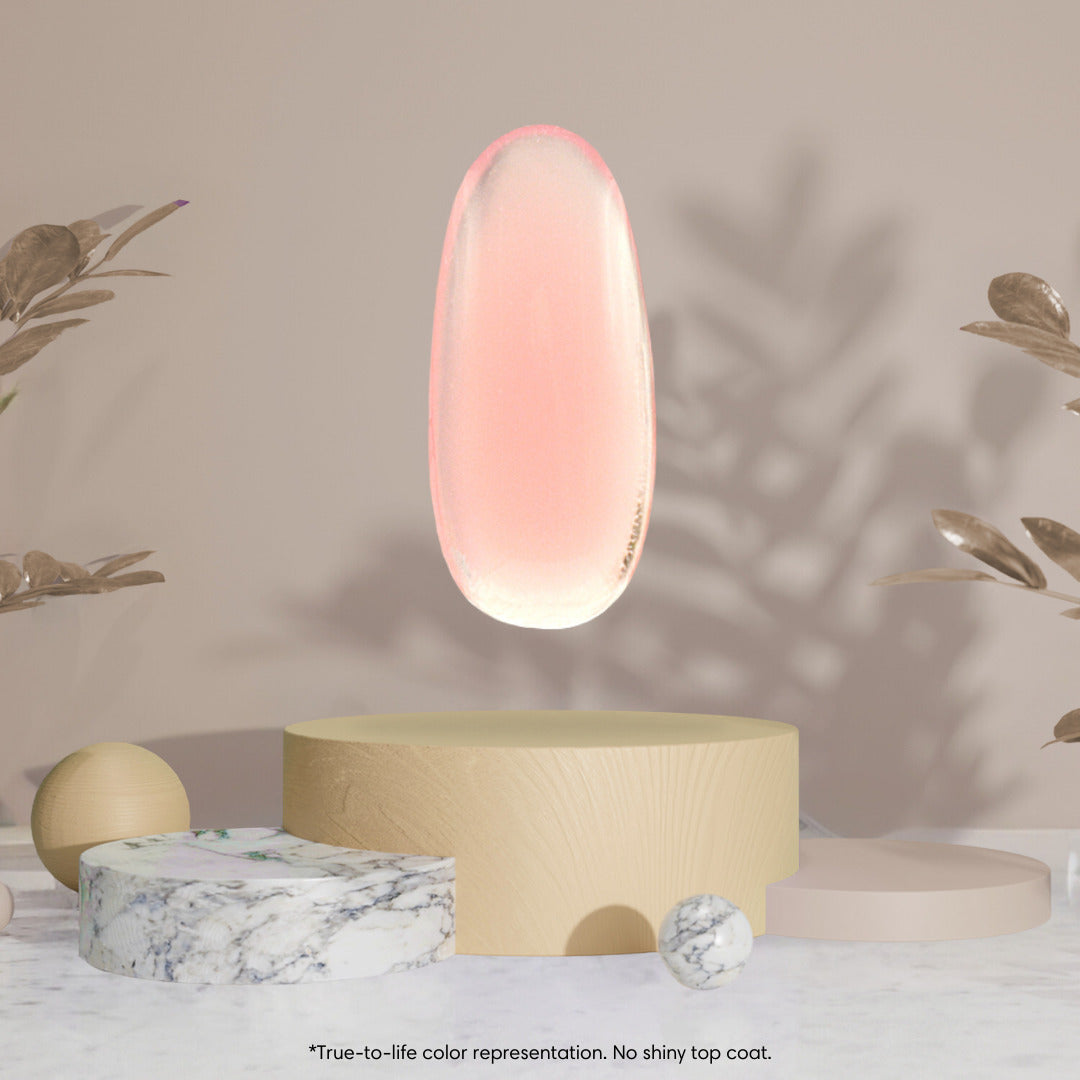
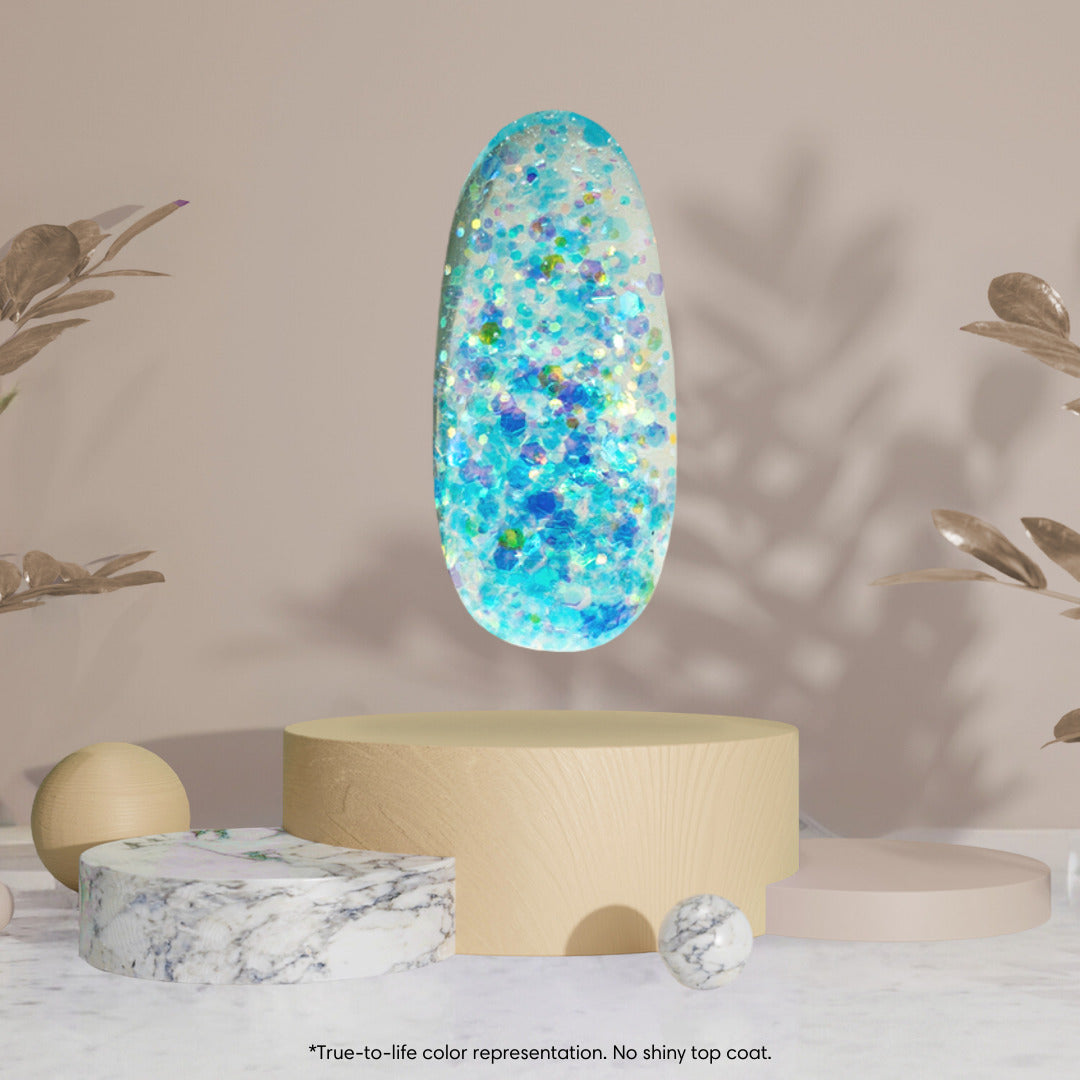
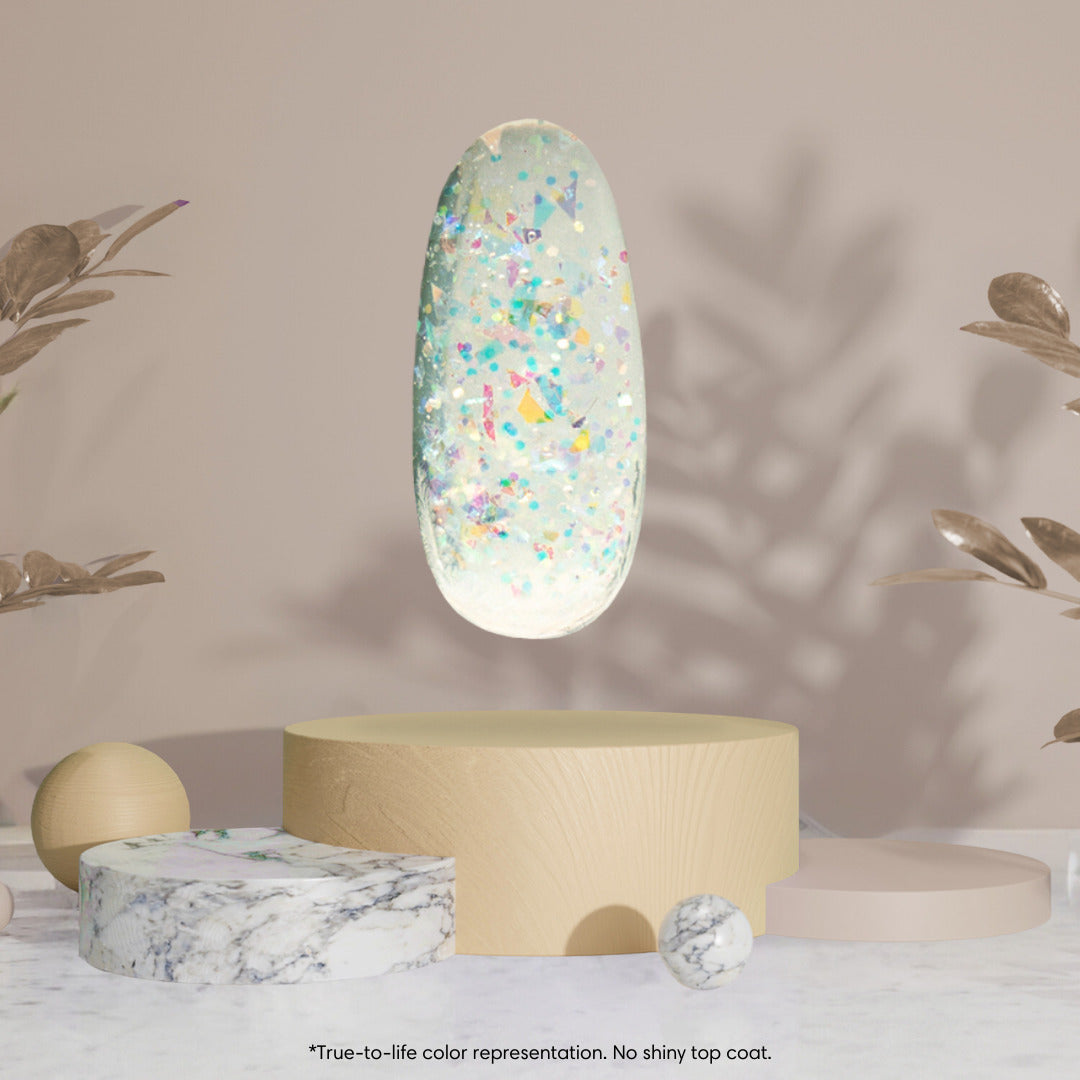
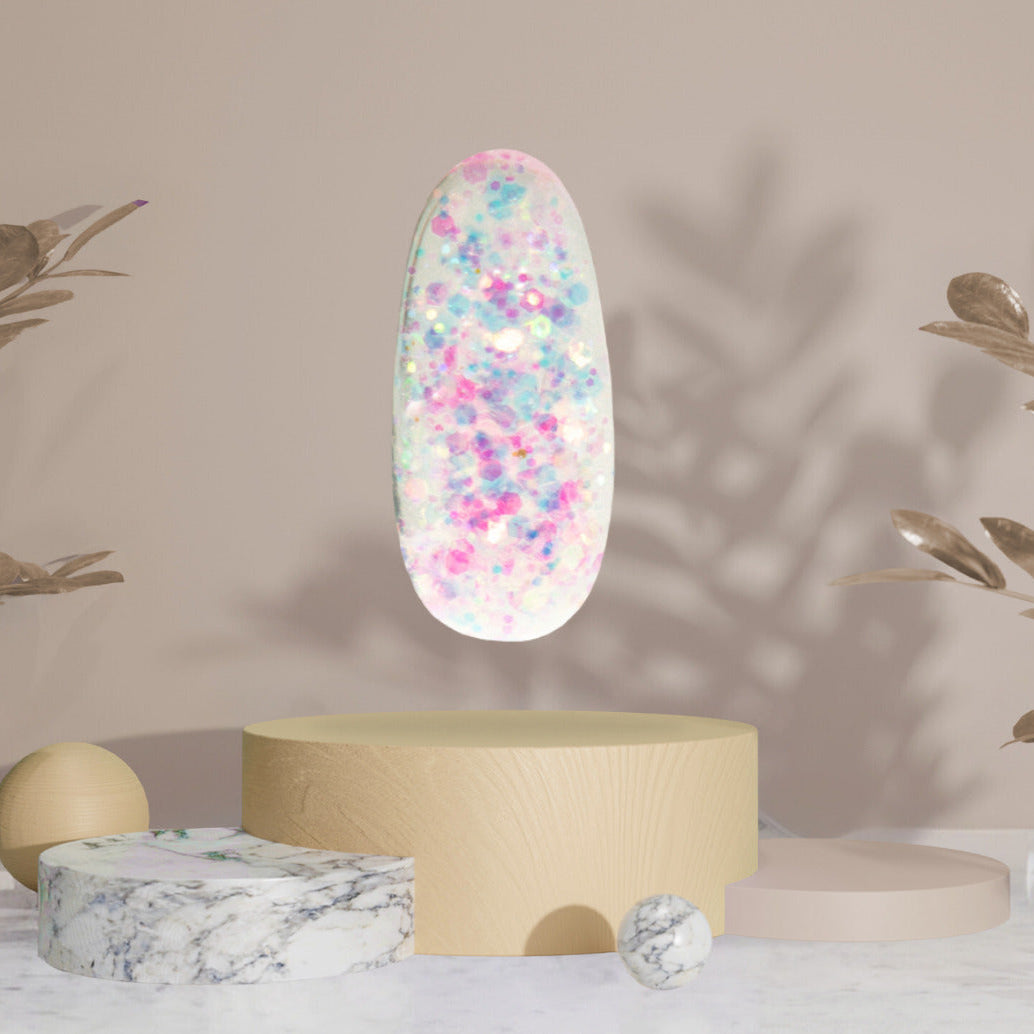
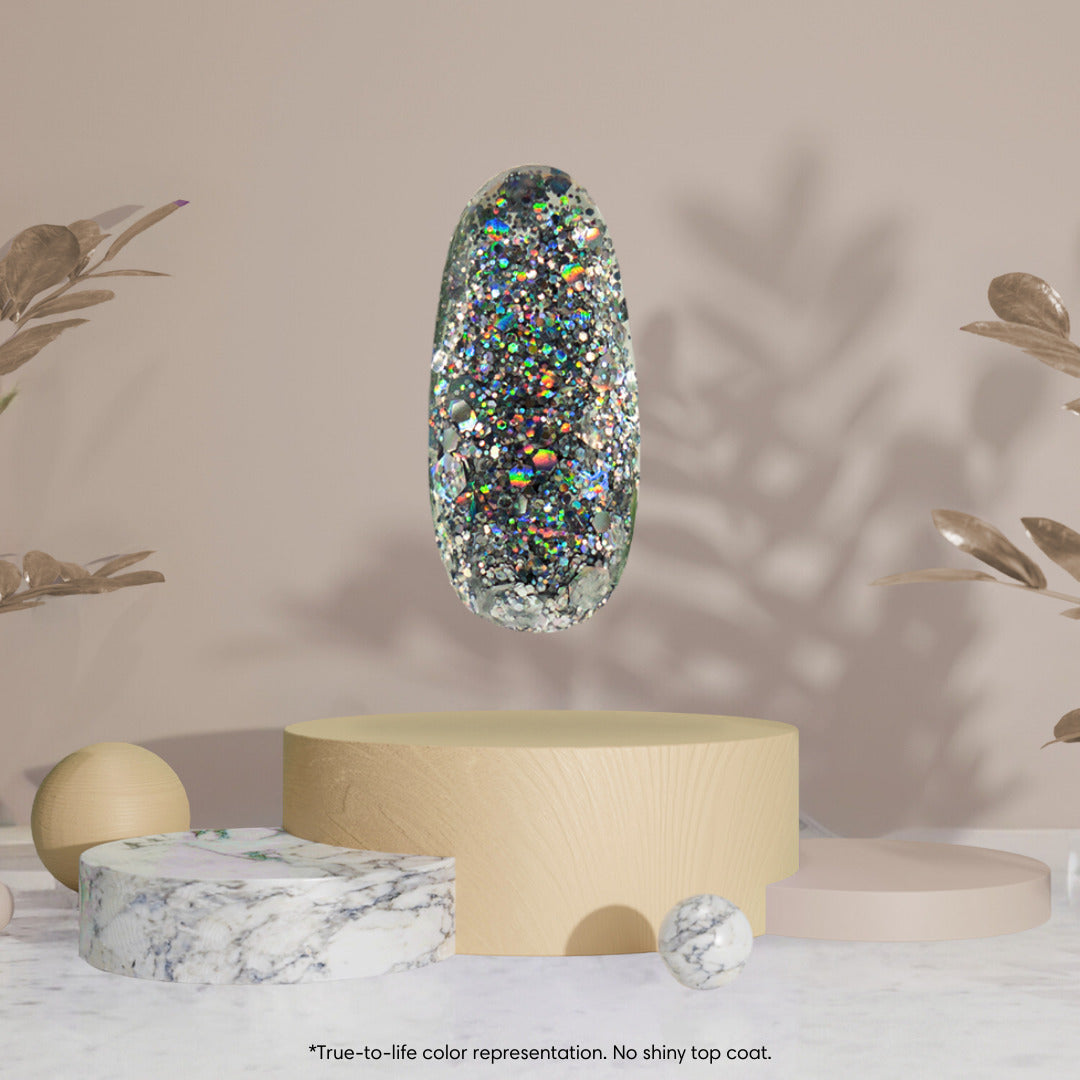
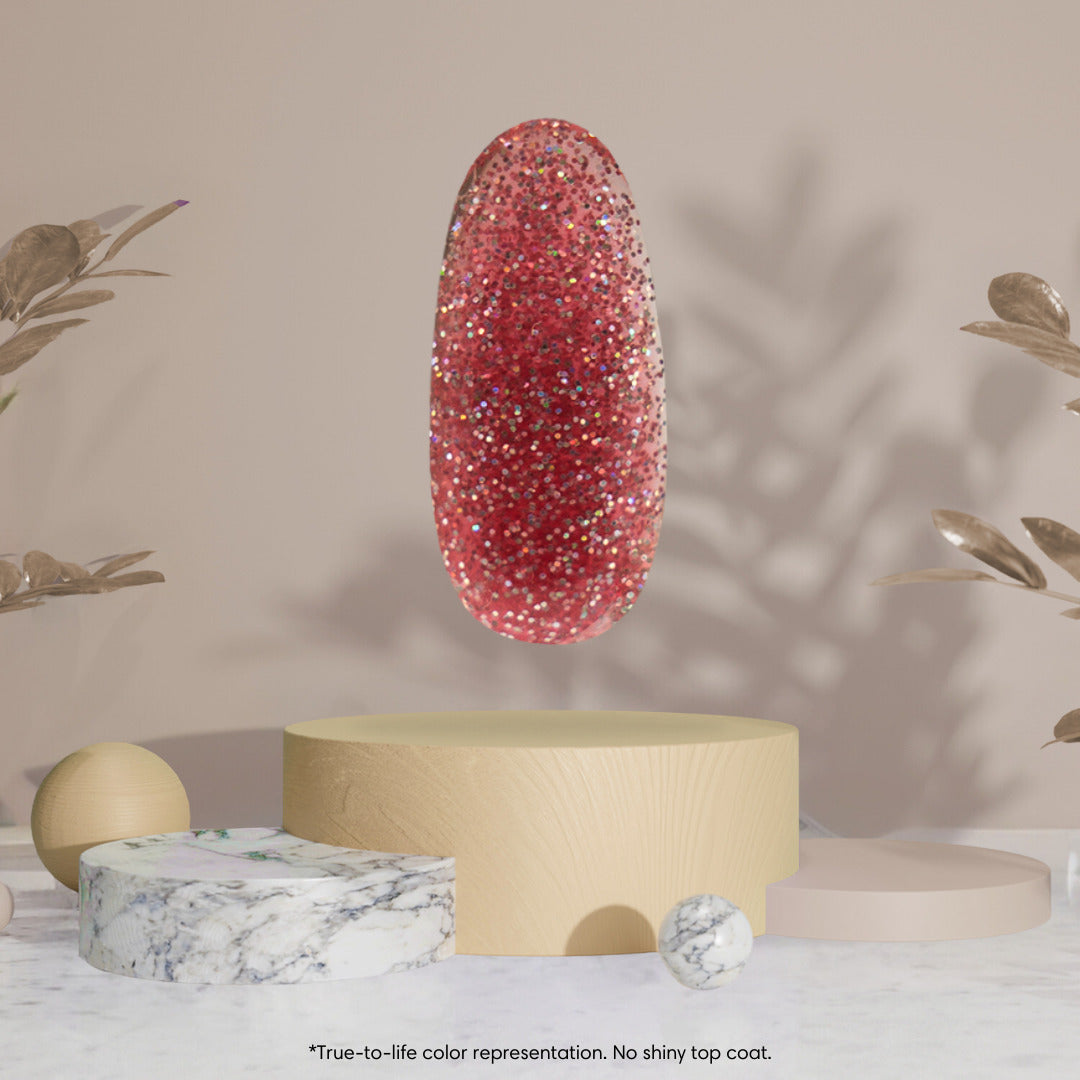
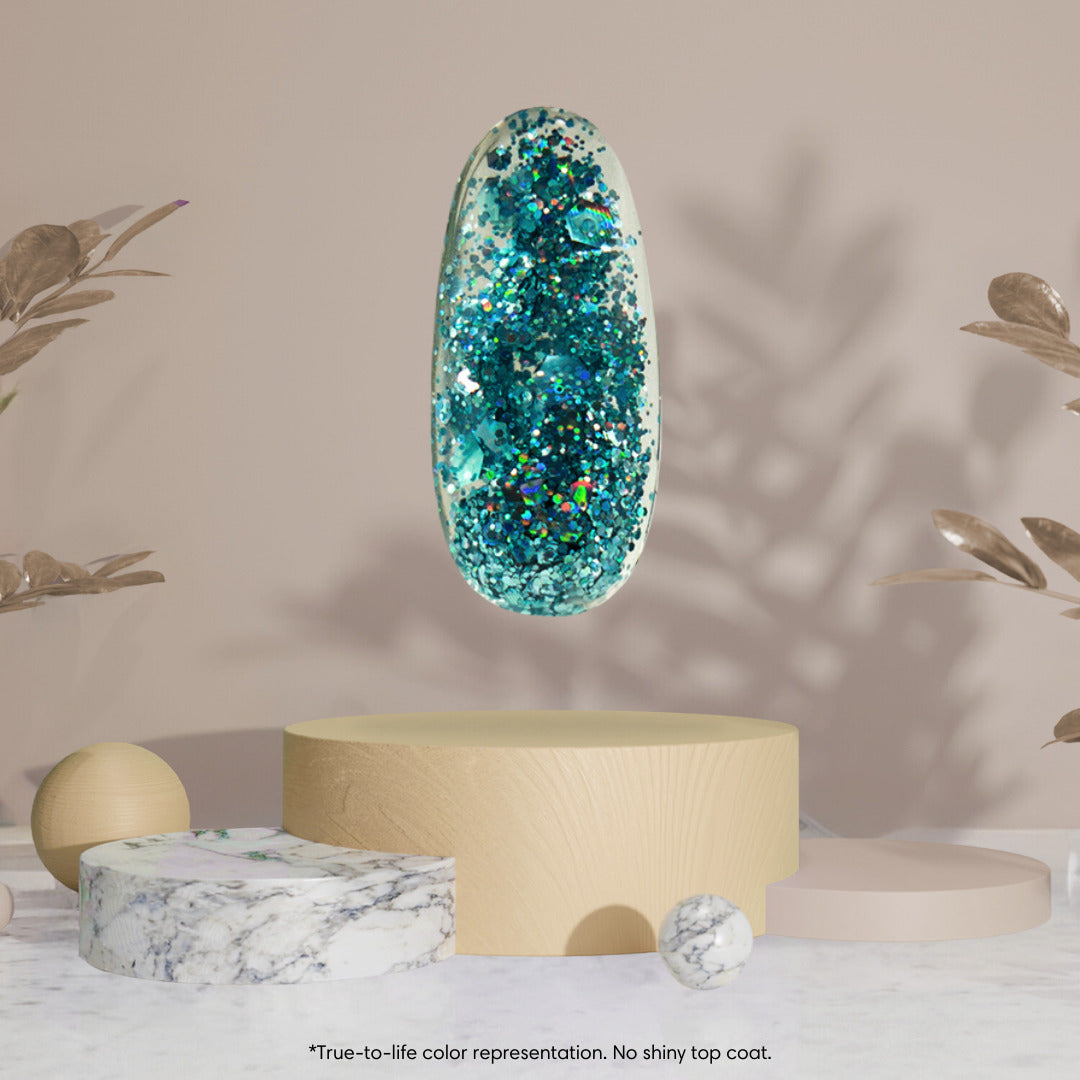
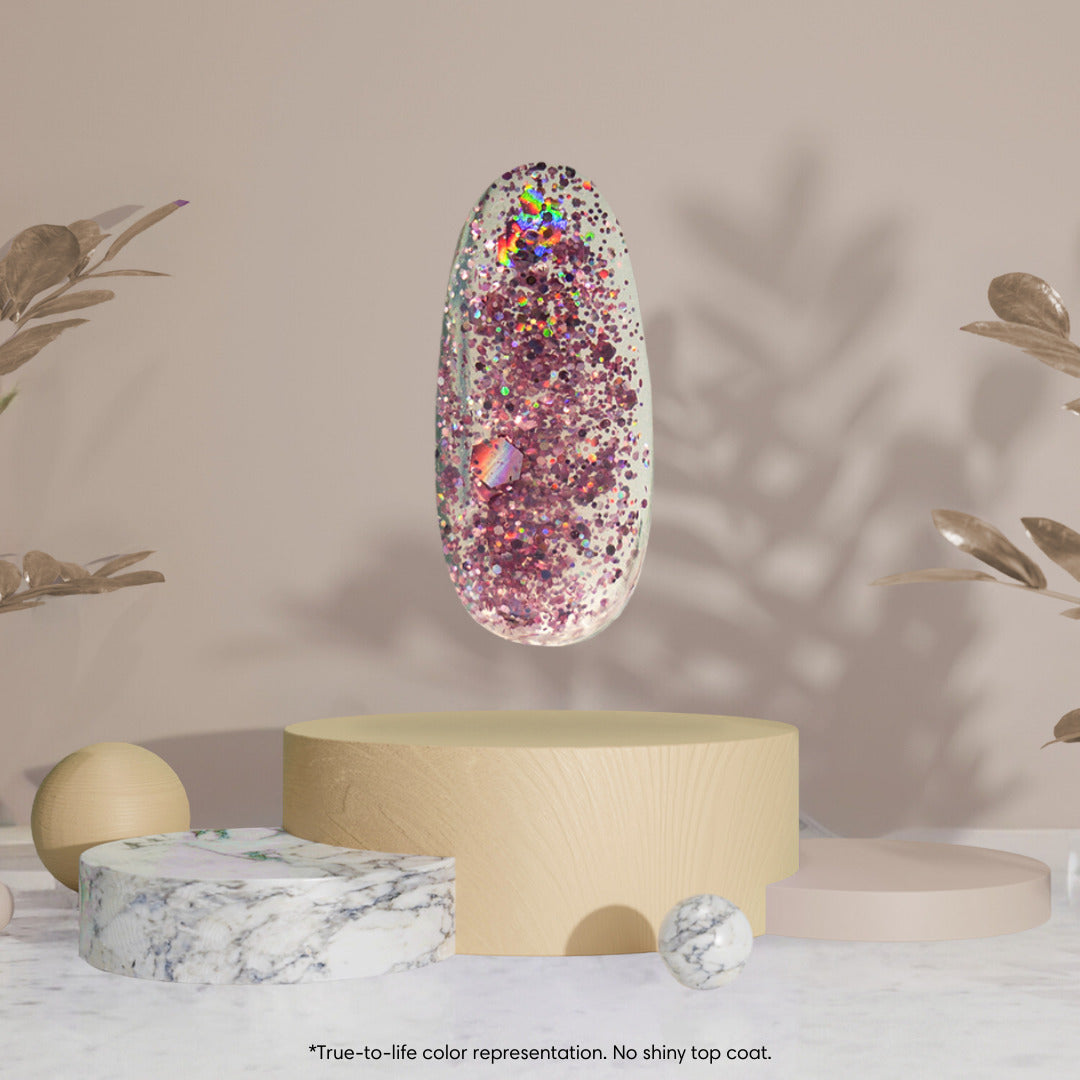
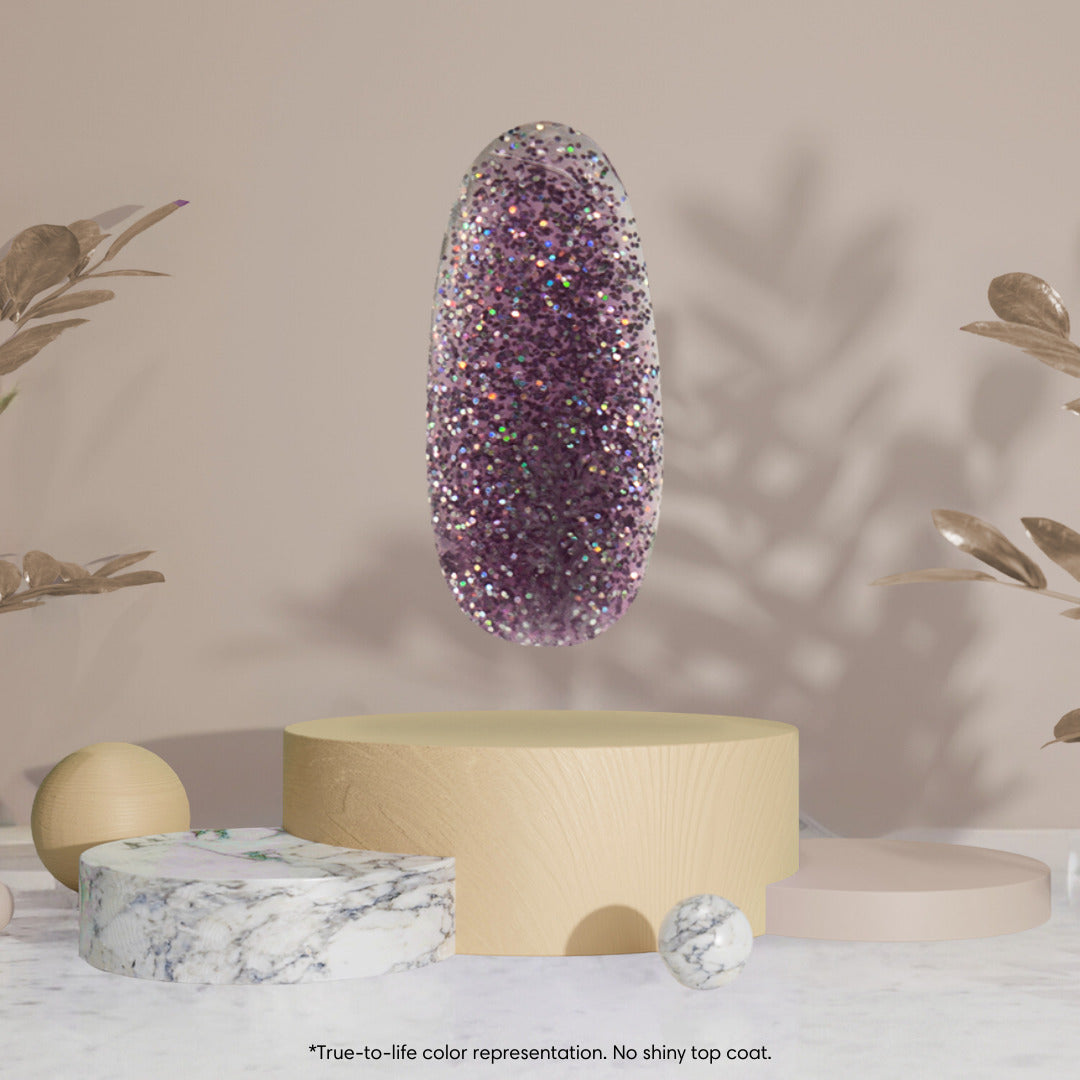
Kit de démarrage Polygel
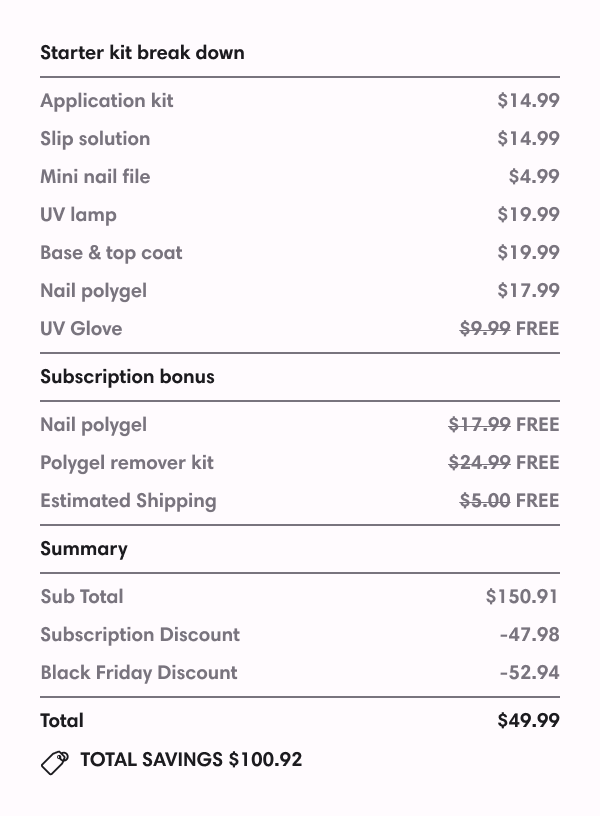
Kit de démarrage Polygel
 Apply in under 15 minutes.
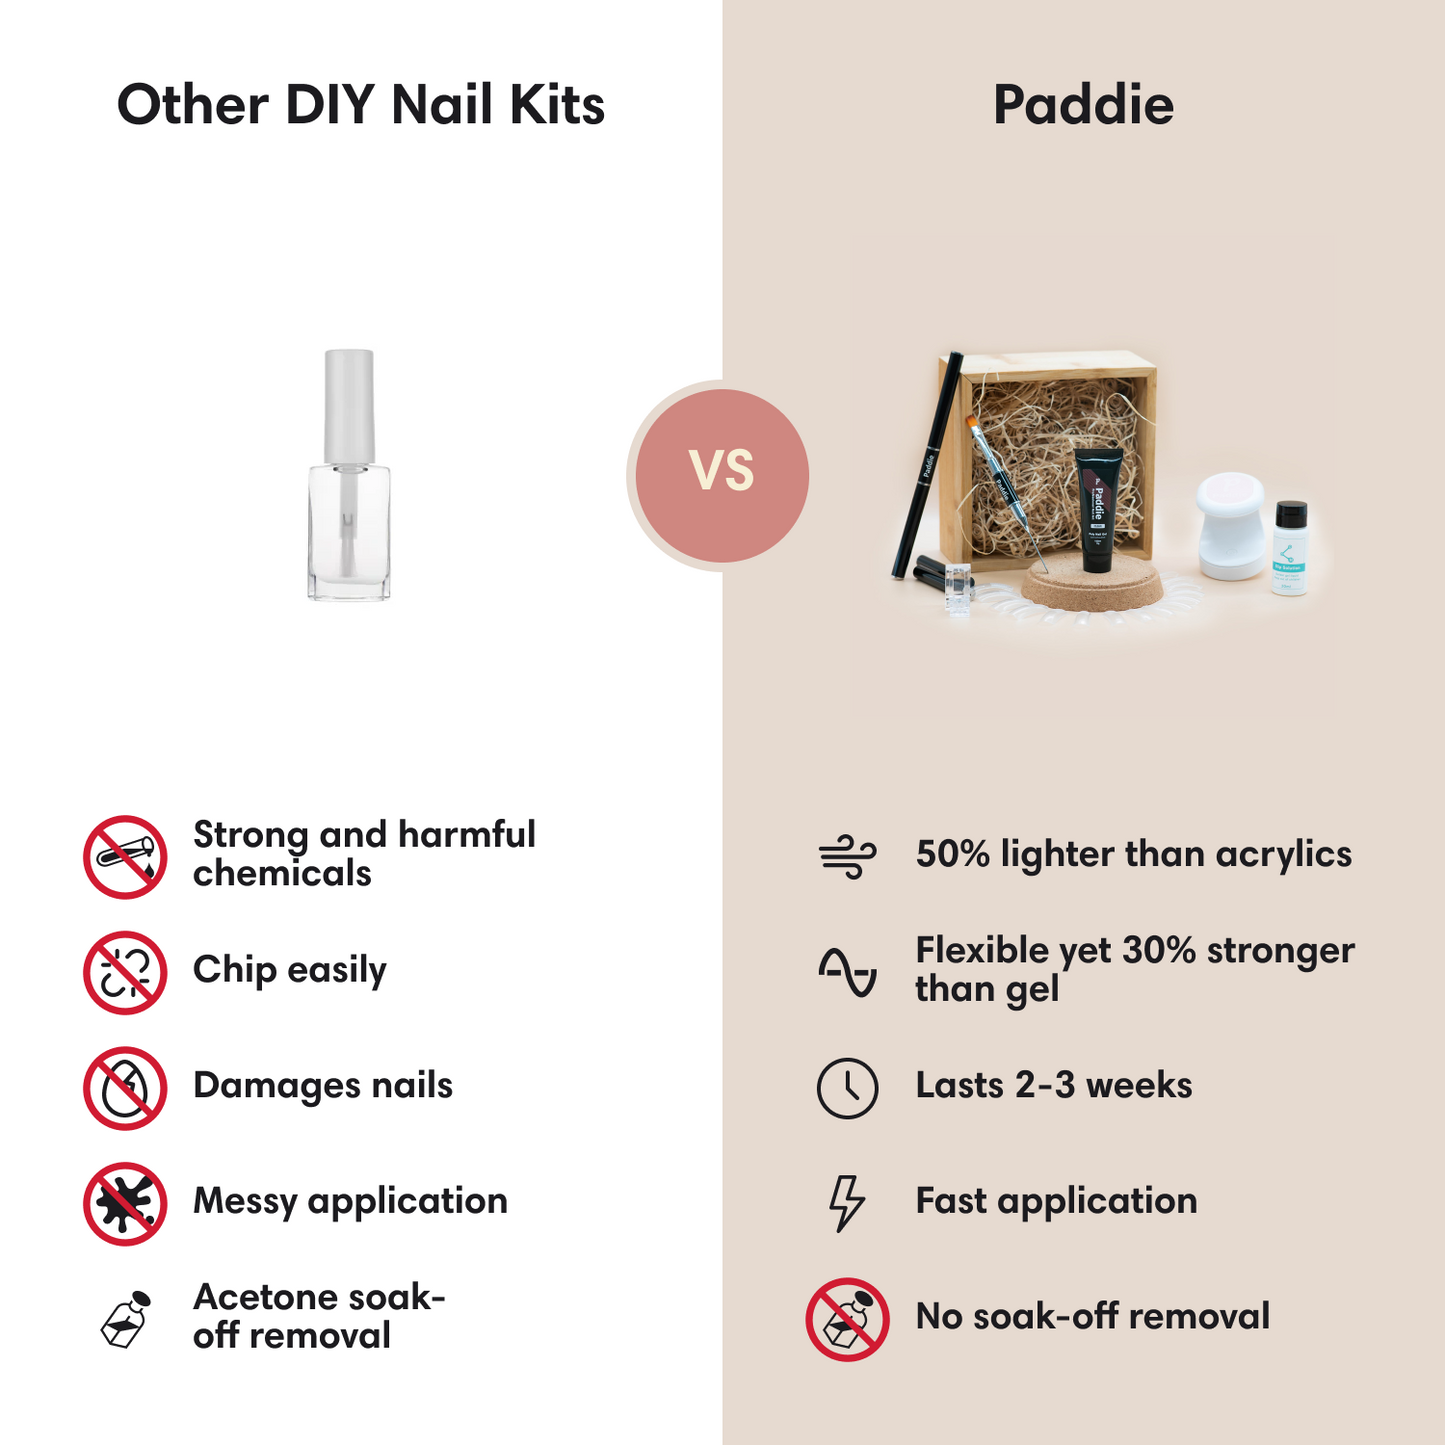
 30% Stronger and 50% lighter than acrylics
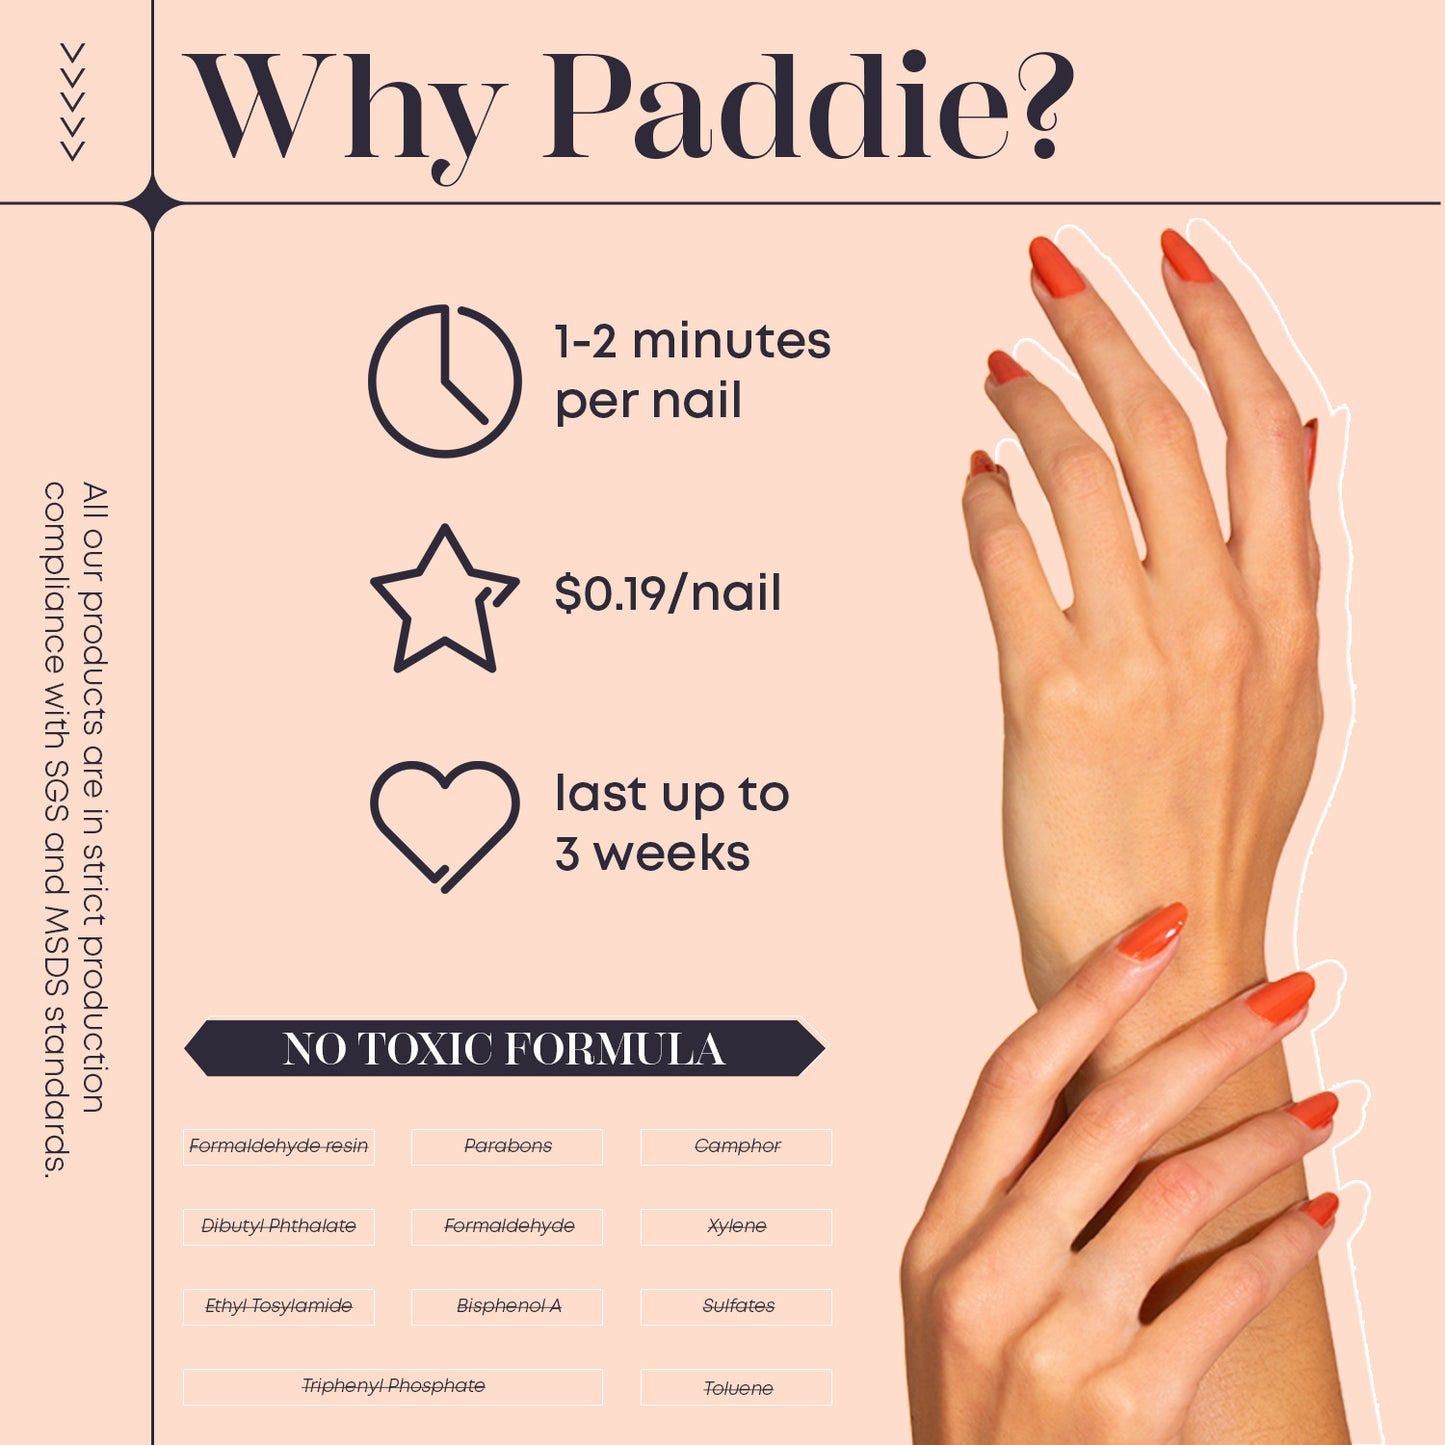
 Odourless and 0 harmful chemicals
Impossible de charger la disponibilité du service de retrait
Bundle & Save
Buy 3 Get 2 FREE
Save 40%Select Colors
Buy 7
Save $50Select Colors
Faites vos ongles en 15 minutes ou moins - le tout à la maison !

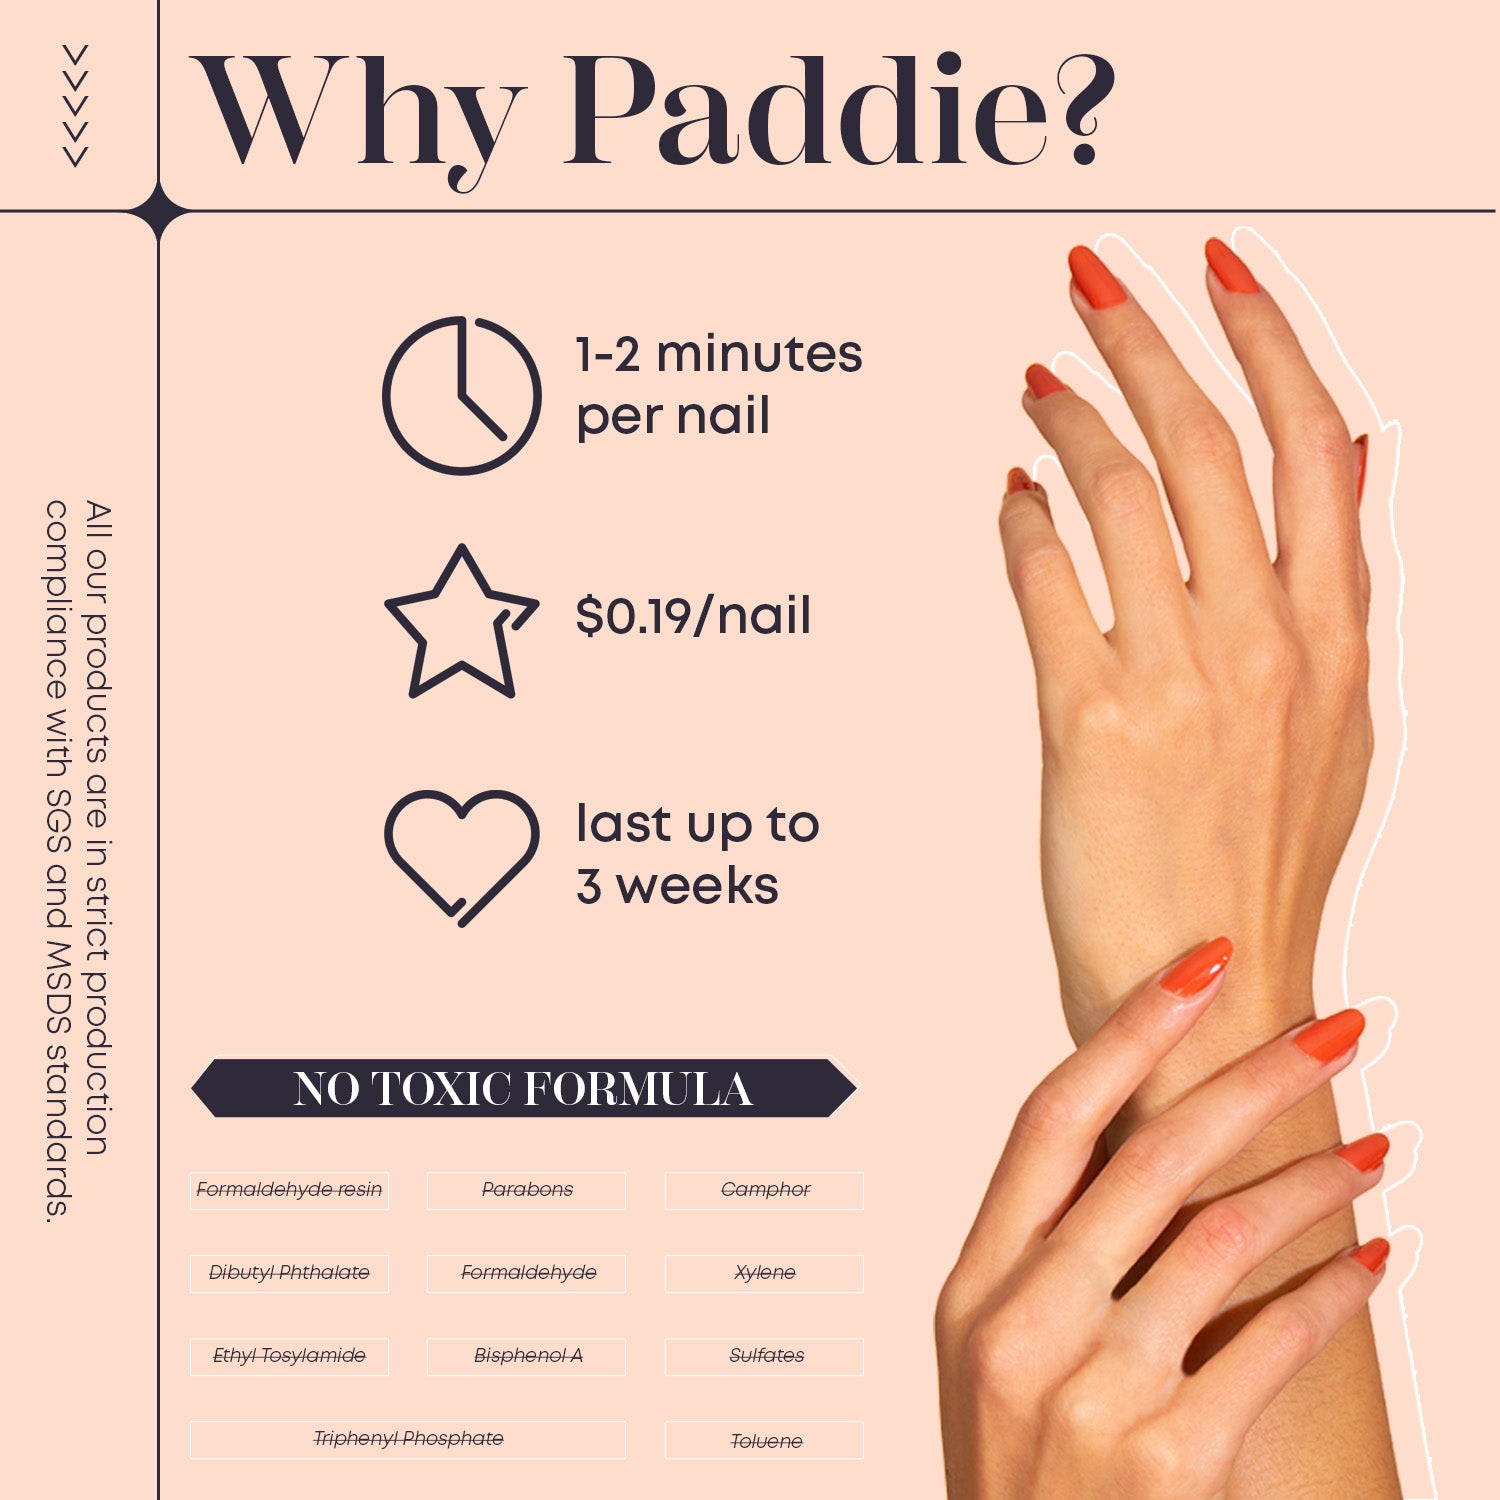
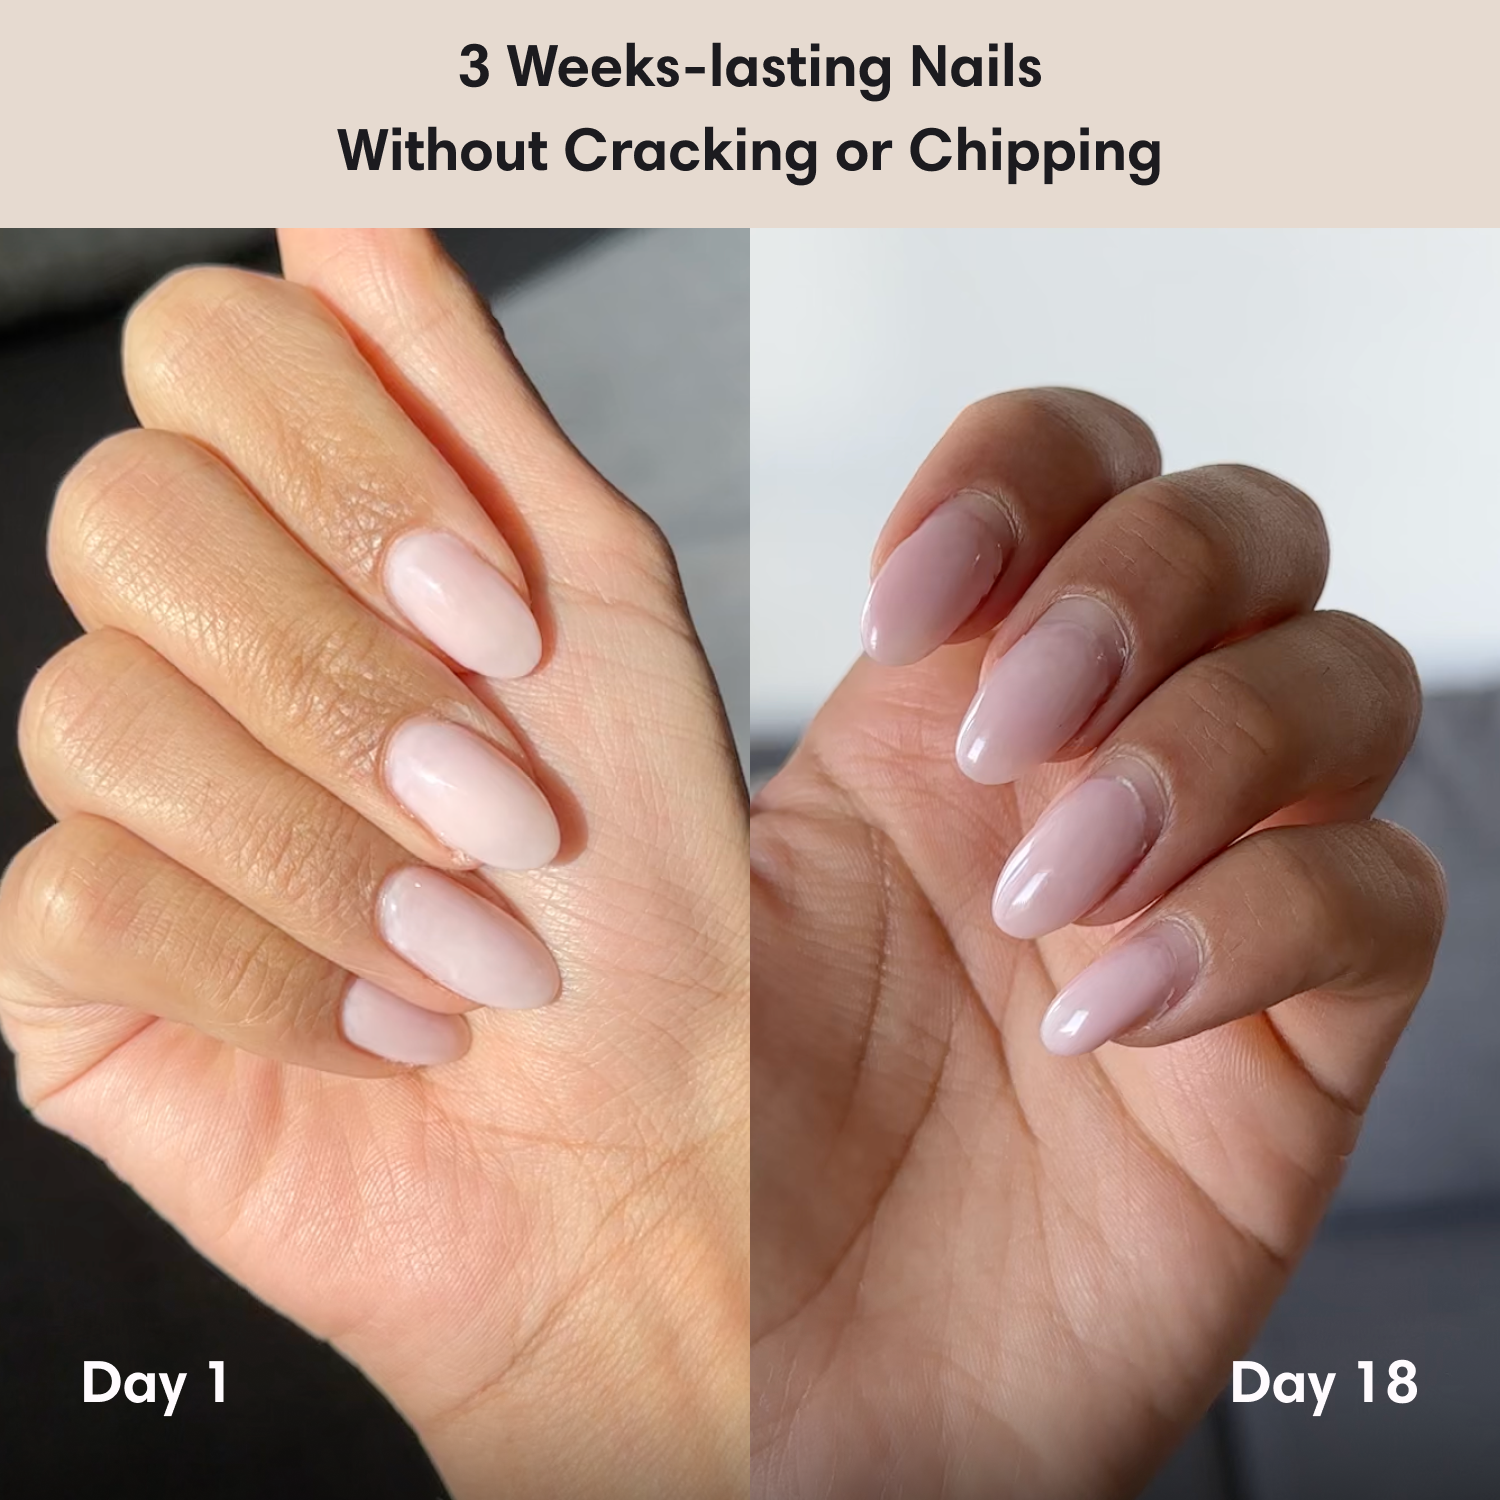
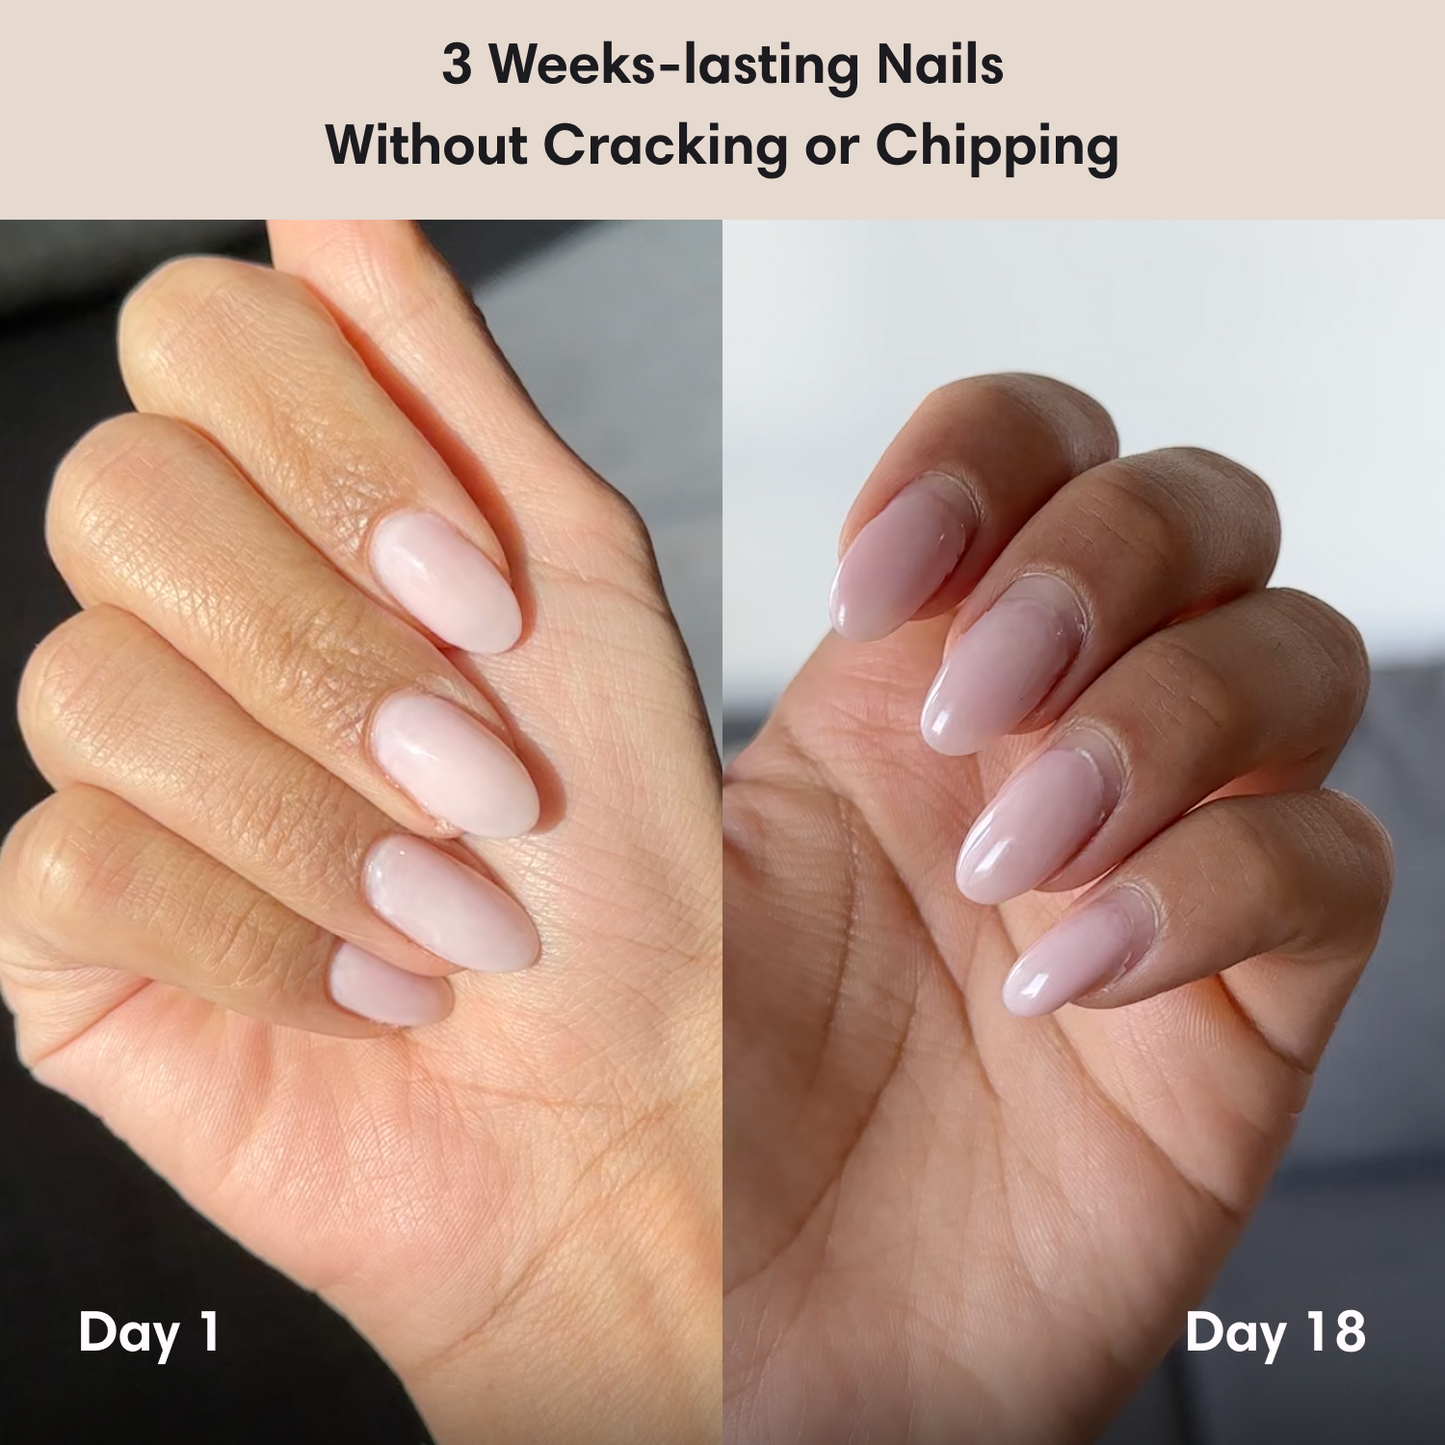
Appliqué en 1 à 2 minutes par ongle et laisse des ongles d'apparence naturelle qui durent 3 semaines .
Comment ça marche?
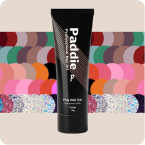
Ce kit de manucure DIY vous offre des ongles élégants qui durent 3 semaines. La formule polygel améliorée 2023 combine la durabilité des ongles en acrylique et l'application facile des ongles en gel, tout en éliminant tous les produits chimiques agressifs et nocifs.
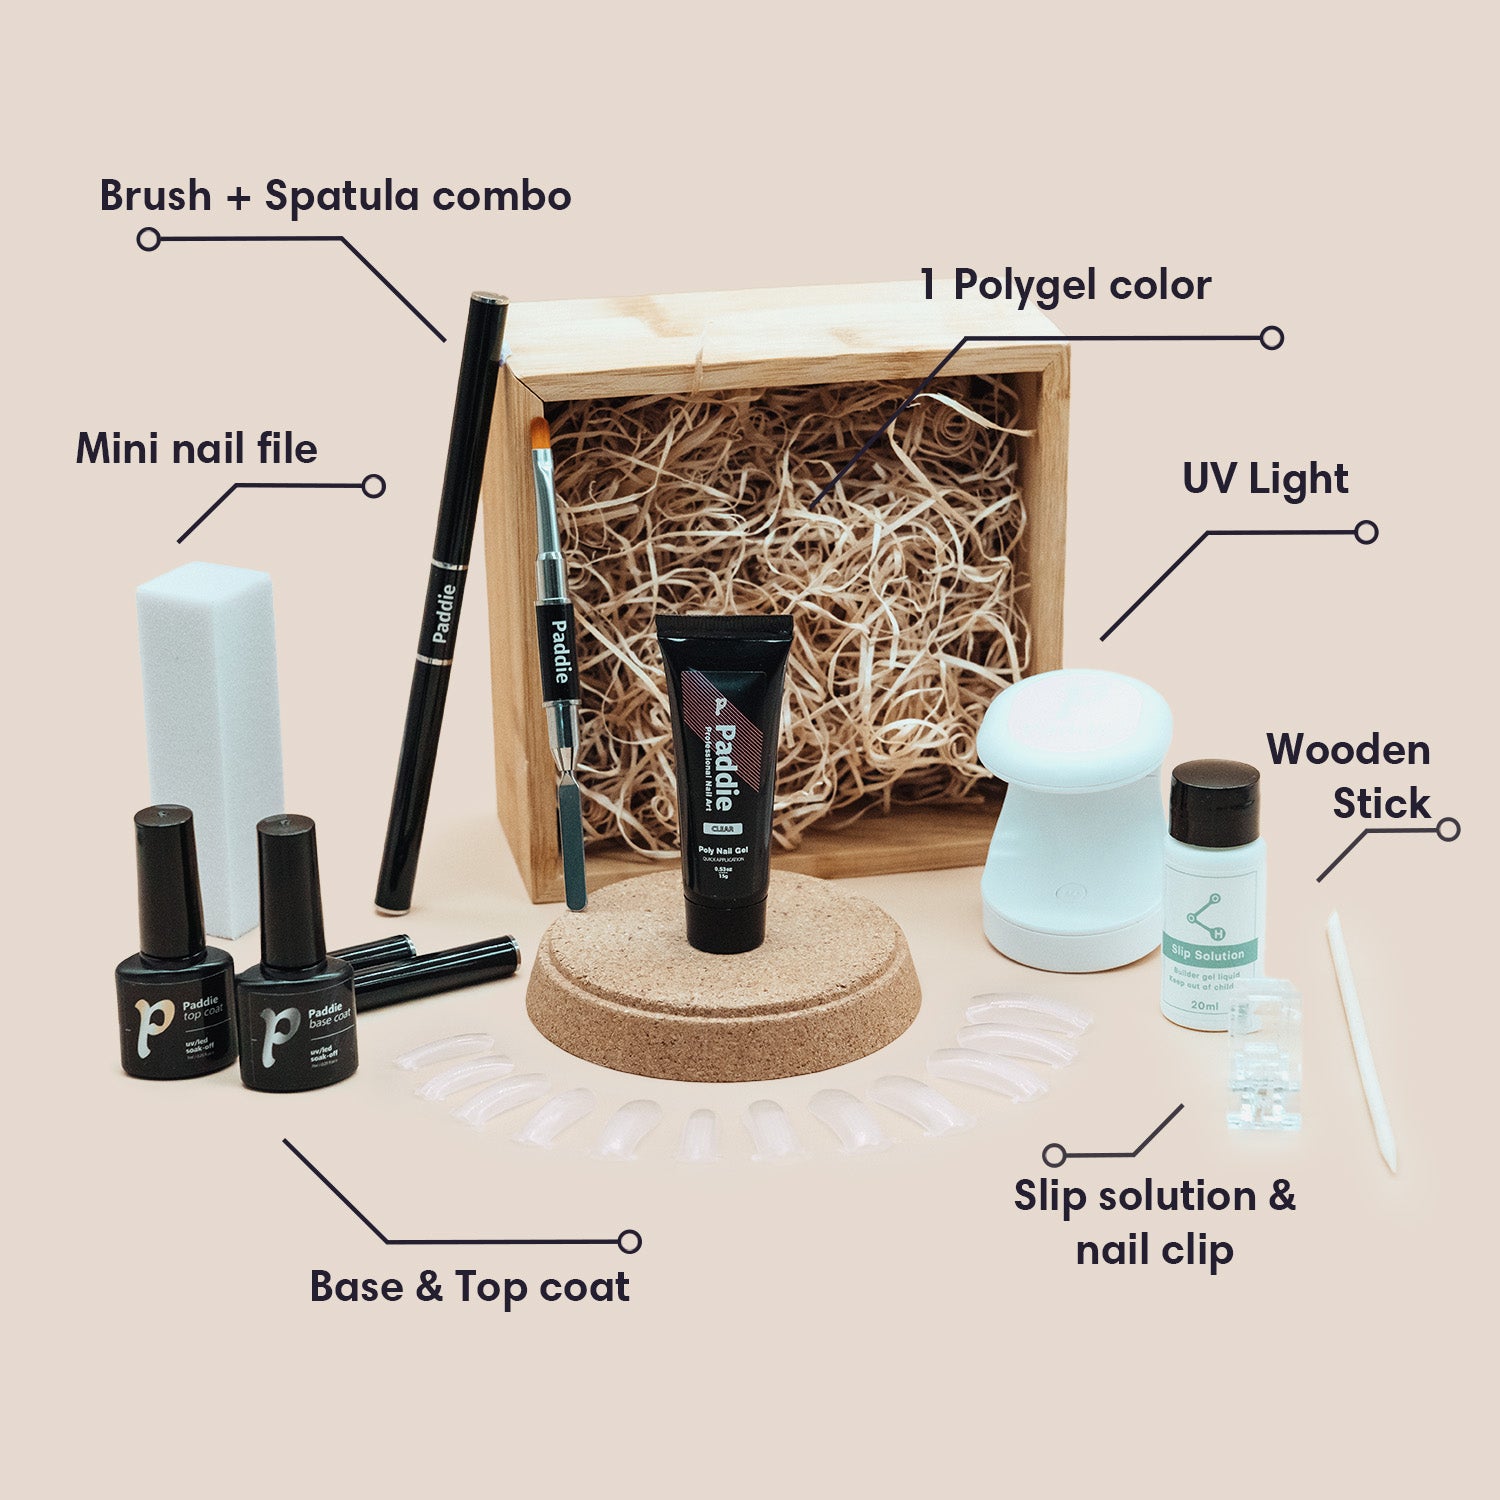
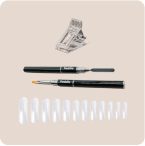
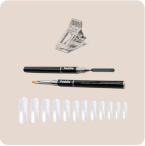
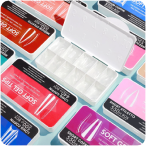
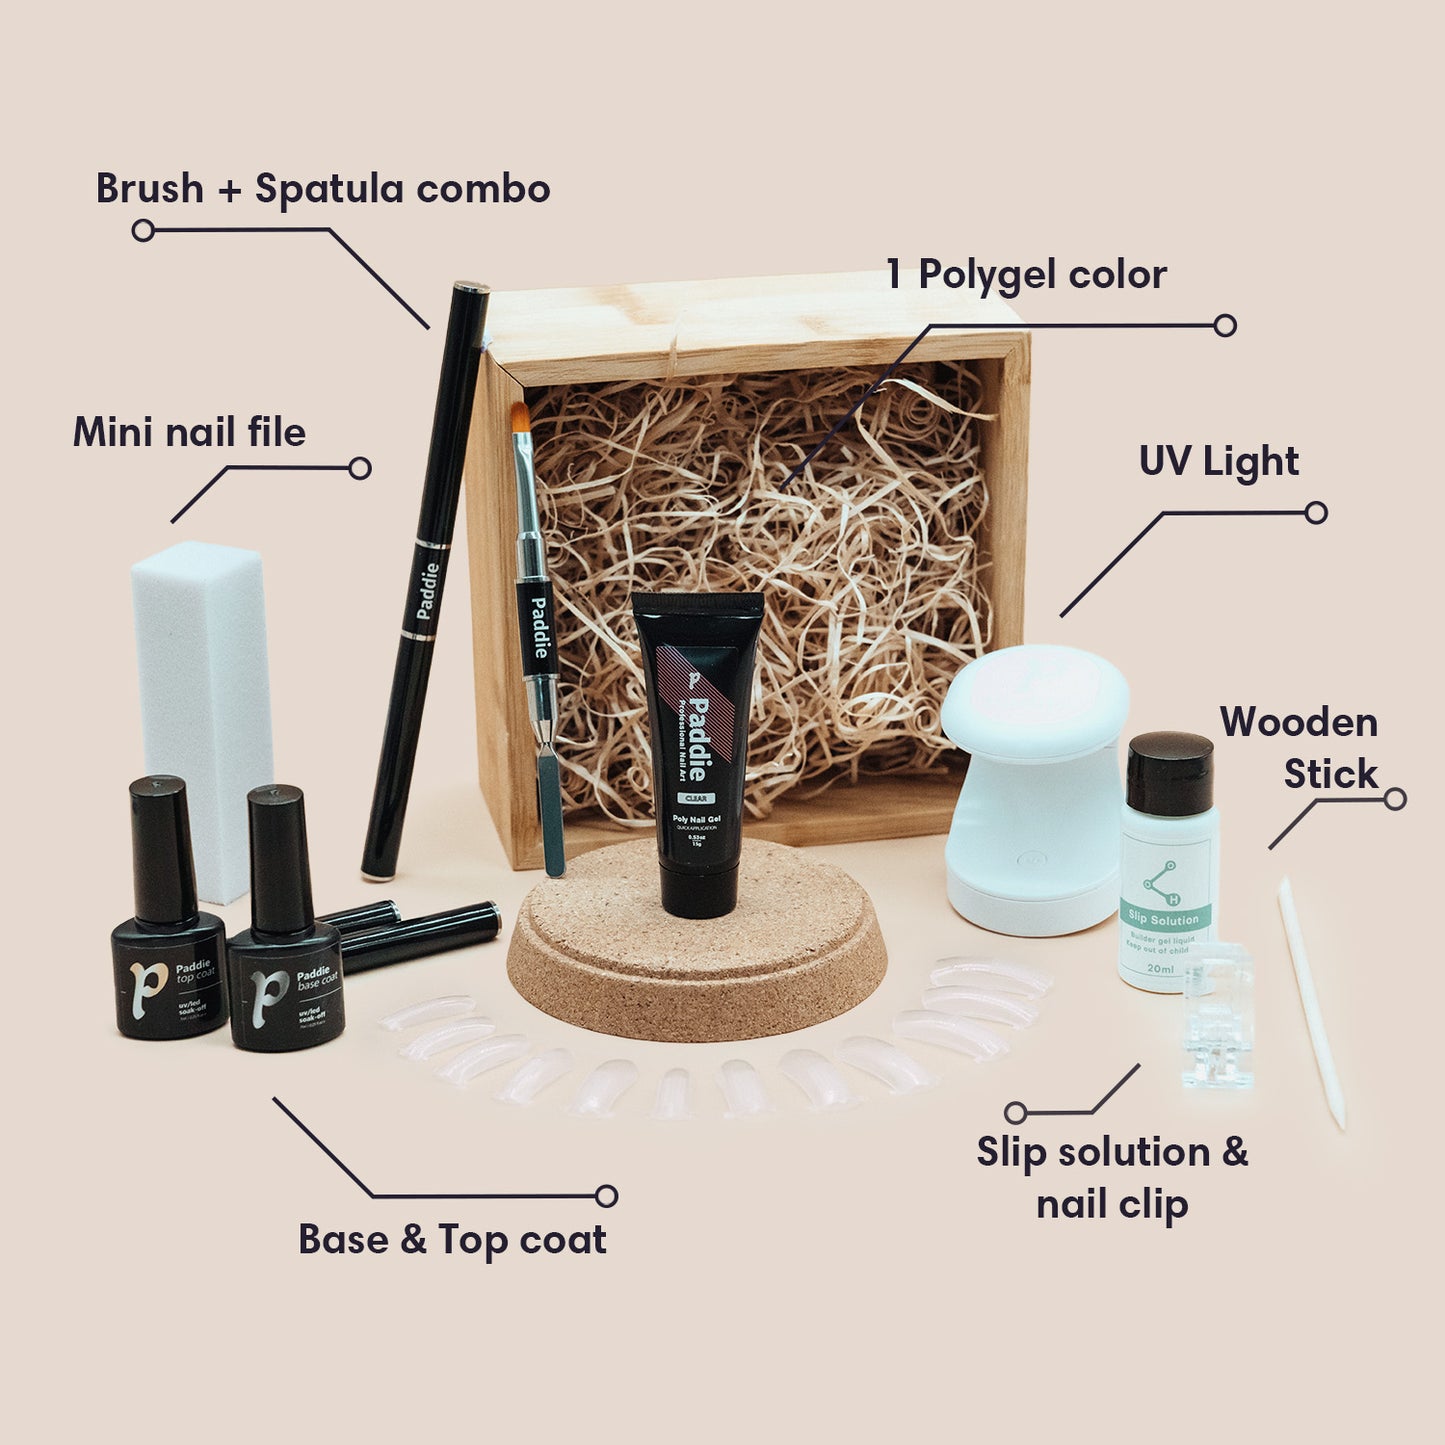
Il comprend 20 pointes d'ongles différentes , afin que vous puissiez obtenir la forme parfaite, quel que soit votre type d'ongle.
💕 Appliquer en moins de 15 minutes.
💪 30 % plus résistant et 50 % plus léger que l'acrylique.
🌱 Sans odeur et sans produits chimiques nocifs
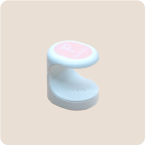
🎁 Cadeau GRATUIT : Lumière UV pour le durcissement
C'est seulement 0,19 $/ongle.

Gagnez du temps et de l'argent
Plus besoin d'attendre des heures et de payer trop cher dans les salons ! Faites-le simplement dans le confort de votre maison en 15 minutes !
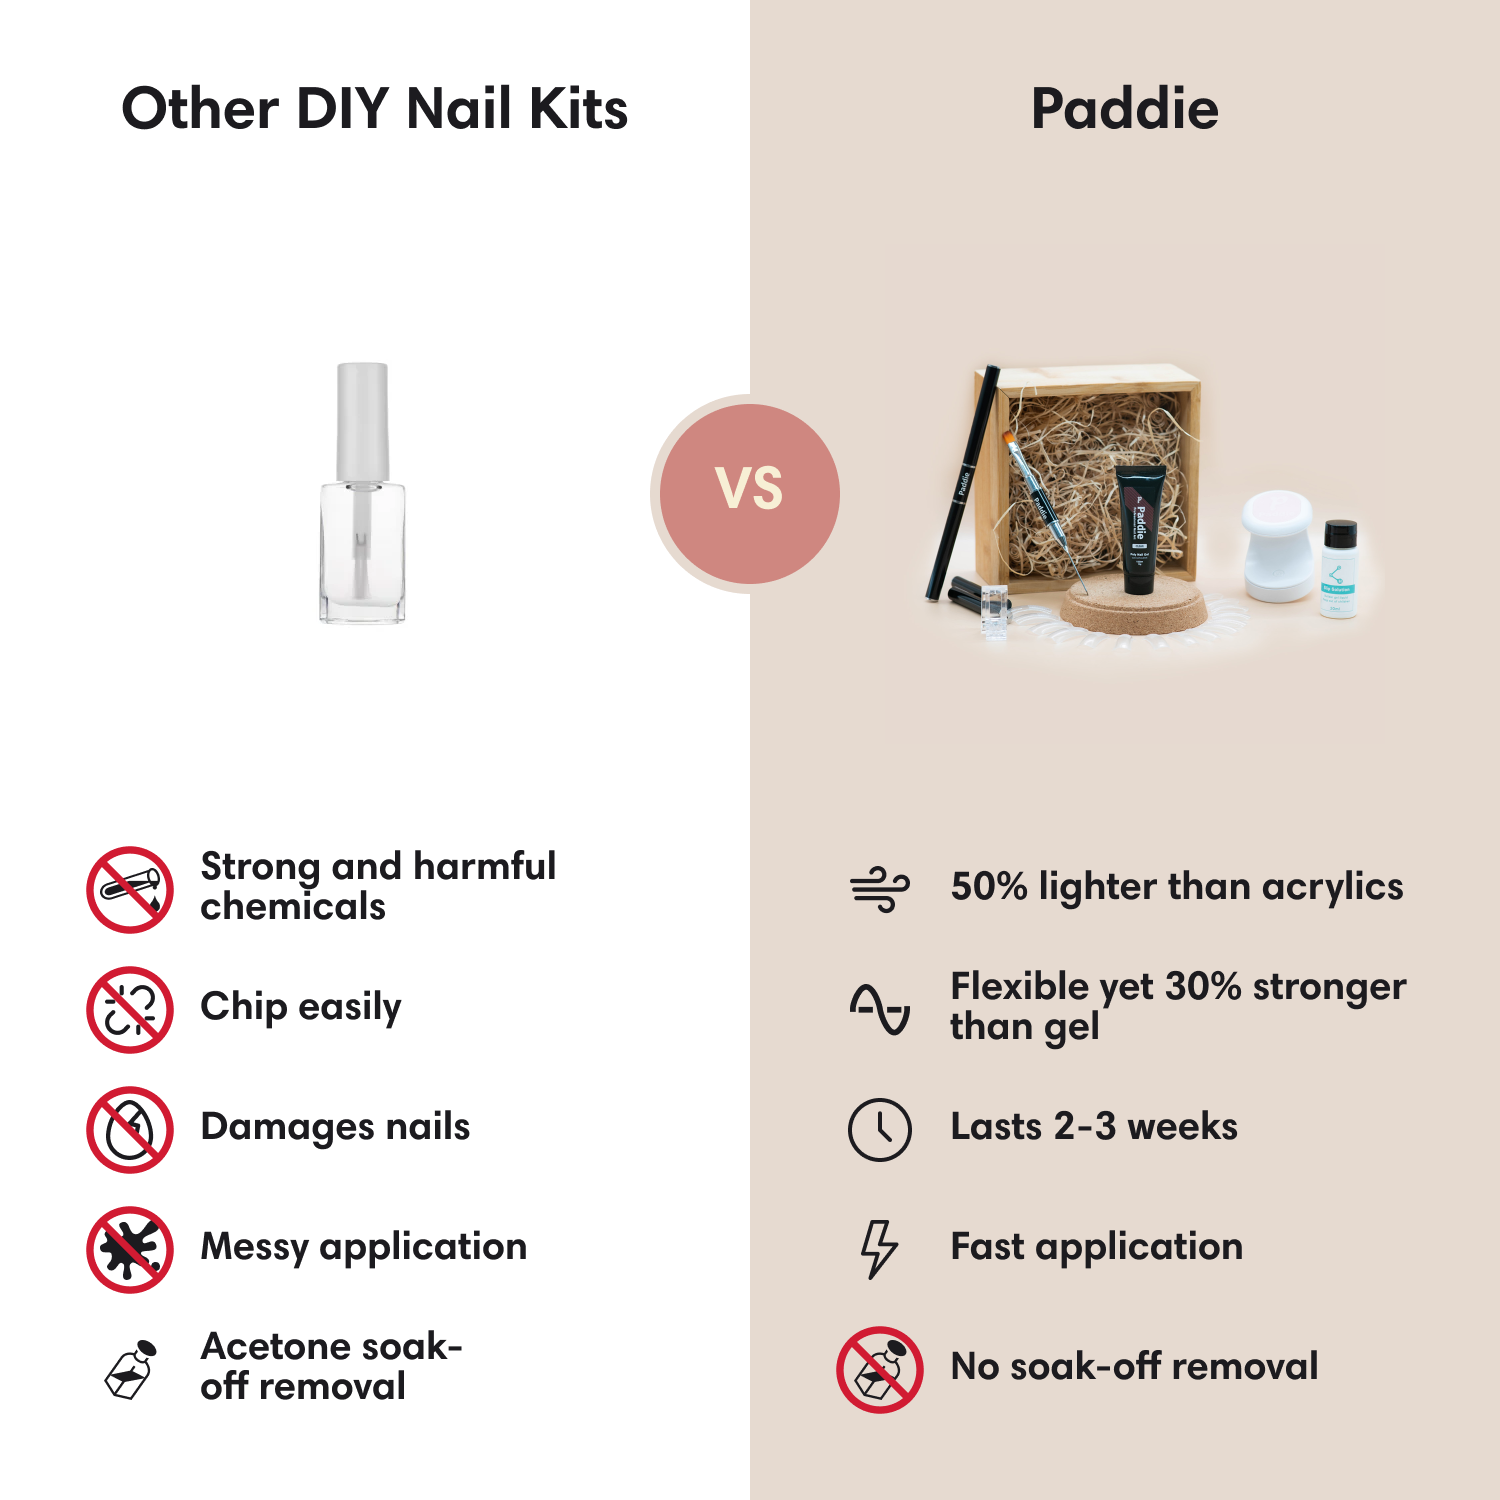
Why are we different?
Why are we different?
Plus fort que n’importe quel autre gel pour les ongles !
Notre nouvelle formule améliorée dure 10 fois plus longtemps ! ( jusqu'à 3 semaines)
Ne craignez plus de vous casser les ongles lors de vos activités quotidiennes !
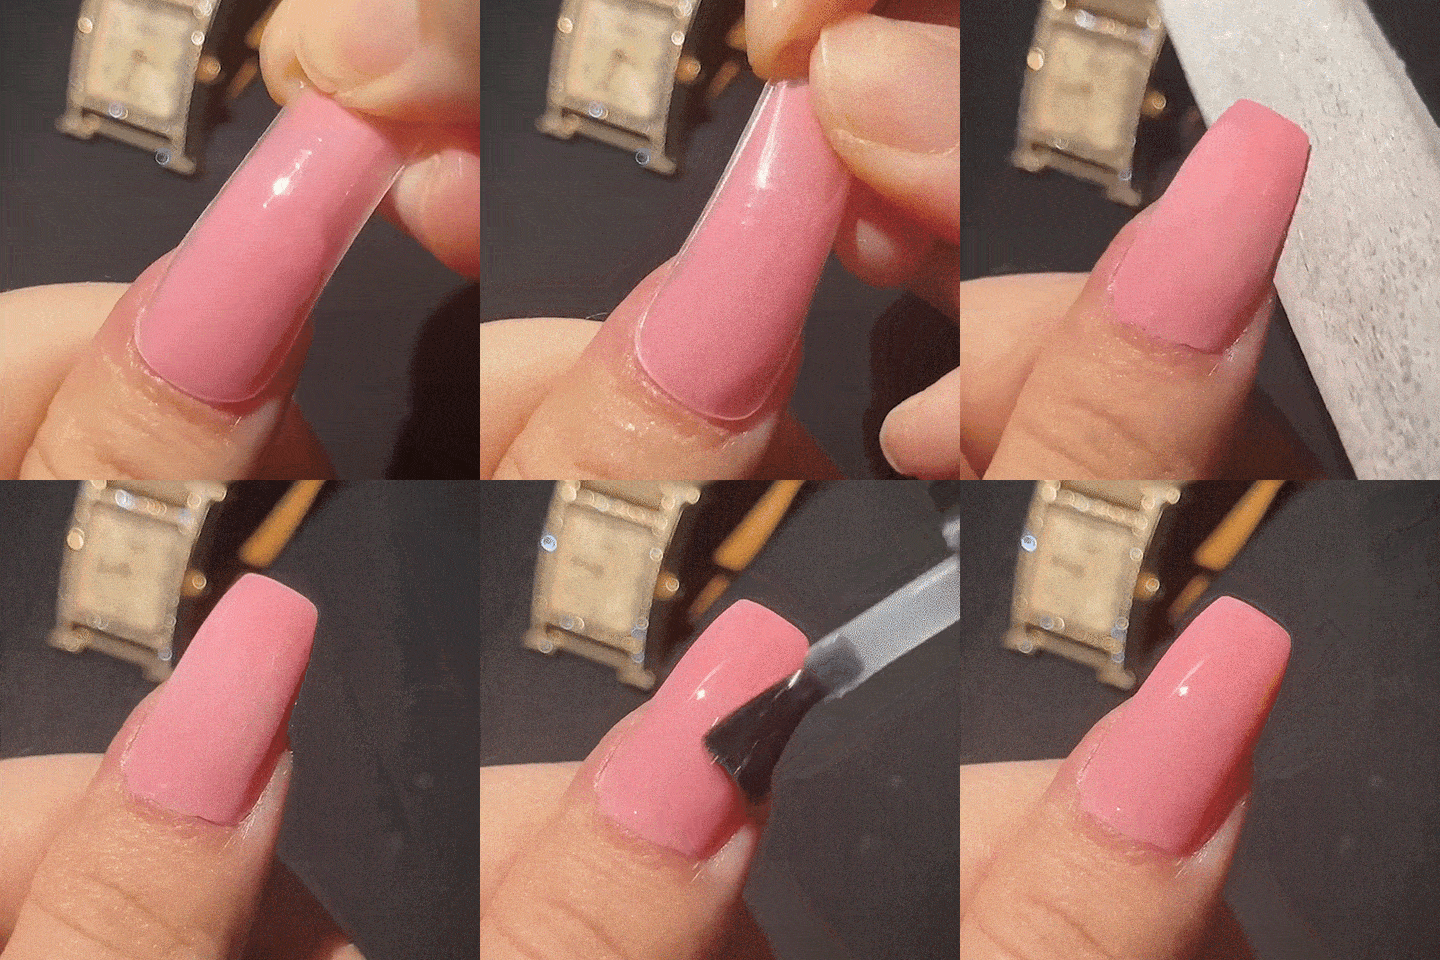
Kit adapté aux débutants
Super facile à utiliser et obtenez des ongles parfaitement réalisés en 15 minutes ou moins !
C'est parfait pour vous même si c'est votre première fois !
Comment les supprimer ?
Eh bien, vous pouvez utiliser n’importe quelle solution de suppression, mais nous vous conseillons vivement d’essayer notre kit de suppression en 3 étapes.
What's included
What's included
What else do I need?
What else do I need?
Shipping & Returns
Shipping & Returns
FREE Shipping included on all orders over $70.
Orders are dispatched within 24 - 48 hours. You'll then receive a tracking number so you know when your kit is arriving!
To get an estimated delivery date, please head over to checkout.
Satisfaction Guarantee
We love our Paddie™ products and are confident you will too! That’s why we're offering a 30-Day, Risk-Free Trial. If you're not in love with your new nails, reach out to support@trypaddie.com and we'll assist you with any concerns.
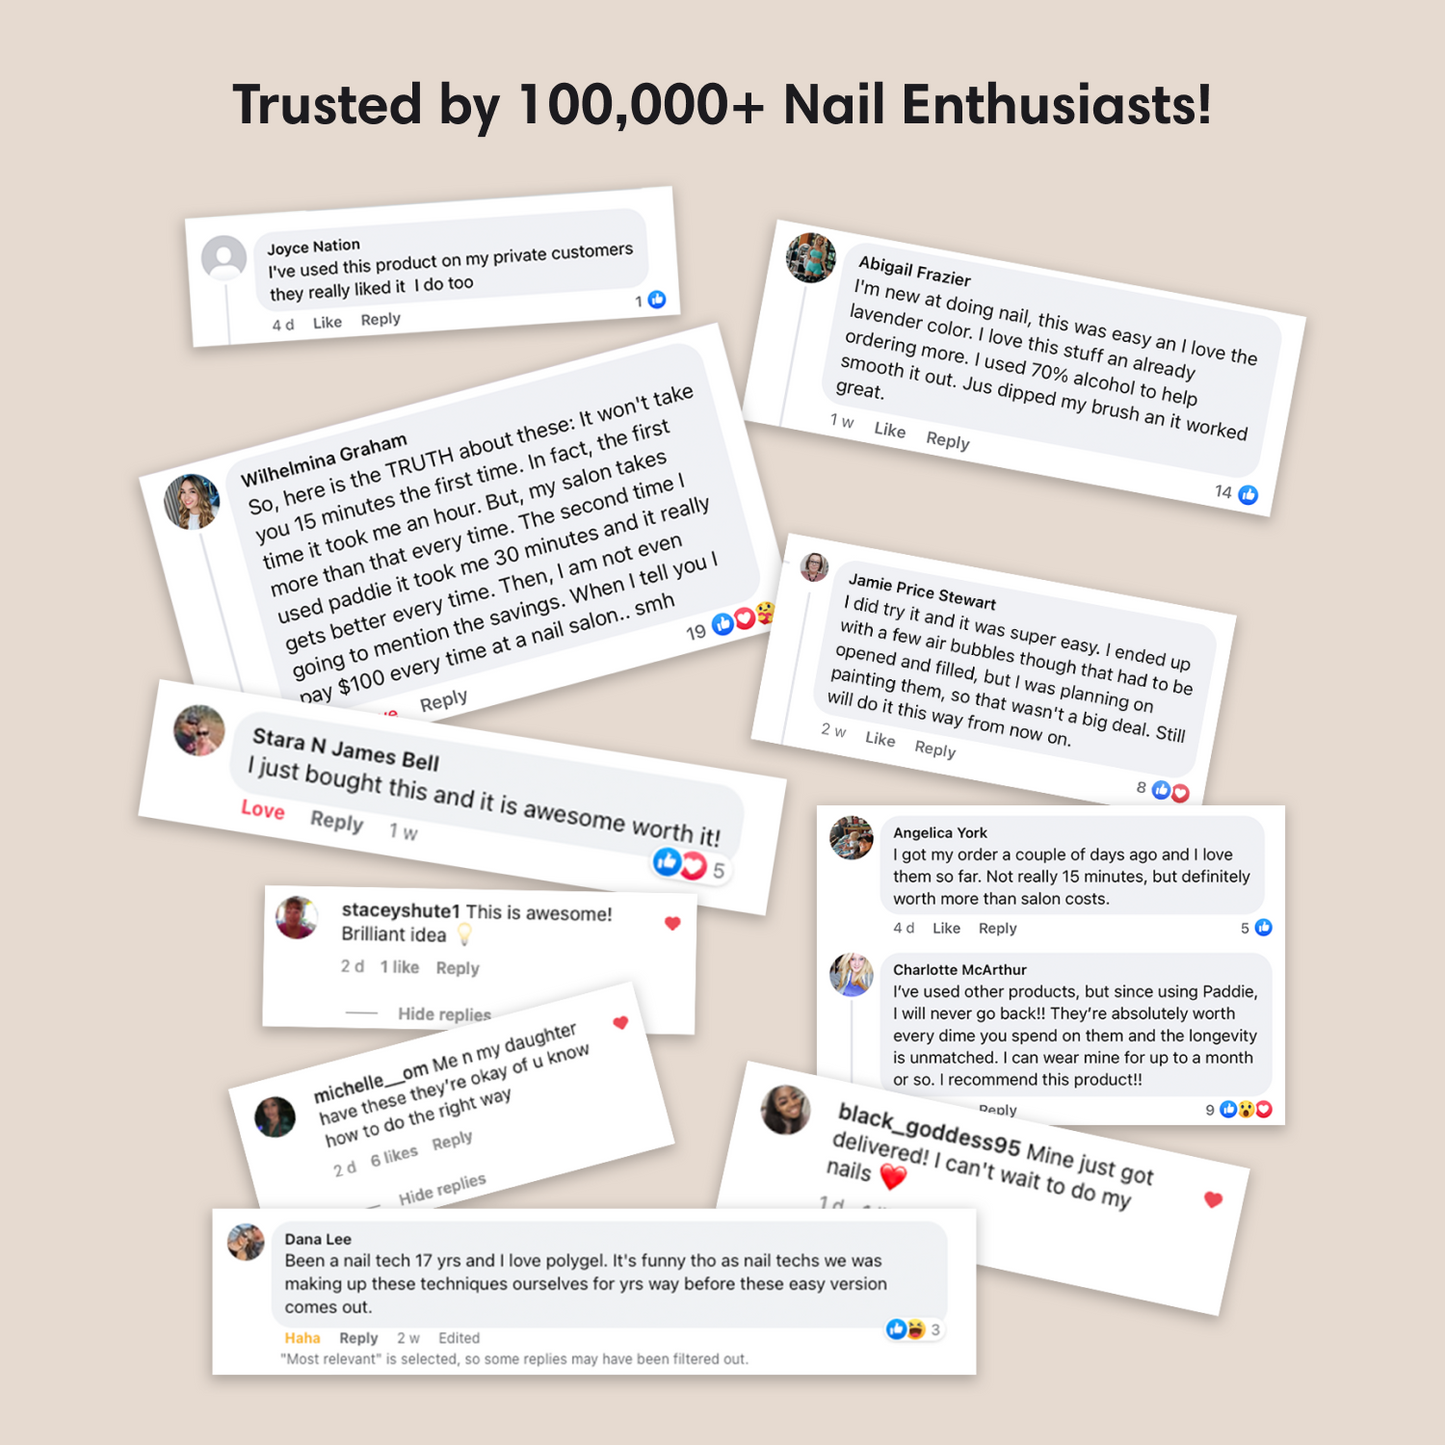
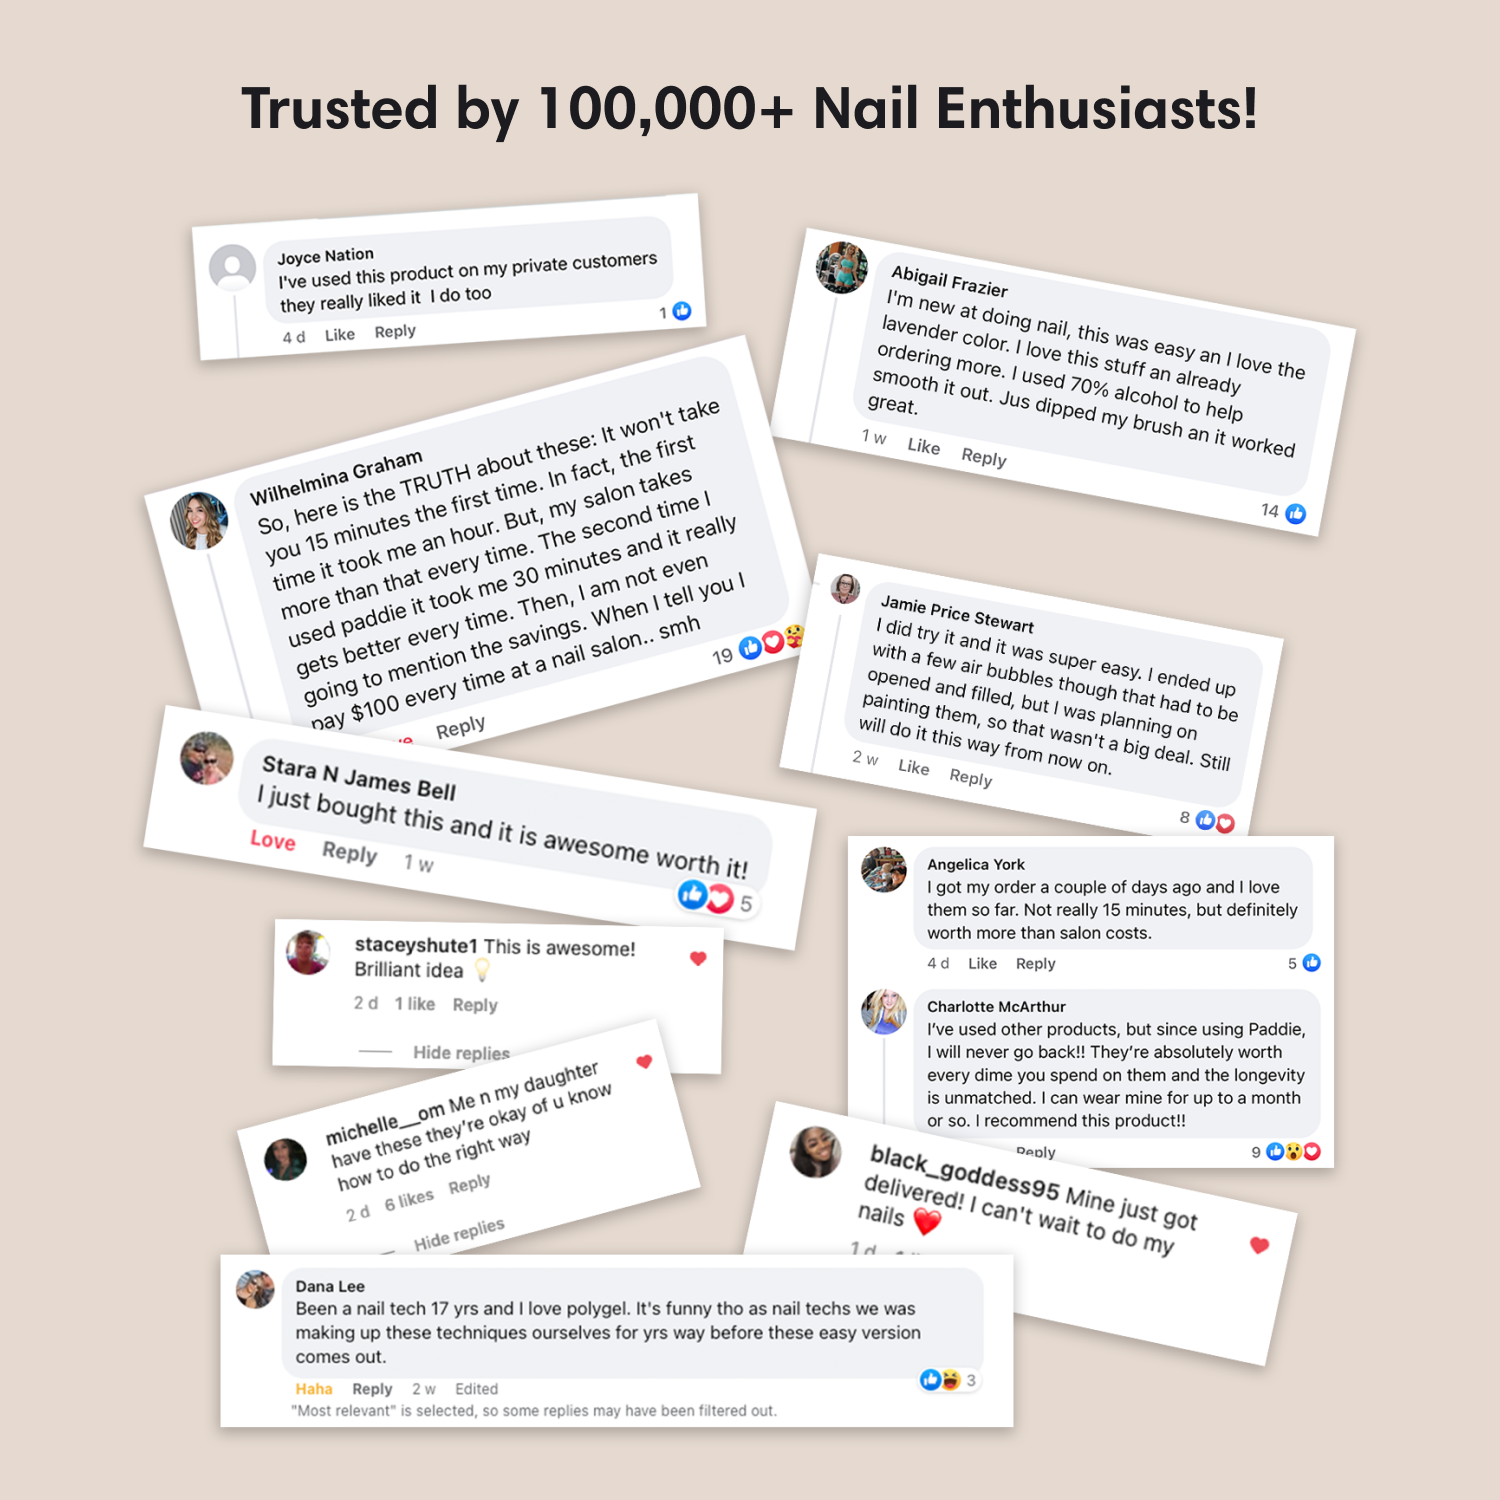
Proven results


Proven results
“Results according to salon/consumer studies. For more information refer to each product page.
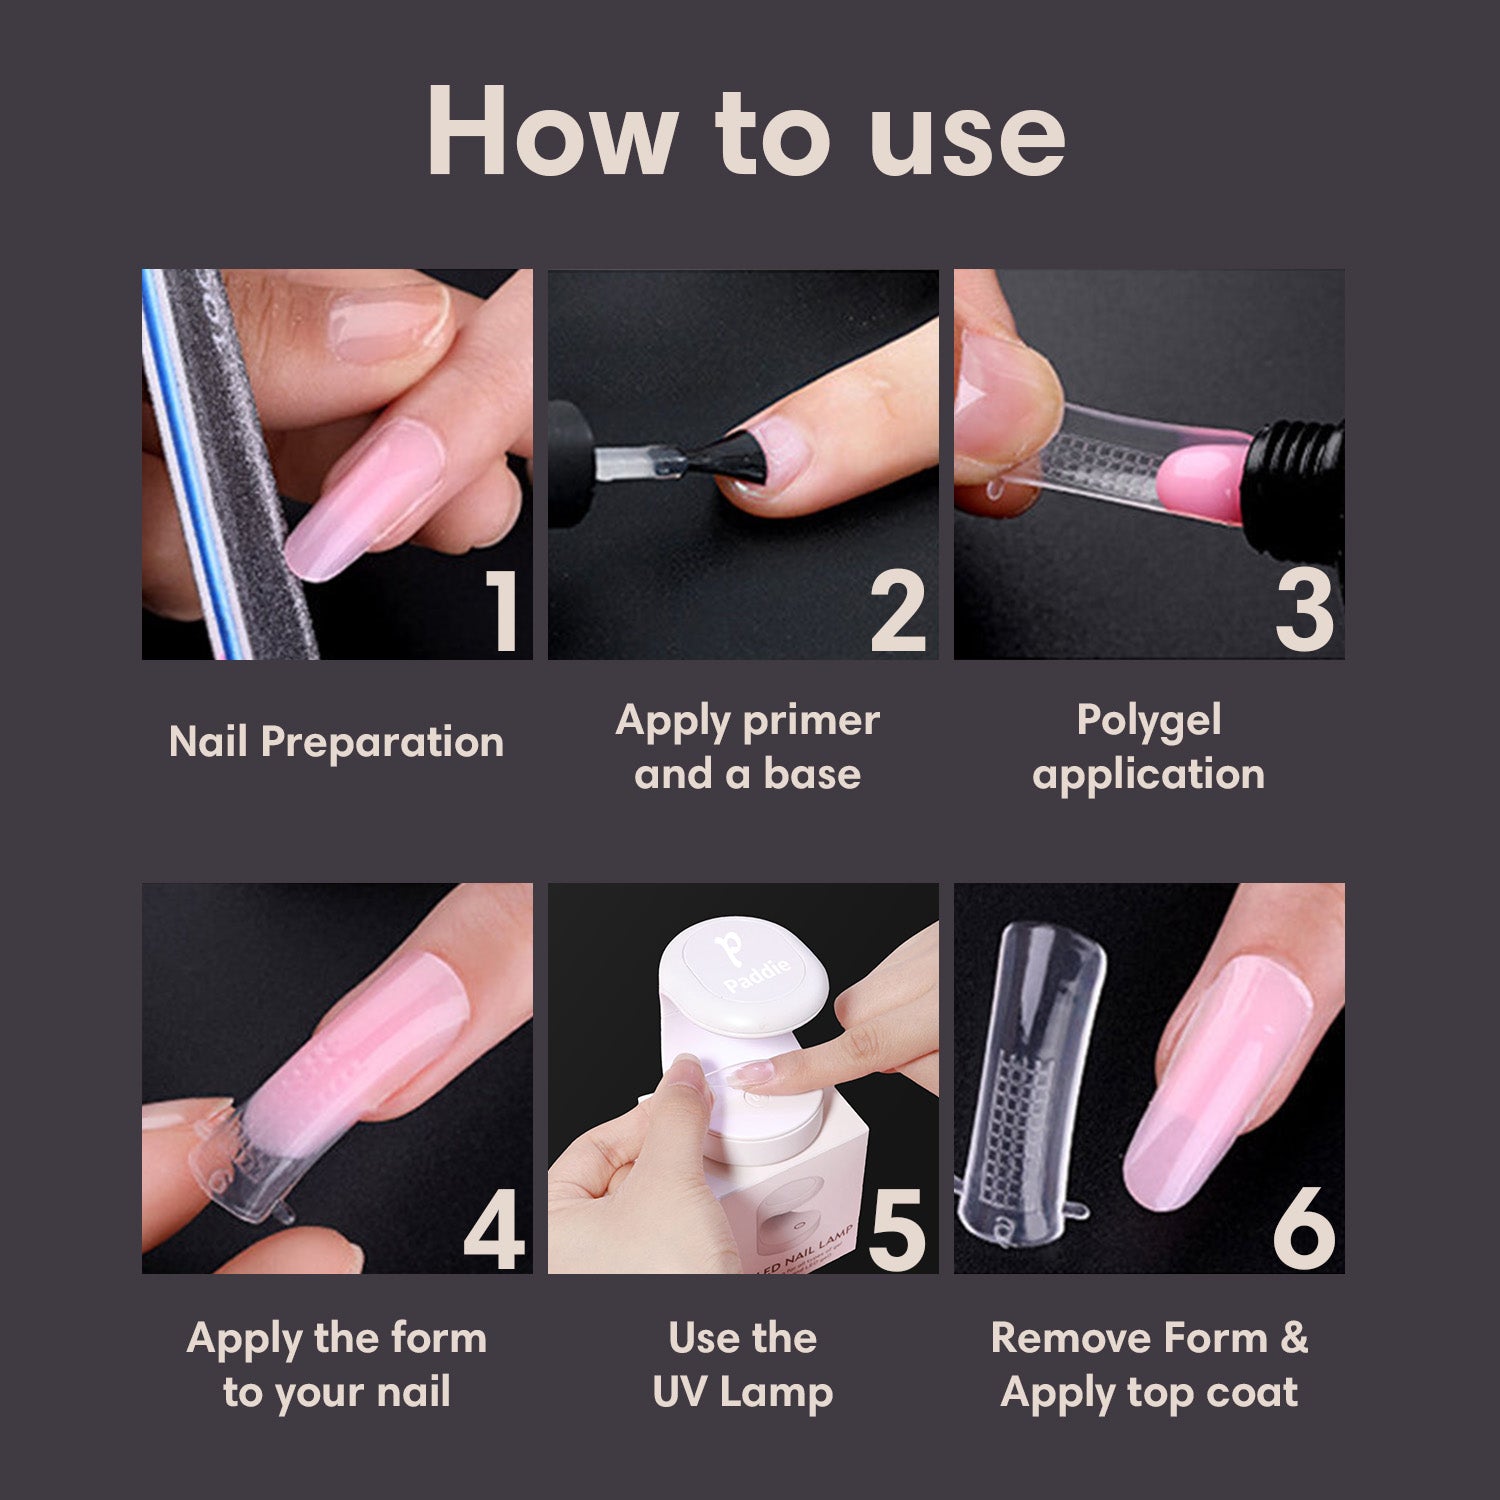
How to use?
How to prep your nails:
1. Trim your natural nails to your desired length.
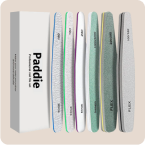
2. File the edges to smooth them out.
3. Brush away any dust created by filing.
4. Wipe your nails with an alcohol wipe to remove any oils or impurities.
5. Gently push back your cuticles with a cuticle pusher for a cleaner look and to remove excess skin near the nail bed.
6. Carefully trim the pushed-back cuticles, being cautious not to cut the skin.
Polygel application standard method:
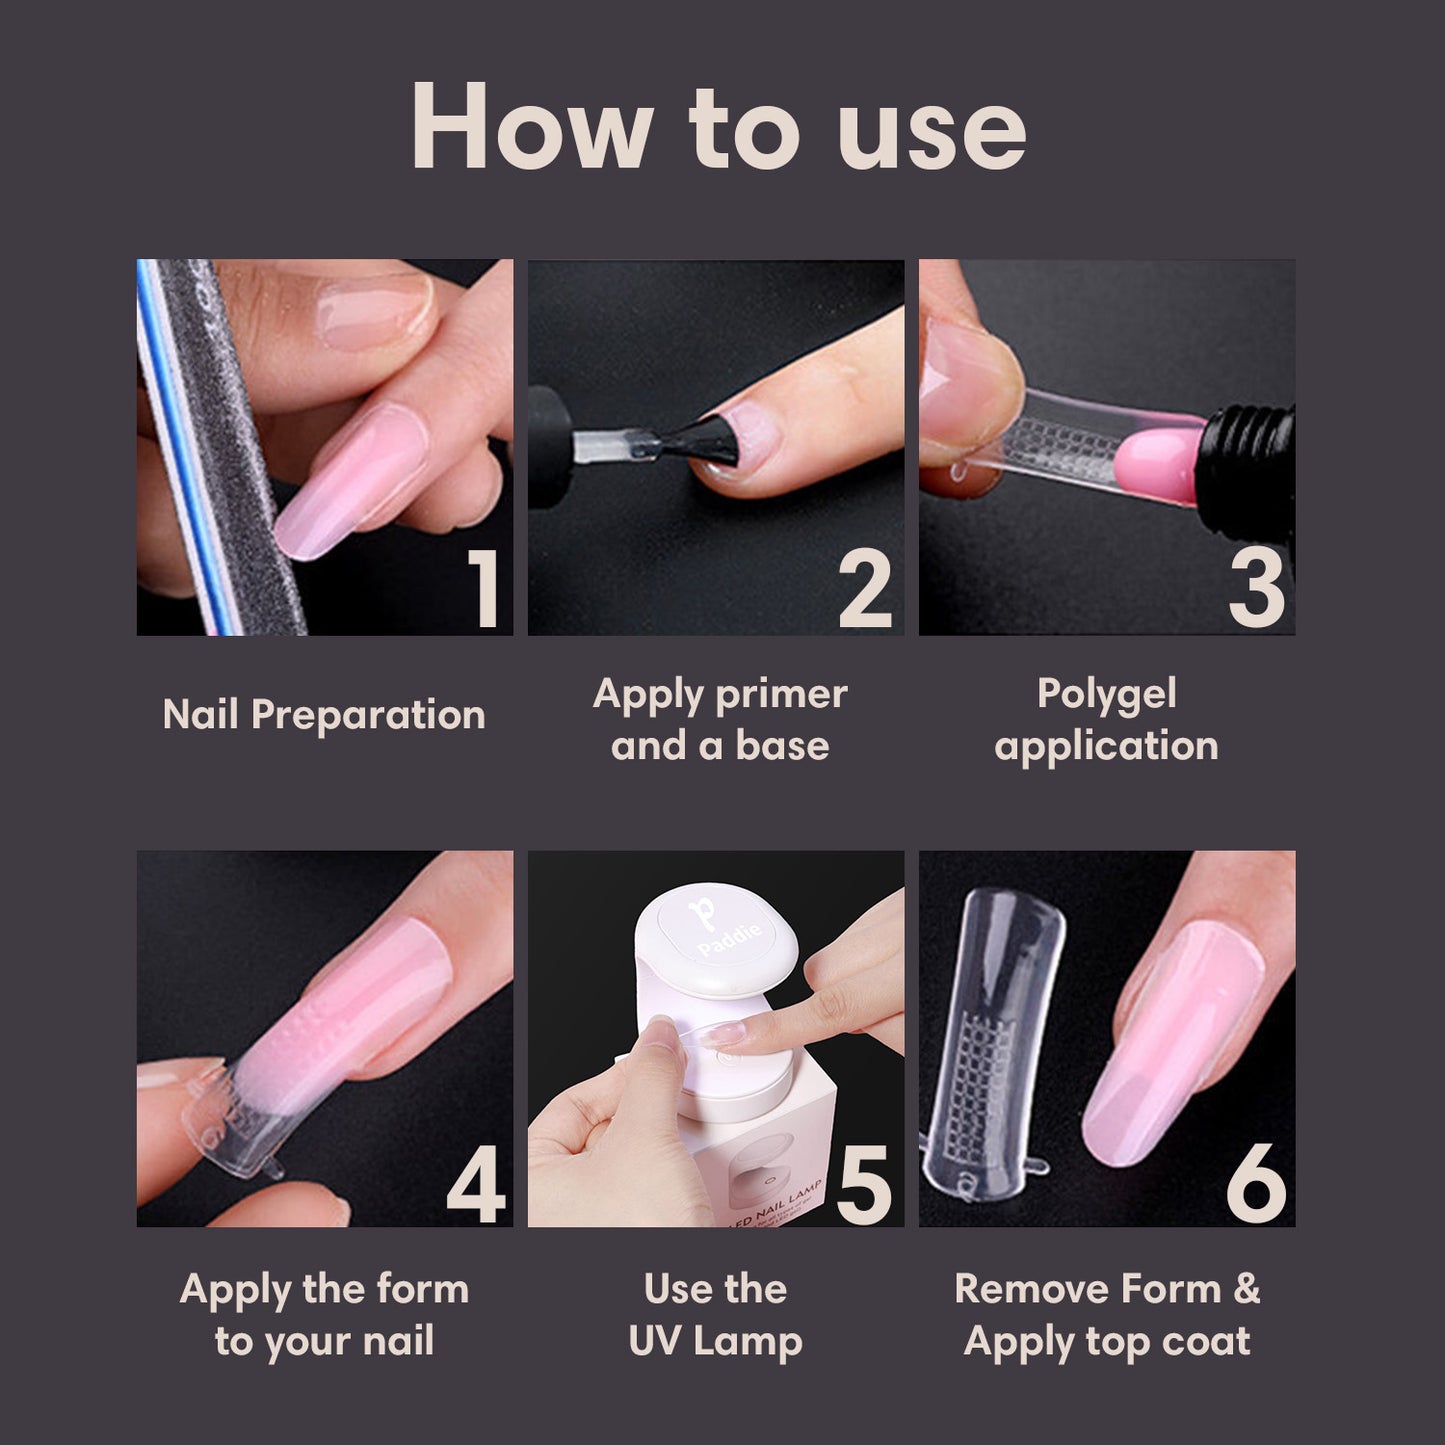
1. Prep your nails and apply a base coat.
2. Pick a dual form slightly larger than your nail. Squeeze a small amount of polygel, cut it with the spatula, and apply it on the dual form.
3. Soak your brush in the slip solution.
4. Spread the polygel inside the dual form using the brush dipped in slip solution.
5. Press the dual form onto your natural nail, starting from the cuticle at a 45-degree angle.
6. Press firmly to avoid bubbles and shape the sides using the brush.
7. Use the clip to hold the dual form in place and cure for 2 minutes under the UV lamp.
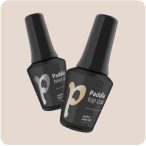
8. Pop off the dual form and file your nails to the desired shape if needed. Apply top coat for long lasting results.
Polygel application advance method:
1. Prep your nails and apply a base coat.
2. Squeeze some polygel onto the nail. Adjust the amount based on nail shape and size.
3. Take the nail tip and gently press it down onto the polygel, pushing towards the cuticle area. Use a nail clip to hold the tip in place while it sets.
4. Dip a brush in a slip solution and use it to smooth out the polygel underneath your nail and around the sides.
5. Place your hand under a UV lamp and cure the polygel for 2 minutes.
6. Once cured, remove the nail clip and gently lift off the nail tip.
7. If needed, use the spatula end of your tool to add polygel to any areas that require filling. Smooth it out with the brush dipped in slip solution. Cure again for 2 minutes.
8. File the nails to the desired shape if needed. Apply top coat for long lasting results.
How to remove nail polygel:
1. File down the top coat of the polygel using a nail file.
2.Apply peel-off latex tape around the nails. Allow it to air dry for 60-120 seconds.
3. Apply gel polish remover to the nails. Wait for 3-5 minutes.
4. Gently push off the gel polish.
5. Use tweezers to peel off the latex tape.
6. Brighten the nail surface with a nail buffer.
7. Apply cuticle oil to nourish the skin and nails.
FAQ
How do you remove Polygel?
There are 2 methods to remove the Paddie Polygel.
1. Slower but can be done at home
Simply put some olive oil in warm soapy water and soak your nails in there for 15-20 minutes.
Gently pull your polygel nails off and clean with rubbing alcohol wipes. If they do not come off, soak them in for another 5-10 minutes, adding extra warm water.
2. Quicker method
Easily remove the nails in just 5 minutes using our simple 3-step Remover Kit. See more details here ->.
How long do they last?
With proper nail prep and application of Base & Top coat, your nails will last 2+ weeks without any damage.
To complete nail prep, you can watch our tutorials here.
Do you need a UV Light?
Yes, UV/LED light is required as Polygel is manufactured to be cured all the way through.
You can use any UV or LED lamp. (UV lamps emit a broader spectrum of wavelengths, while LED lamps produce a narrower, more targeted number of wavelengths.)
Order Today to make sure you get Paddie's UV Lamp as FREE Gift!
How much time do you need to do your nails?
Depends on the experience you have with polygel.
While it will be a steep learning curve, you can do them within 15-20 minutes after just a couple of tries.
For the best application method, or more questions, you can check our our video tutorials here.

